DIY Quilted St. Patrick’s Day Table Runner – Take 2
This post may contain affiliate links which means I make a commission if you shop through my links.
Disclosure Policy
This is my DIY St. Patrick’s Day table runner – take 2.
A few years ago, I made my first attempt. at making a DIY table runner for St. Patrick’s Day here.
Let me just say that it was a flop.
I was just starting to learn how to quilt and also learning how to use my new Cricut Maker machine at the same time.
It was a good first attempt, but my finished project was less than appealing.
This year, I decided to tackle the project again – but differently.
When I saw this pattern over on the Bernina Blog – well, it was so cute – and I did still have some of that shamrock fabric left over …
If you want to make this table runner, visit the original post on the Bernina blog – and then come back here to see a few pointers that helped me.
Related: Things to Know Before You Buy Your Bernina Sewing Machine
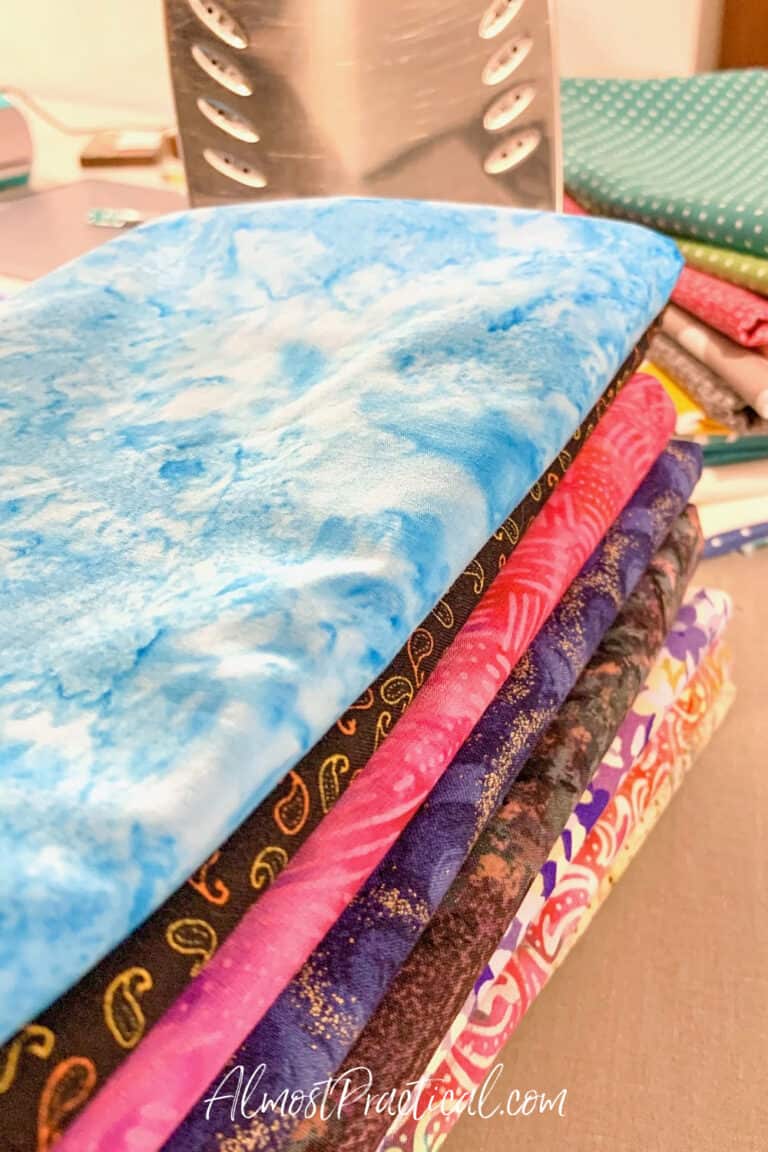
Use Your Green Fabric Scraps

I decided to make this scrappy table runner for a few reasons.
- I still had yardage of the shamrock fabric to use up.
- Over the past few months, my Sew Sampler Box included a variety of green fabrics for which I had scraps, and I also had some greenish scraps left over from the Cricut quilting kit that I used to make this quilt.
Honestly, if I was buying fabric for this project, I would have picked more kelly greens for the patchwork and a darker shamrock pattern fabric for the border.
But I really wanted to use up some of my scraps, so I went with what I had on hand which is a lot of bluish greens.
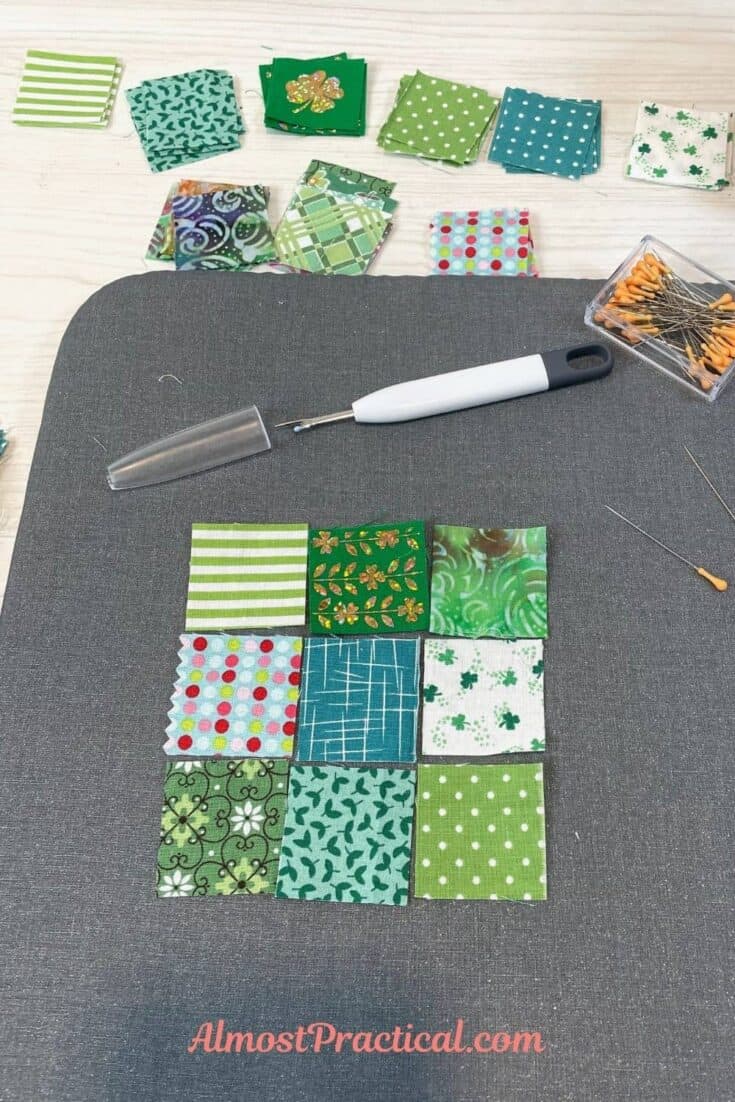
Here’s a fun fact, the squares in the nine patch are only 1.5 inches square.
They are tiny!
So, next time you wonder if it’s worth keeping that small fabric scrap – the answer is yes.
Choosing the Color Combinations for Your Blocks
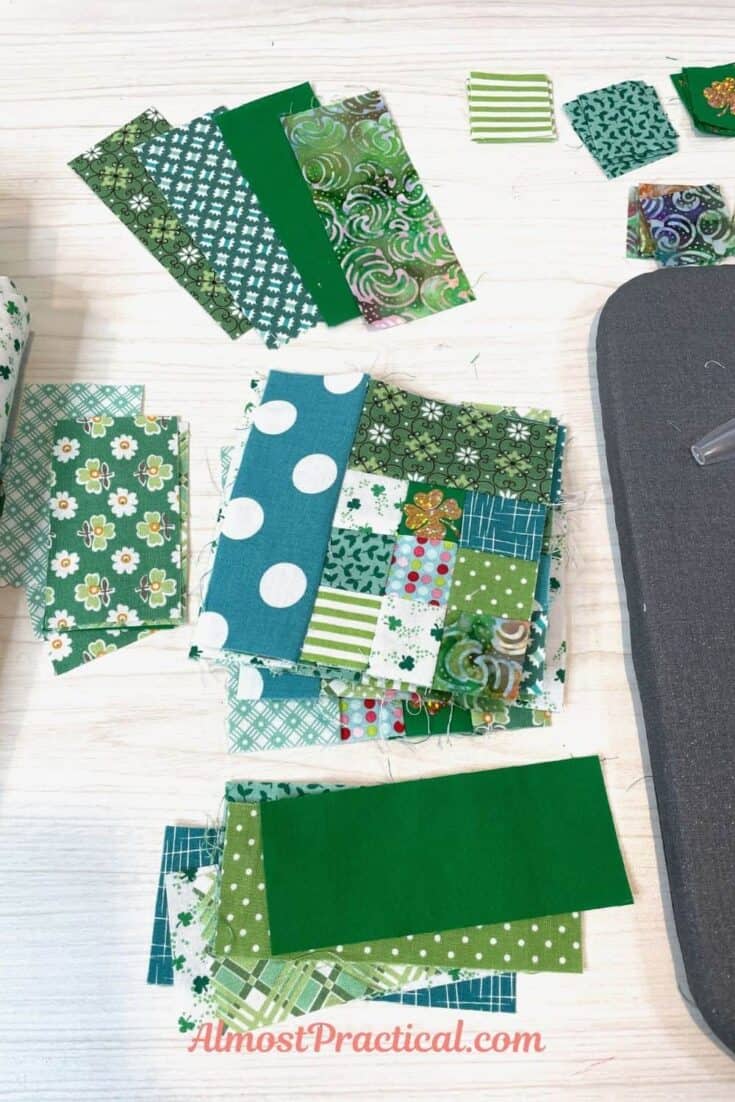
For this St. Patrick’s Day table runner, you will be making 4 clovers with 3 leaves each.
Each leaf is a block – so you will be making 12 blocks in total.
The blocks are made up of a nine square with 2 rectangular pieces of fabric on two of the sides.
From these squares, you will be cutting out hearts to make the leaves of the clover.
The top humps of the heart are the rectangles and the middle of the heart is the nine patch.
With all these different scraps going on – you have plenty of opportunity to use a wide range of fabrics.
The pattern does not need to repeat and each clover leaf can be completely different from the next.
This is fantastic if you have been quilting for a long time and have a huge stash of fabric scraps.
However, I have only been quilting for a short time and did not have a huge selection of green fabrics.
So, I had to repeat a fabric several times.
For this table runner, I did not want all my clover leaves to be identical.
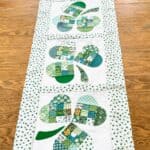
This meant that I needed to organize myself a little bit.
I started by making nine stacks of 12 of the 1.5 inch squares.
I also made a stack for each of the two rectangle pieces.
Many of the stacks were all one fabric pattern or pattern family – but some were mixed.
To assemble my nine patches, I took one square from each pile as well as one small and one large rectangle and laid the square out on my table.
Then I shuffled the pieces around making sure that no two clover leaves would look the same.
Then I made the square.
Sewing a Scant Quarter Inch Seam
In piecing quilts you typically use a quarter inch seam allowance.
But for this project you need to use a scant quarter inch seam.
Say what?
What is a scant quarter inch seam?
Well, I found out that a scant seam is a thread or two shy of the full quarter inch.
It’s a small difference, but it adds up – and you want to make sure that your finished block is the proper dimensions.
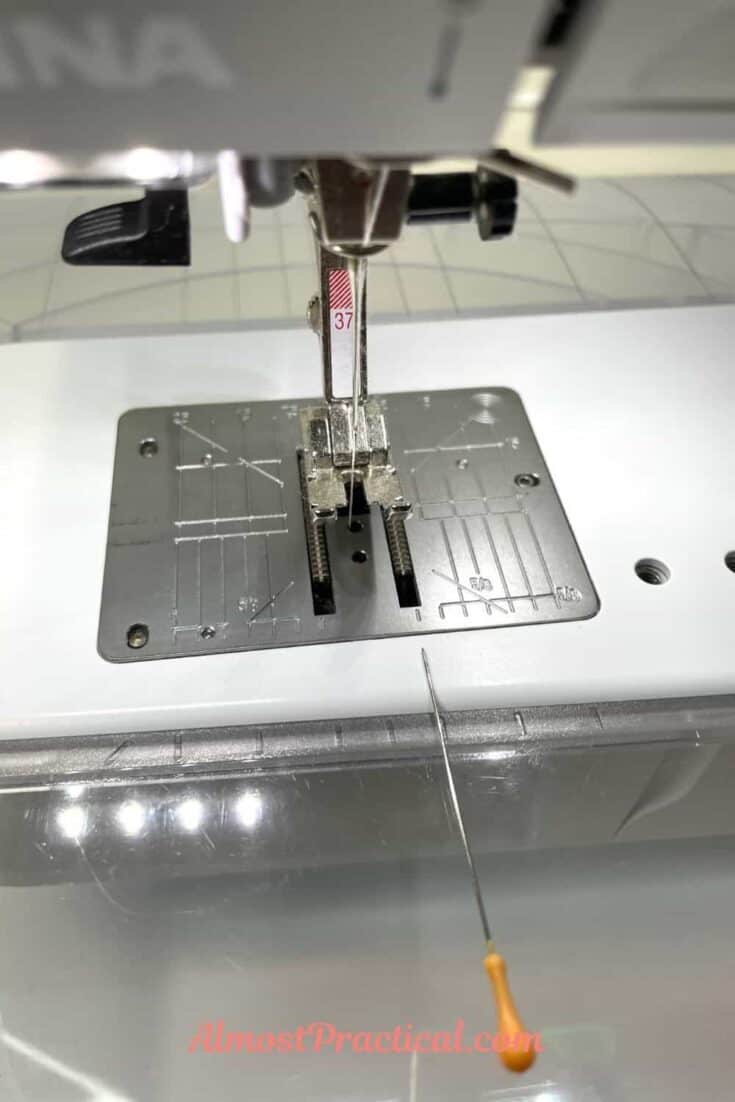
For this table runner, I used my number 37 pressor foot – which is a quarter inch foot and my straight stitch plate.
Since I was using a straight stitch plate, I could not move my needle position.
So, I used the lines on the stitch plate to guide my fabric just to the left of the quarter inch mark.

This seemed to work well, as all my nine patch blocks measured 3.5 by 3.5 which is what the pattern calls for.
If you are not using a straight stitch plate, you could move your needle one or two positions to the right and guide your fabric normally instead.
Just measure up your first finished block to make sure you are achieving the right dimensions.
Reducing Bulk in the Corners
When you sew a nine patch together into a square, you tend to get a lot of bulk in the corners where four squares meet.
In her pattern post on the Bernina blog, Joan outlines a way to open up the seams a little bit and “unfurl” the joints on the back of each square.
Once you get the hang of it, it’s really easy to do – and very important step in this project in particular.
It is super important because you will be using fusible web to iron the clovers onto the background fabric and a smooth, less bulky, back of your quilt blocks will work much better.
Putting It All Together
Once I finished sewing my quilt blocks – I used the template from the original post on the Bernina blog to cut the heart shaped clover leaves and the stems.
I then used the fusible web to iron them onto a white on white printed fabric background.
Next I used the shamrock printed fabric to create the border.
Here is the finished quilt top.

Next Steps
My next steps are to quilt the table runner.
I plan to use a blanket stitch around the clover and stems in a green thread and do free motion quilting on the background and border – similar to the one in the pattern.
It’s going to take me a while to do, so I am publishing this post as is – and will update it with photos of the finished table runner when I am done.
Happy crafting!