Let’s Talk Blogging
This post may contain affiliate links which means I make a commission if you shop through my links.
Disclosure Policy

If you have been following me for awhile, you know that I love to talk about blogging.
And over the years, I have published blog posts outlining things I learned and things I love about creating a business with my blog.
But things in the blogging world move fairly quickly, from technology, to algorithms, to strategy – and it is very hard for me to keep my articles up to date.
Subscribers to my Organizing Newsletter know that I have been talking a lot about learning how to respect your time, recently.
What I realized is that I am not respecting my own time – and that blogging about blogging is not helping me get closer to my goals. Rather, my time is better spent focusing on the Organizing and Productivity side of my business.
So, today, I am sunsetting most of my blogging articles and taking it to email instead. If you want to follow along, simply sign up for my Let’s Talk Blogging Newsletter using the form below.
Basically, it is an informal chat that I send out periodically about interesting things that I come across and things that I am currently trying in my own business.
Take the Quiz
One thing that has been very popular is my “Is Blogging Right For You?” Quiz.
So, to that end, I will leave it up for now – and if you would like to take it you can find it at the link above.
Resources I Use On This Blog
If you are wondering what resources I use to keep this blog ticking – here is a summary of the services, platforms, and courses that I rely on.
WordPress Hosting and Theme
I have been using BigScoots Managed WordPress Hosting for YEARS and they have been awesome! You can read my review here.
For my theme – I use the Limoncella Theme by Restored316 on the Kadence platform.
Lasso for Affiliate Links
While there are several WordPress plugins that I rely on in the background to keep my site up and running – I wanted to highlight the Lasso Plugin for affiliate links because it has been worth the investment for me.
If you have ever participated in affiliate programs that have changed platforms then you understand the pain.
When this happens, all of your old affiliate links break – and typically you have to go searching through your blog for each one to change it out.
With Lasso – you just change it in the Lasso dashboard and it replaces the link across your site. So easy! Lasso also makes it easy to create fun product boxes like the one below.
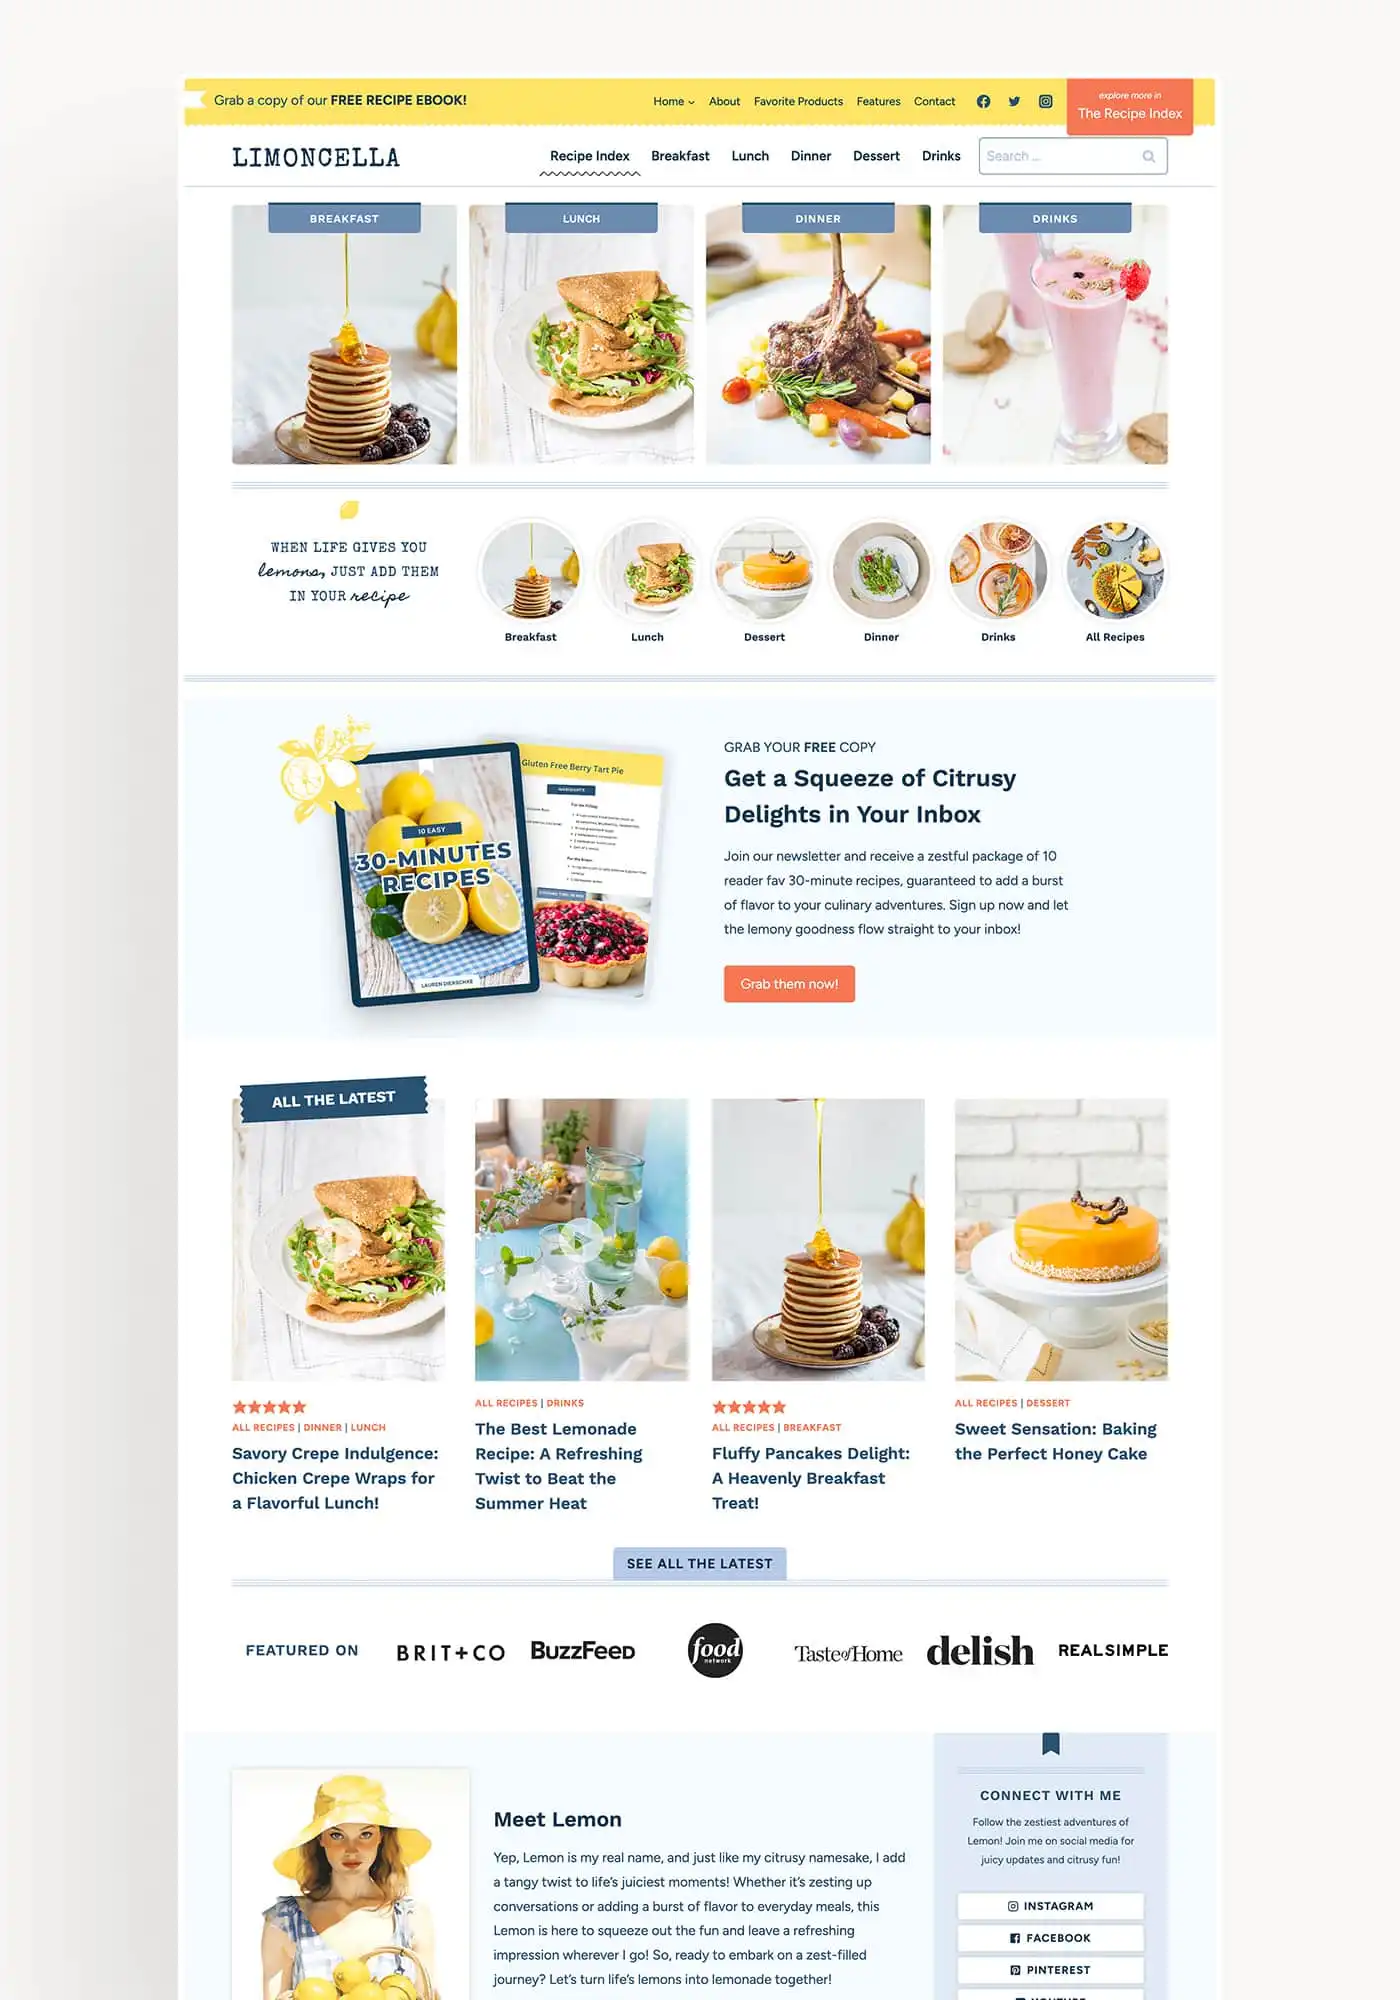
I use the Limoncella WordPress theme from Restored316 Designs on this site and I love how customizable it is.
Restored316 creates beautiful themes that help you to showcase your content in a beautiful and user friendly package.
Email Service Provider
For my email service provider, I use Convertkit.
The thing that I like best about this service is that it integrates with many different platforms. You can also easily set up automations and segment your list based on lots of different actions.
Services
Some outside services that are very helpful include:
- Tailwind – for scheduling Pinterest and Instagram posts. I have tried other scheduling platforms for this, but nothing else works as well for me.
- Canva – for creating images for blog posts and social media. Also useful for creating video.
- Haute Stock – for a fantastic library of stock photos and video clips
Courses
As a blogger, there is so much to learn and you are bombarded by an avalanche of information.
I have narrowed down the courses that I use these days to just a few.
- Stupid Simple Blogging – I love that Mike Futia keeps us up to date on changes in the blogging world and is always experimenting with new ways to grow your blog and business.
- Levee Road Studio for Pinterest – Amy has a number of courses to help you increase your traffic from Pinterest. I really like her unique approach to pinning strategy and I am starting to see good results using her methods.
Find It All Right Here
Even though I am moving away from writing posts about blogging, I will continue to keep this page updated.
What are some of your favorite blogging tools and resources? Let me know in the comments below.