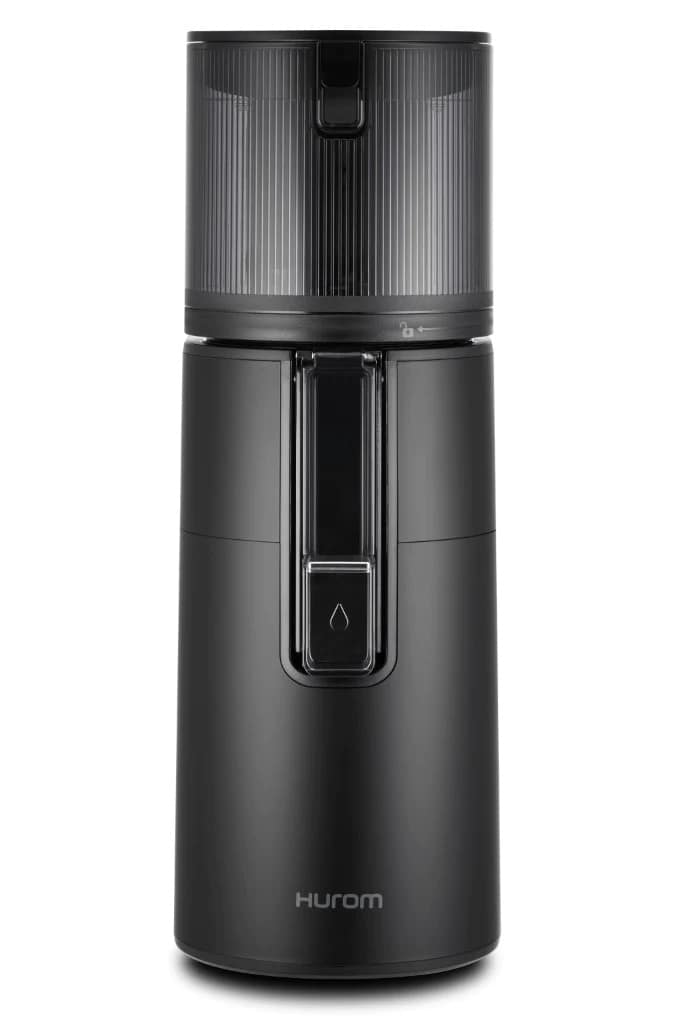
Hurom H400 Slow Juicer – Juicing Made Easy!
This post may contain affiliate links which means I make a commission if you shop through my links.
Disclosure Policy
Disclosure: Product for this post was provided by Hurom. All opinions are my own.
My husband and I have been making freshly squeezed juice for years. It is a great tasting way to get additional fruits and vegetables into our diet.
But as much as we love the juice, we do hate the clean up – which is why we don’t make fresh juice as often as we would like.
So, when Hurom reached out to me about taking a closer look at the H400 model, I was pretty excited to review it. Not only is the Hurom H400 a slow juicer (which is a process that is known for extracting the most nutrients from the fruits and vegetables) but it also famous for being easier to clean.
That is a win win in my book!
I have to say, that after spending a few weeks experimenting with lots of different juice recipes – and banana ice cream (yes – made in the juicer!) – the Hurom H400 is now one of my favorite kitchen appliances – and now I make juice practically every day.
The Hurom H400 slow juicer is so easy to clean - and it makes great tasting juice!
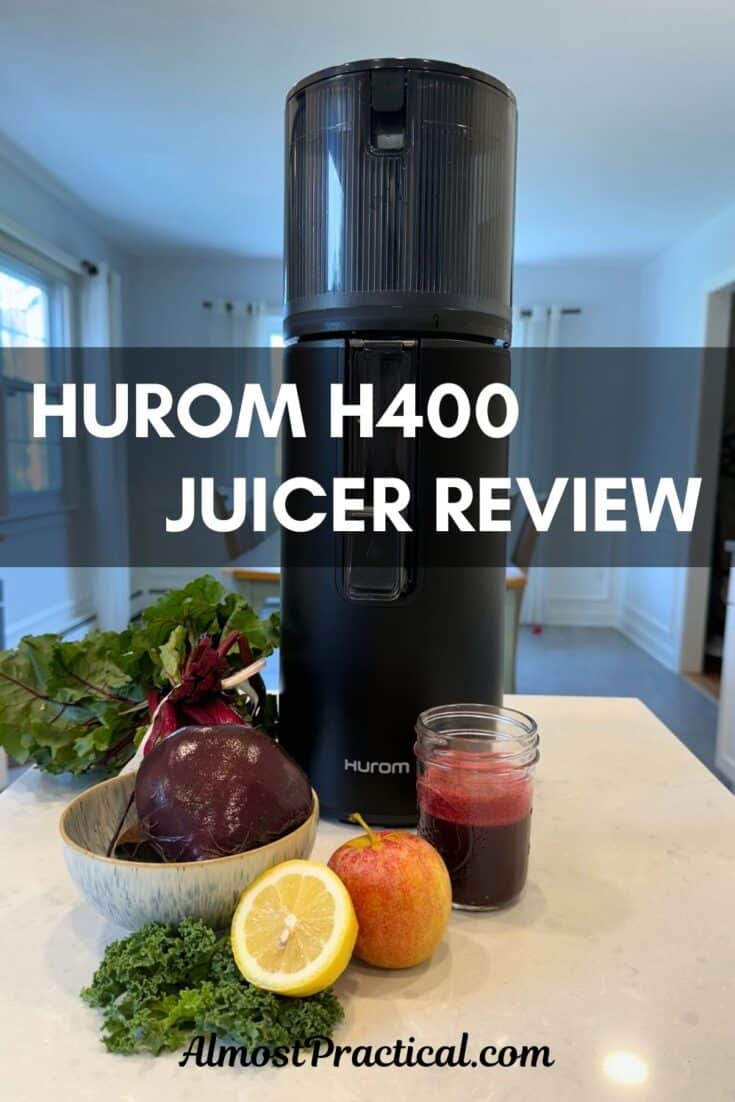
Watch It In Action!
What’s So Special about the Hurom H400?
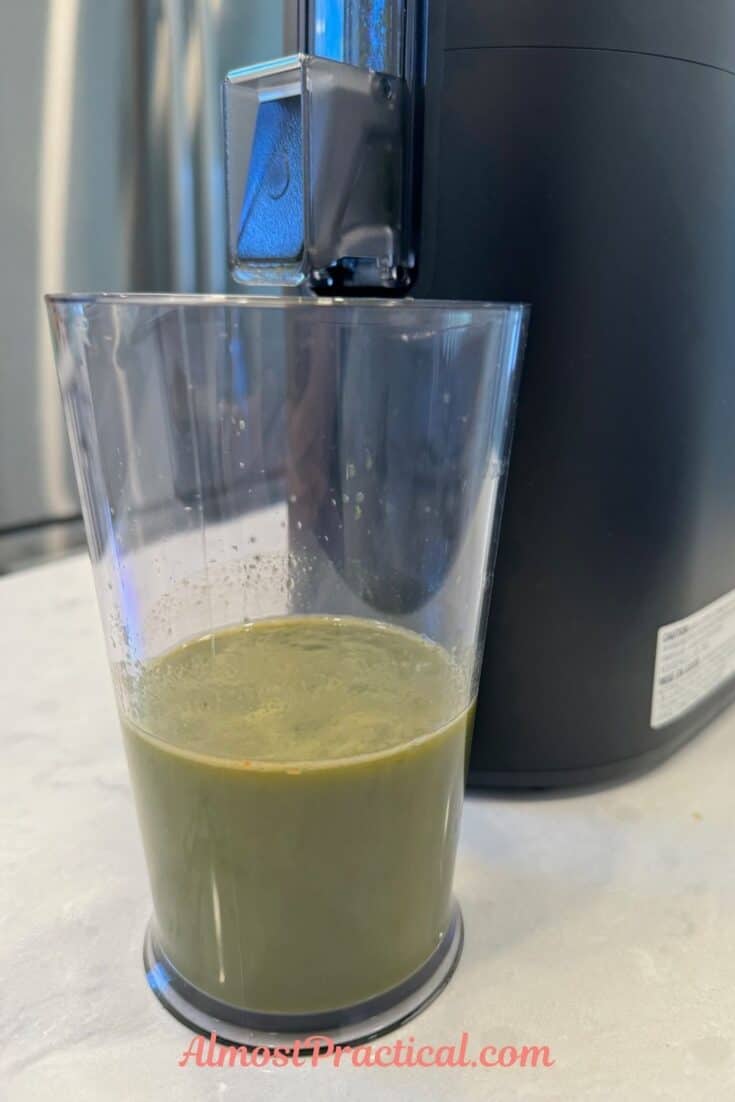
Well, for one, it makes great juice!
When I unboxed the juicer, I noticed right away that it did not have any very sharp parts or a hard-to-clean mesh screen.
Honestly, I was a bit baffled – how did this machine actually make juice?
The answer is in the 2 piece auger. This little device somehow slow squeezes the fruit and vegetables to extract the juice. Hurom calls it their “Slow Squeeze Technology”. This technology is designed to preserve the nutrients in the ingredients that you use.
Also, every part of this juicer is easily accessible to clean. You don’t have to scrub a mesh screen. And the ejected pulp comes out in strip like pieces – so they are easy to discard.
I know it is a bit pricey, but I actually use this juicer at least 5 days a week, if not more because it is so easy to use.
Before I received the Hurom, making juice seemed like a major chore. And despite our best intentions, we would only make juice a few times a month on the weekends.
So, to me, the frequency of use would be a big factor in my buying decision.
What Ingredients Can You Use?

I am still experimenting with all different combinations of fruits, vegetables, and leafy greens and really, you are only limited by your imagination.
One thing that I was pleasantly surprised with is that you can juice citrus fruits in the H400.
And, believe it or not, you can make banana “ice cream” in the juicer as well, by “juicing” frozen banana chunks.
The first recipe that I made was one straight from the instruction manual using beets, apple, kale, and a chunk of lemon. It was delicious!
Another juice that I make often is celery, carrot, and apple. I know, celery juice doesn’t sound too appetizing – but I think the sweetness from the carrot and apple overpower the celery anyway.
Some ideas for ingredients are:
| apples | grapes | kale |
| pears | peaches | spinach |
| watermelon | plums | carrot |
| strawberries | dragonfruit | celery |
| mango | ginger | beets |
The Hurom H400 slow juicer is so easy to clean - and it makes great tasting juice!
How to Prepare Your Fruit and Vegetables for Juicing
To prepare your fruits and vegetables for juicing in the Hurom H400 you should cut them into manageable chunks – about one inch in size.
I remove the pits from fruit with seeds and I peel any citrus that I use.
Making Juice
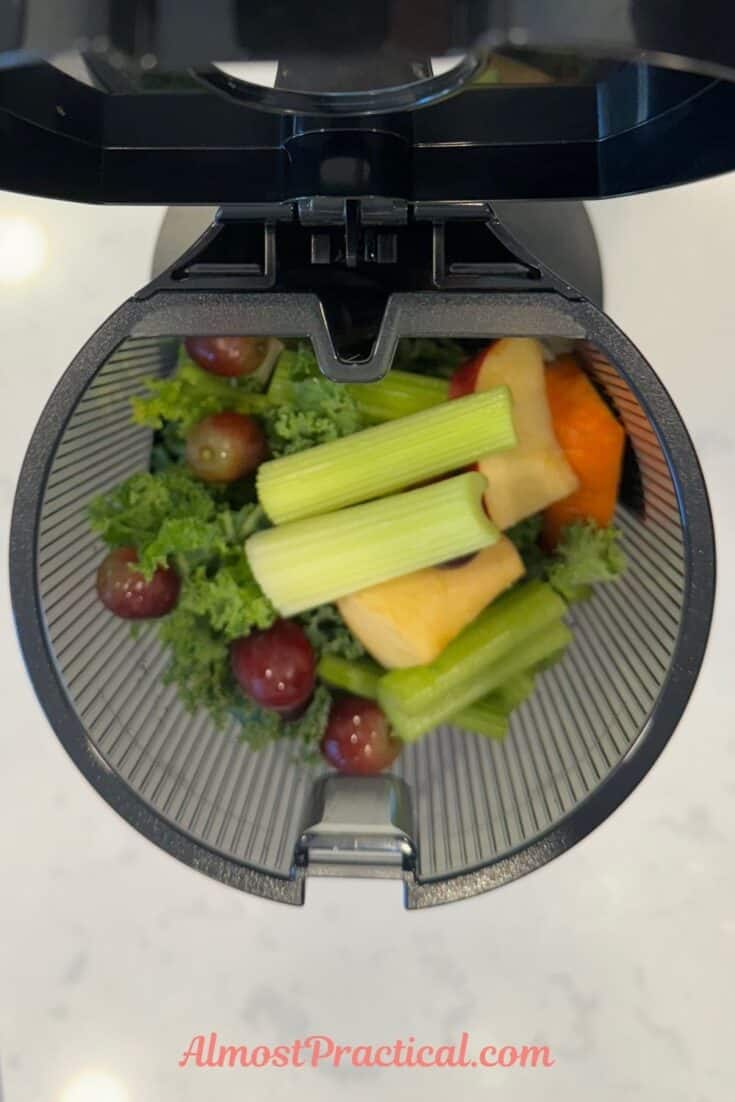
To make juice, all you need to do is fill the hopper with your fruits and vegetables and turn it on.
Be careful not to fill the hopper over the fill line – but as the fruit churns down, you can add more through the opening on top.
The pulp is automatically ejected into the pulp collection container.
The juice collects in the chamber and you can see it accumulate in the gauge window on the front. Then you just open the spout to let it pour out into the juice cup.
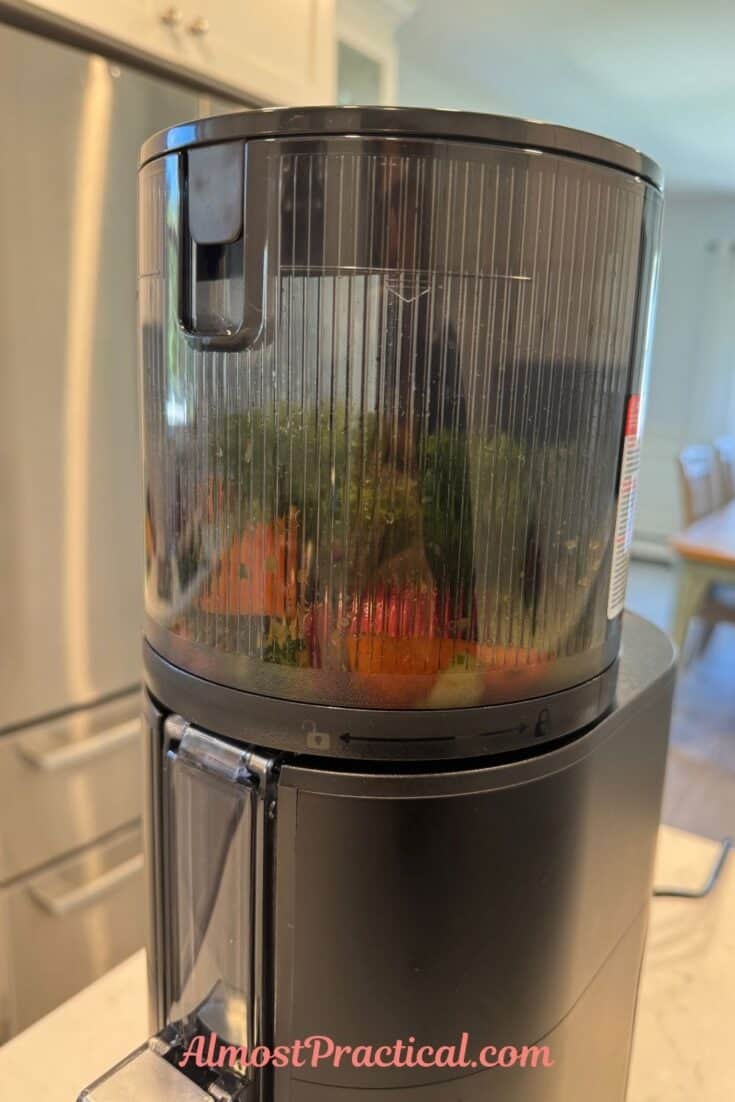
I found the pulp to be fairly dry – so it seems that the juicer does a good job of extracting the liquid from the fruits and veggies.
The operation is also relatively quiet.
But here I am getting ahead of myself, aren’t I?
Hopper, chamber, spout? I hope I haven’t lost you.
Let’s take a step back and look at the juicer itself!
Unboxing the Hurom H400
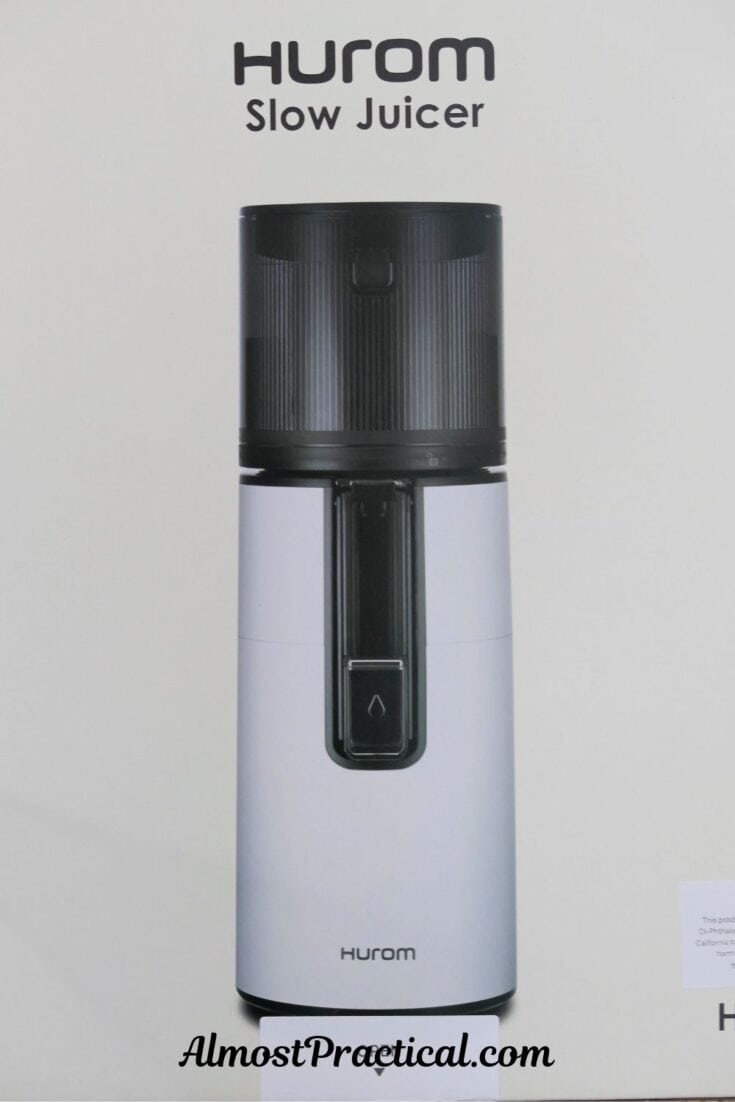
Just for reference, my Hurom H400 is the Matte Black version – which I think is a very sophisticated look and works well in any kitchen.
That being said, I was pleased to see that this juicer also comes in a few different color options as well:
- Matte Black
- White
- Two Tone Blue
- Two Tone Oat
- Two Tone Pink
If you would like to see how the Hurom H400 is packaged – you can watch the unboxing in the video below.
Each component is individually boxed and all of these little boxes are nested within a larger box.
I love how each one is clearly labeled which makes it easy to learn how to assemble the juicer for the first time.
The Juicer Components
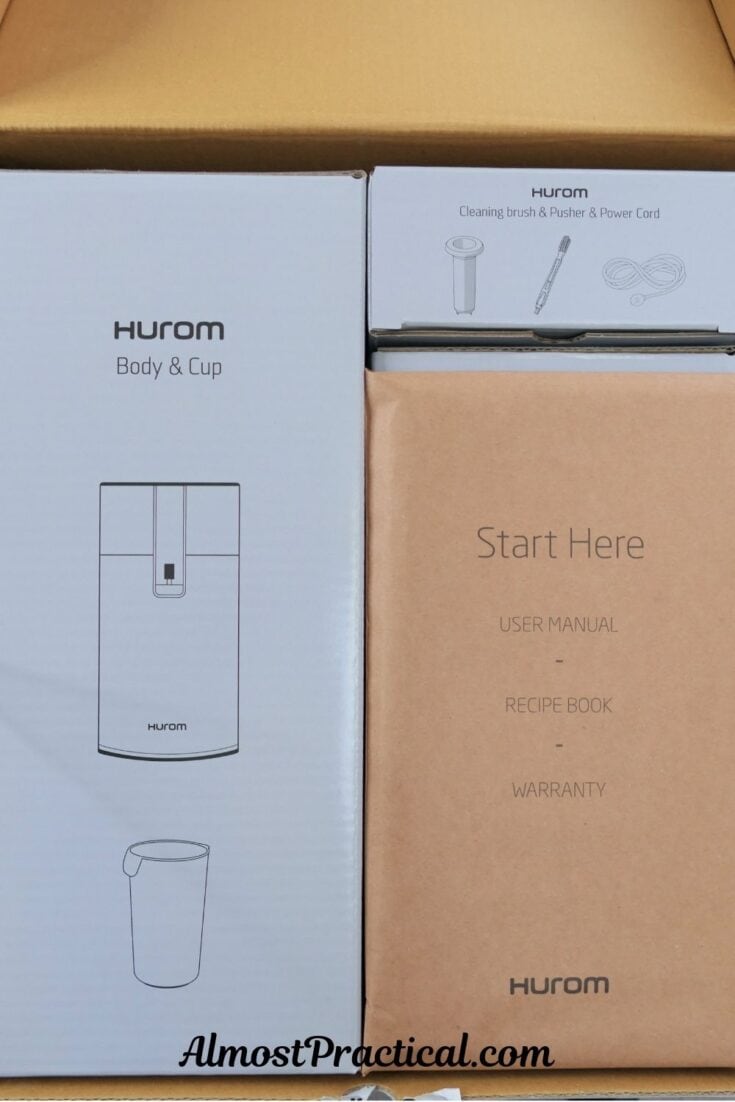
There are surprisingly few parts to the Hurom H400 which is part of the reason why this juicer is so easy to clean.
Putting it together and taking it apart takes just a minute or two – and you are ready to go.
This is what comes in the box:
The Base
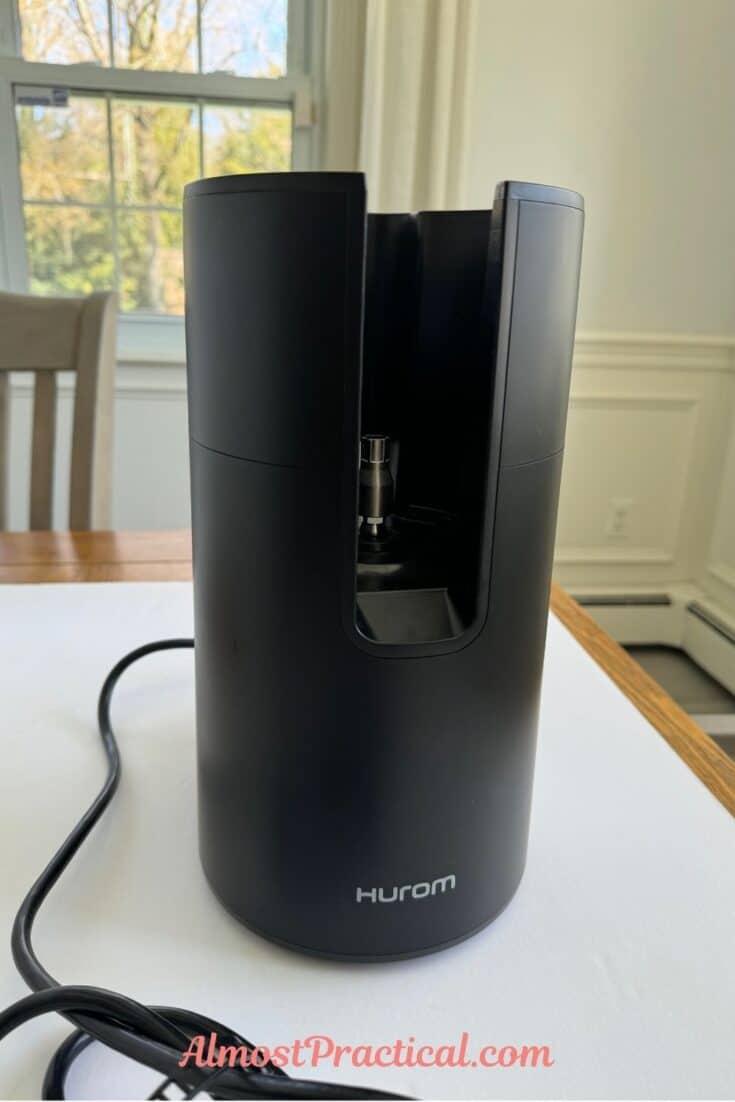
The base of the H400 is sturdy and quite tall.
This houses the motor, the on/off switch, and is where you attach the power cord. The pulp container attaches onto this base as well.
The Hopper, Chamber, and Auger
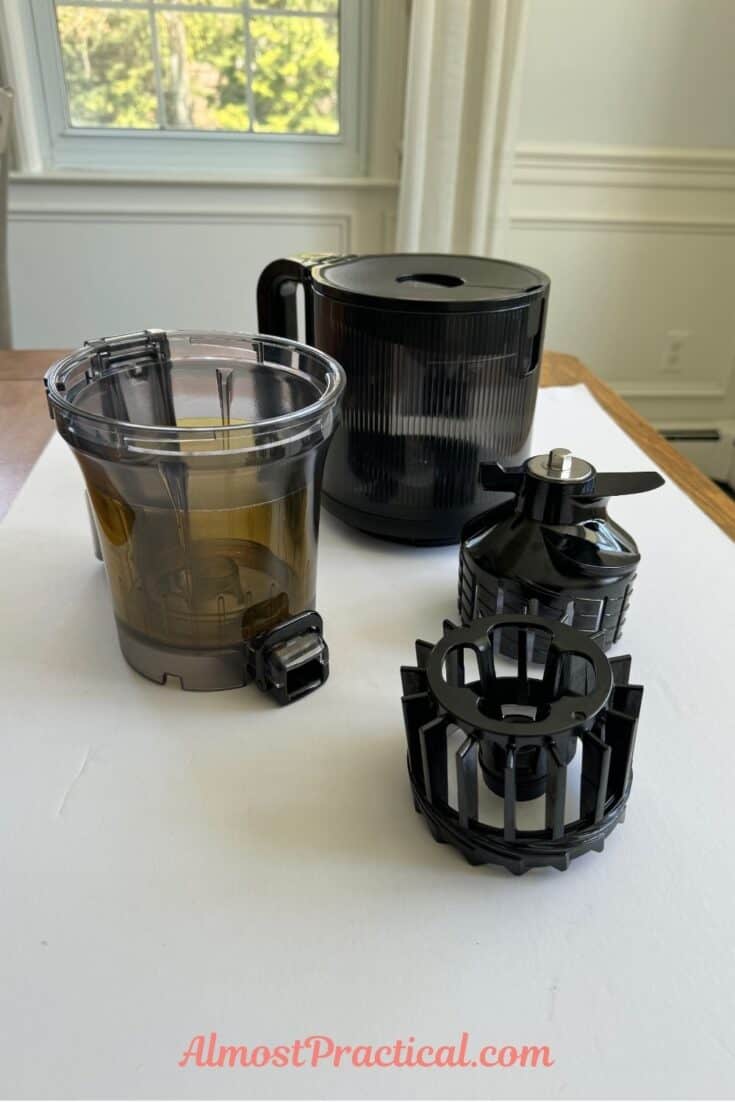
The hopper, chamber, and auger are the components that make the juicing magic happen.
These three items (technically four because the auger is 2 pieces) all fit together to form an assembly, which you then place into the base.
Pusher, Juice Container, Cleaning Brush, and Manual
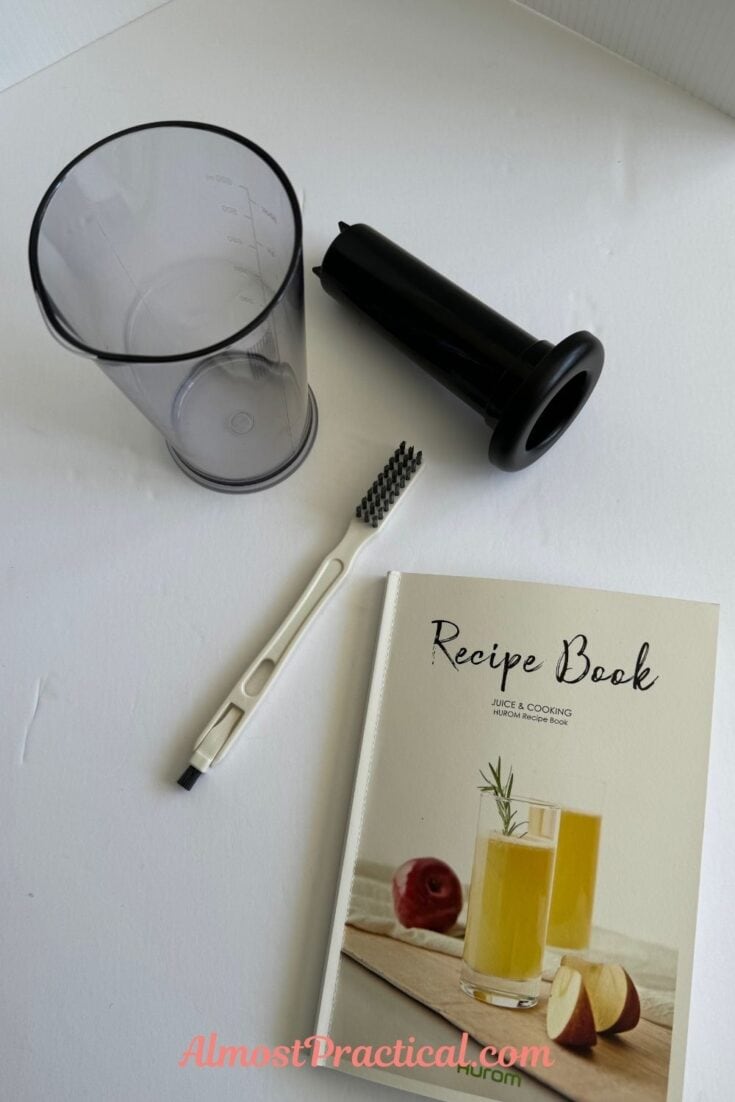
The Hurom H400 also comes with a pusher, a juice cup, a cleaning brush and a user manual (with some great juice recipes).
The pusher is helpful when you are feeding fruits and vegetables into the hopper as you juice – and the juice cup is the perfect size to collect your finished juice.
Assembling the Juicer
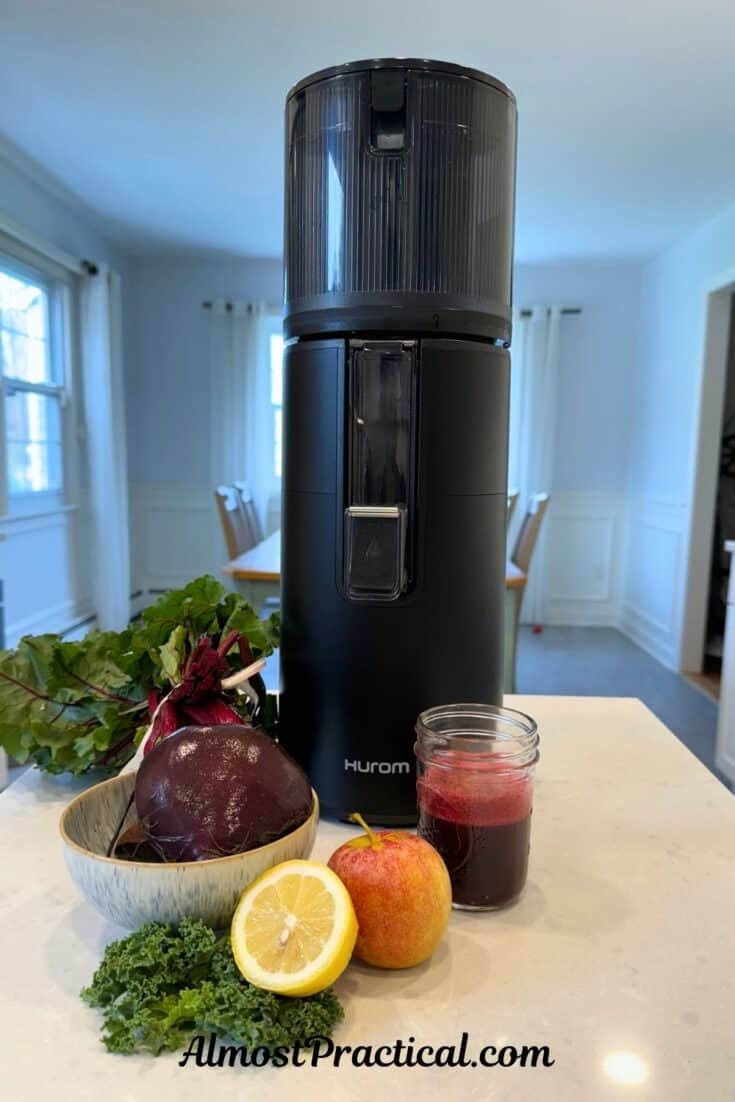
I won’t go into too much detail about the assembly – as all of it is described in the user manual in detail.
But the gist of it is that you put the two pieces of the auger together and fit it into the chamber.
Then you attach the hopper to the chamber, making one big unit.
The final step is to place the entire assembly into the base. It is very easy.
How to Clean the H400
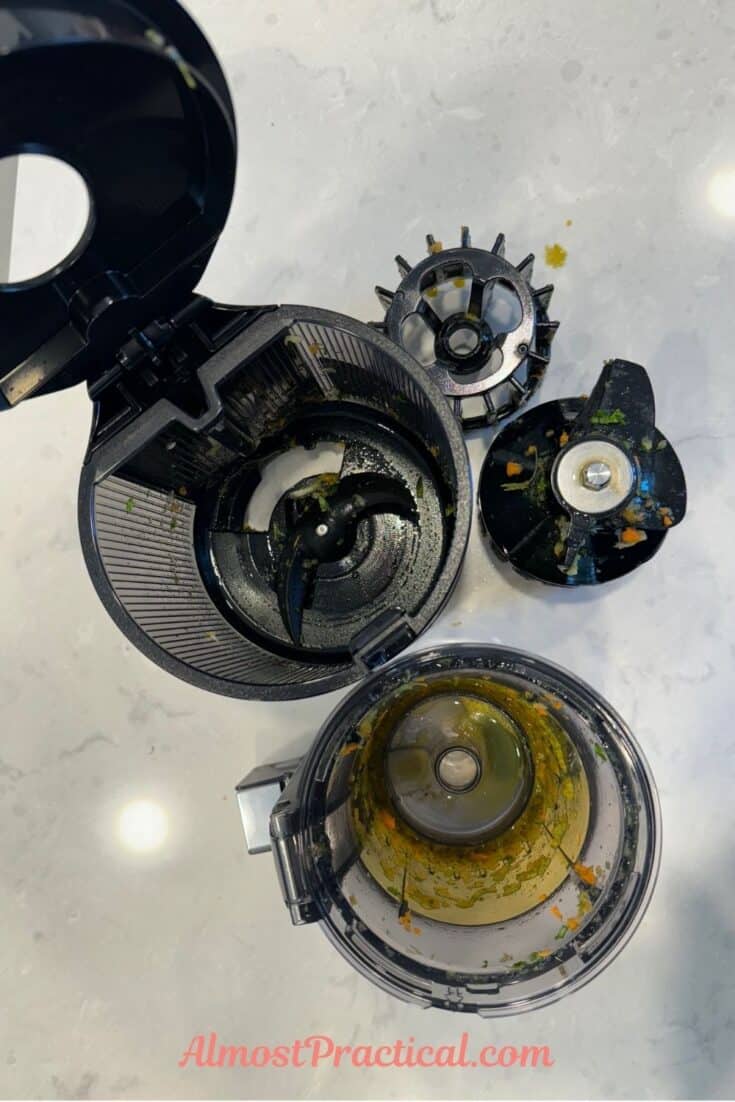
Cleaning the Hurom H400 is so simple.
You just remove the juicing assembly from the base, disassemble, and hand wash each component.
There are these flippy tabs that open up to give you access to the area behind the spout and also the area where the pulp is ejected – so you don’t have any hard to reach areas.
Unlike centrifugal juicers, the H400 does not have a mesh screen that traps bits of pulp – which is really nice.
The pulp is ejected in little strip like pieces into the pulp container which you can dump out easily.
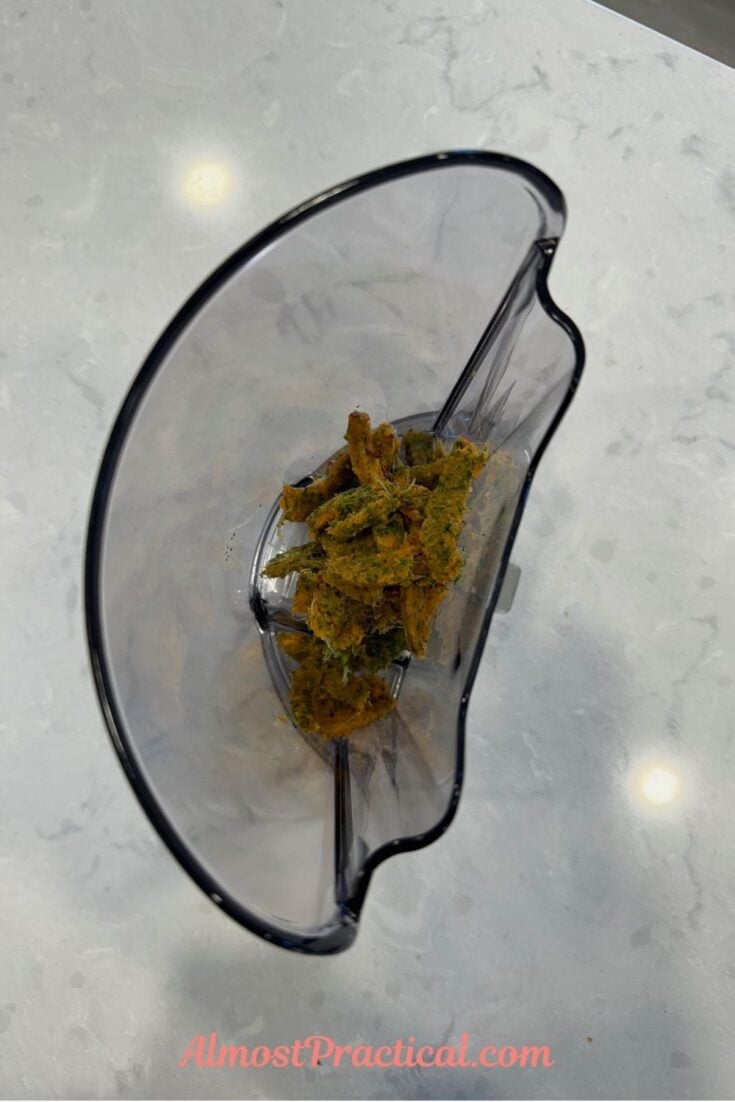
The juicer comes with a fun cleaning brush but I haven’t had to use it.
Juice Recipes

The types of juice that you can make is only limited by your imagination.
If you don’t know where to start, Hurom includes a recipe book right inside the box.
But you can go simple with single ingredient juices – like apple, orange, pear, or watermelon.
And then you can start adding in second and third ingredients as you experiment.
Honestly, I don’t really use a juice recipe at all. I just go through my fridge and create a concoction with whatever I have on hand.
You could also try making a version of this kale and cantalope smoothie recipe -but you will want to substitute the coconut water with an actual fruit that contains a good amount of juice, like an apple perhaps.
Juicing is a great way to use up your produce before it goes bad. 🤣
My New Favorite Juicer
We have been juicing for many years, and I have to say that the Hurom H400 is my favorite of the bunch. It is one of the best juicers I have ever tried.
It is so easy to use and CLEAN! I can easily make delicious, fresh juice daily without spending a ton of time.
Happy juicing!

