How to Set Your Old Airport Extreme Time Capsule to Use as a Time Machine Hard Drive Only
This post may contain affiliate links which means I make a commission if you shop through my links.
Disclosure Policy
Being a big fan of Apple devices, I used to use an Apple Airport through it’s many versions as the router for my home wifi network.
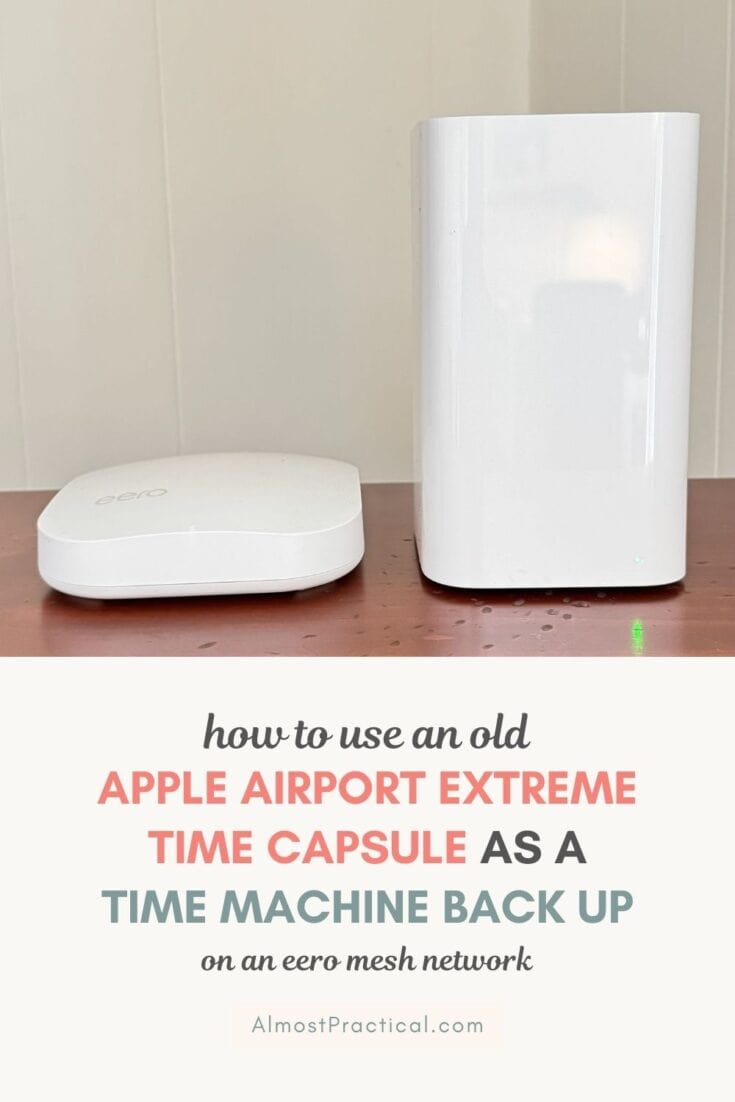
But a few years ago at around the time Apple was discontinuing it’s router products, I decided to go the mesh route and switched our household over to the Eero system.
So, I unplugged the our 3TB Airport Extreme Time Capsule with the full intention of hooking it up to use as a Time Machine drive only.
Well, if you are at all familiar with procrastination, you will understand why I did not get around to that little project until yesterday.
One of the things that held me back was that I really did not know exactly how to make it happen, so I had some research to do.
In this article, I will explain to you what I did to make my own set up work. I am not a tech expert by any means – so please do your own research to see what works with your system.
TL;DR – The Quick Summary
If you want to get right down to it – I found my solution on how to set up my old Airport Extreme Time Capsule as a Time Machine hard drive on the eero website in this support article here.
You will find step by step instructions and it is what worked for me.
If you are using a different mesh network and not eero, I suggest you read through the article and see if it makes sense for your situation.
What is An Airport Extreme Time Capsule?
Apple used to produce a device that was a combination wifi router and hard disk drive.
This was very convenient because you could set up your Mac computers to save their Time Machine backups to the Airport Extreme hard drive wirelessly when they were connected to your home network.
It was a set it and forget type set up. The backups would happen automatically so you never had to remember to plug an external drive into your computer.
There were several versions of these Time Capsules – there were flat square ones and then the tall rectangular brick like version which had more capacity.
What is Time Machine?
The following is a basic explanation but if you really want to delve into the details you can find more about it on Apple’s site here.
Time Machine is a built in utility from Apple that backs up the data on your Mac computer in a way that allows you to go “back in time” and recover an earlier version of a file or other data that you may have changed or deleted inadvertently.
Using the Airport Extreme Time Capsule as a Time Machine Only
Since the Apple Airport Extreme Time Capsule is both a modem and a hard drive, it want to create a wifi network for your home when you plug it in.
If you already have a wifi network using something like eero, then you don’t want the Apple Airport Extreme to try and create a network as well because that would probably create all kinds of conflicts.

Get fast, reliable, and secure internet with the eero mesh wifi system.
So, you basically need to disable the wifi part of the Airport Extreme and put it in what is called “Bridge” mode – so that you can use the disk part wirelessly for Time Machine.
The best way that I found to do that is by following the steps in this support article at eero.
Make sure you have some time available when you do this so you are not rushed through it.
Things You Will Need and Need to Know
Take note that you will need an ethernet cable to connect your computer to the Airport Extreme.
And then you will use that same cable to connect the Airport Extreme to one of your eero base station units.
So, keep in mind that your eero and Airport Extreme Time Capsule will need to be relatively physically close to each other when your set up is complete. If they are not close together you will need a longer ethernet cord.
Also, if your computer is a newer MacBook Air or MacBook Pro, it may not have an actual ethernet port so you might need an adapter like this one to make it work.


How I Did It
Following the steps in the eero support article, I turned off the wifi on my iMac.
Then I connected the Airport Extreme Time Capsule to my computer with an ethernet cable. Then I plugged in the Airport Extreme.
It took awhile to boot up but eventually it showed up in the Airport Utility app on my iMac computer.
Again I followed through all the steps in the eero article turning off network mode in the wireless tab and selecting “Off (Bridge Mode) in the Network tab.
After I saved my updated settings, the Airport Extreme rebooted.
Then I disconnected the Airport Extreme from my iMac, unplugged it, and moved it over to where I have my eero.
I connected the ethernet cable in the WAN (wide area network – looks like a flower type circle) port on the Airport Extreme to one of the eero ethernet ports.
Again, I let it the Airport Extreme boot up and also reenable the wifi on my iMac that I had turned off earlier.
Now I could see the Airport Extreme in Airport Utility again.
I can also see it in the left column of Finder under locations.
Cleaning Up the Airport Extreme Time Capsule Disk
I had mentioned that I had not used my Time Capsule Disk in many years – so the Time Machine backups that were on there were obsolete.
Also, using Airport Utility, I could see that there were some firmware updates to be installed.
I first installed the updates, then I chose to erase the data on my Time Capsule disk which I also could do using Airport Utility (not Disk Utility!) because I did not need the old data that was on my Time Capsule. This process takes a really long time – from hours to many days depending on the security level of the formatting that you choose.
Setting Up Time Machine
Once your Airport Extreme Time Capsule Disk is good to go you can open the Time Machine App in your Applications folder and it should walk you through the process of setting up a disk for Time Machine and give you the option of using your Time Capsule drive to store back ups.
Why Go Through All This Trouble?
Several times during this process I questioned whether it was even worth it.
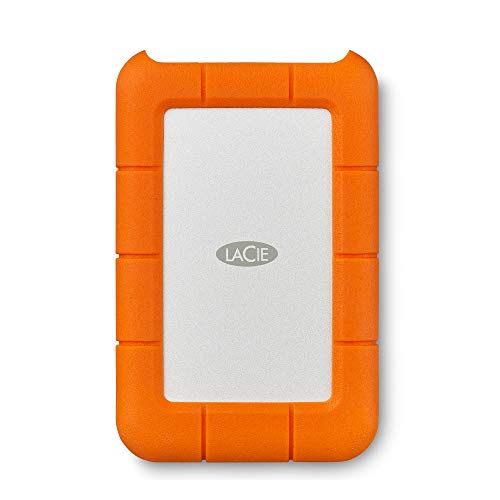
I mean the Airport Extreme is old technology and external hard drives with large capacity have come way down in price.
Honestly, I was tempted to just buy an external drive and leave it plugged into the iMac.
But the thing is, I also have a Mac laptop which is nice to have backed up to Time Machine as well. And for that, I would have to remember to connect the external drive on a regular basis.
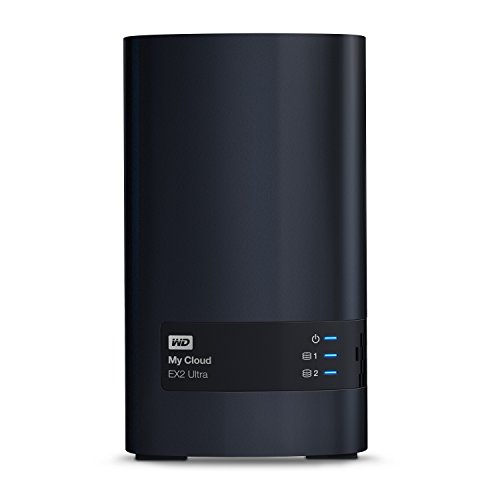
I really like the wireless, set it and forget aspect that the Airport Extreme Time Capsule drive provides. And the only way to replicate that is to use some kind of NAS drive. And since I already have the Time Capsule …. I figured I would ride it out for as long as it lasts.
How Much Capacity Should Your Time Machine Drive Have?
For a Time Machine drive, Apple recommends that you have a disk with at least 2 times the space as the drive you are backing up. So, for a 1TB hard drive you will need a 2TB Time external drive for Time Machine.
But I tend to be a little extra so I like to go with at least 3 times the space.
Not Working for You? Deal With It Now
Nothing is worse than having your own little electronics graveyard.
If you have decided that reviving your old Time Capsule is not for you, then don’t let old, unwanted tech clutter up your home.
Be sure to securely erase all data and take it to your local electronics recycling center.
If you don’t have that option, you could take it back to an Apple Store for them to recycle. Or services like Gazelle may recycle old electronics as well.
Do You Have an Old Time Capsule Lying Around?
If you have an old Time Capsule lying around, I hope I have inspired you to do your research into whether it makes sense to put it to use as a Time Machine drive or not.
There are several steps to follow, but I am so happy to have taken an unused item in my home and put it back into commission.
As far as your eero network goes sometimes the security features go into overdrive. Here are some tips on how to stop eero from blocking websites that you actually want to visit.