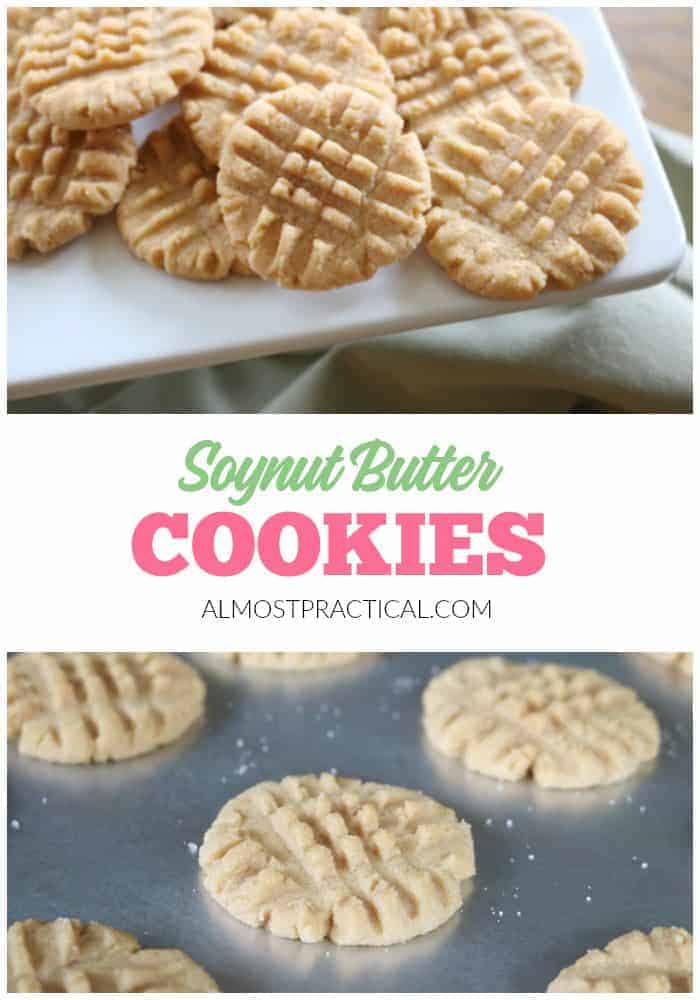
Soynut Butter Cookie Recipe
This post may contain affiliate links which means I make a commission if you shop through my links.
Disclosure Policy
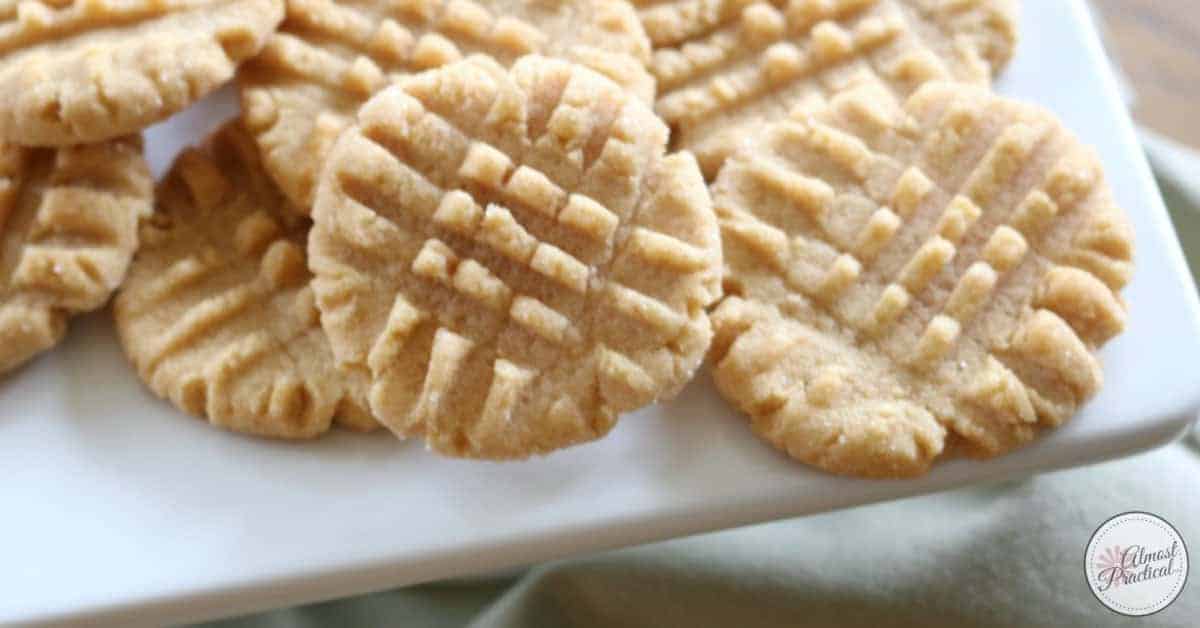
This soynut butter cookie recipe is as good as it gets and it’s a great alternative to peanut butter cookies for people that have a peanut allergy.
As a peanut butter cookie lover, I have to say that the texture of these soynut butter cookies is little different. These cookies have more of a, well, powdery type taste.
But my kids gobble them up – even the ones without the peanut allergy. So, I’d say they pass muster. 🙂
What You Need
To make this soynut butter recipe you will need:
- soynut butter,
- regular butter (but you can use a good baking margarine if dairy is an issue),
- sugar,
- brown sugar,
- eggs,
- vanilla,
- unbleached all-purpose flour,
- baking soda,
- baking powder, and
- salt.
How It’s Done
This soynut butter cookie recipe is pretty easy to make.
You cream the butters. Then toss the sugars into the mixer, followed by the eggs and vanilla.
In a medium bowl, mix the dry ingredients together.
Then add these to the butter and sugar mixture – and beat with your mixer until it’s all combined.
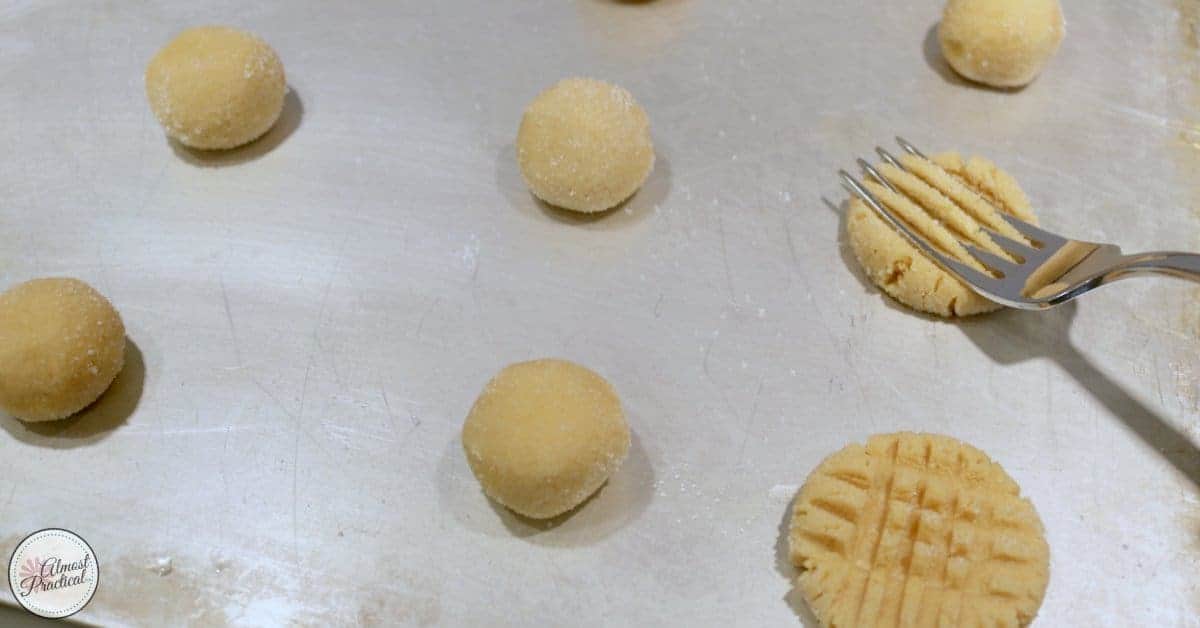
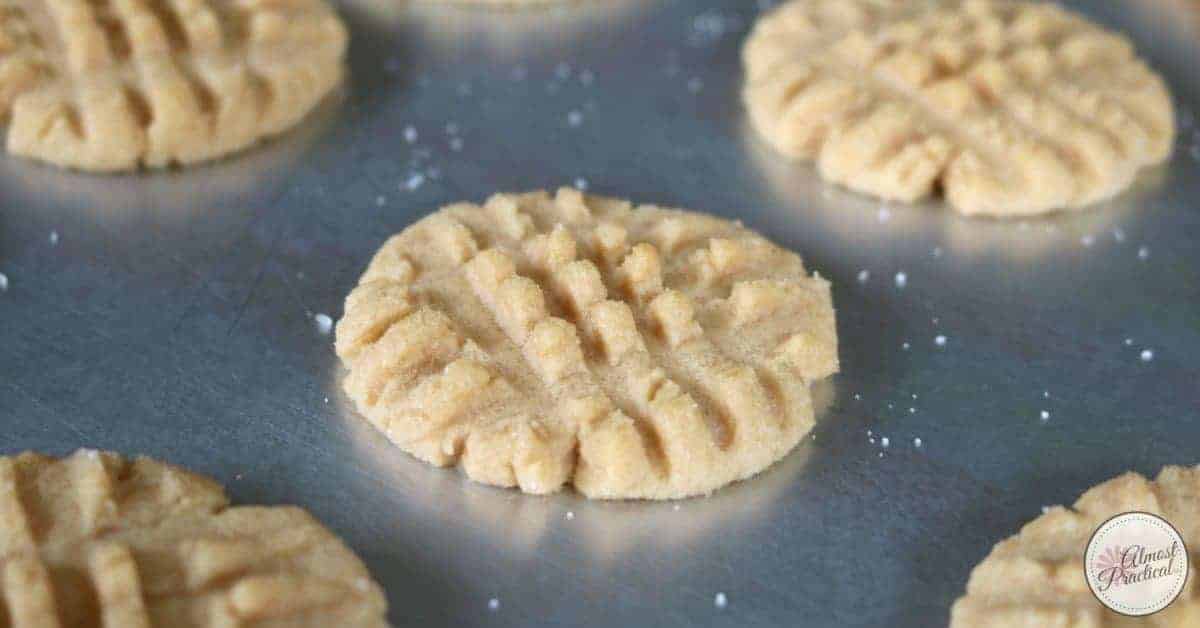
Roll the dough into one inch balls and then roll the balls in some granulated sugar to coat.
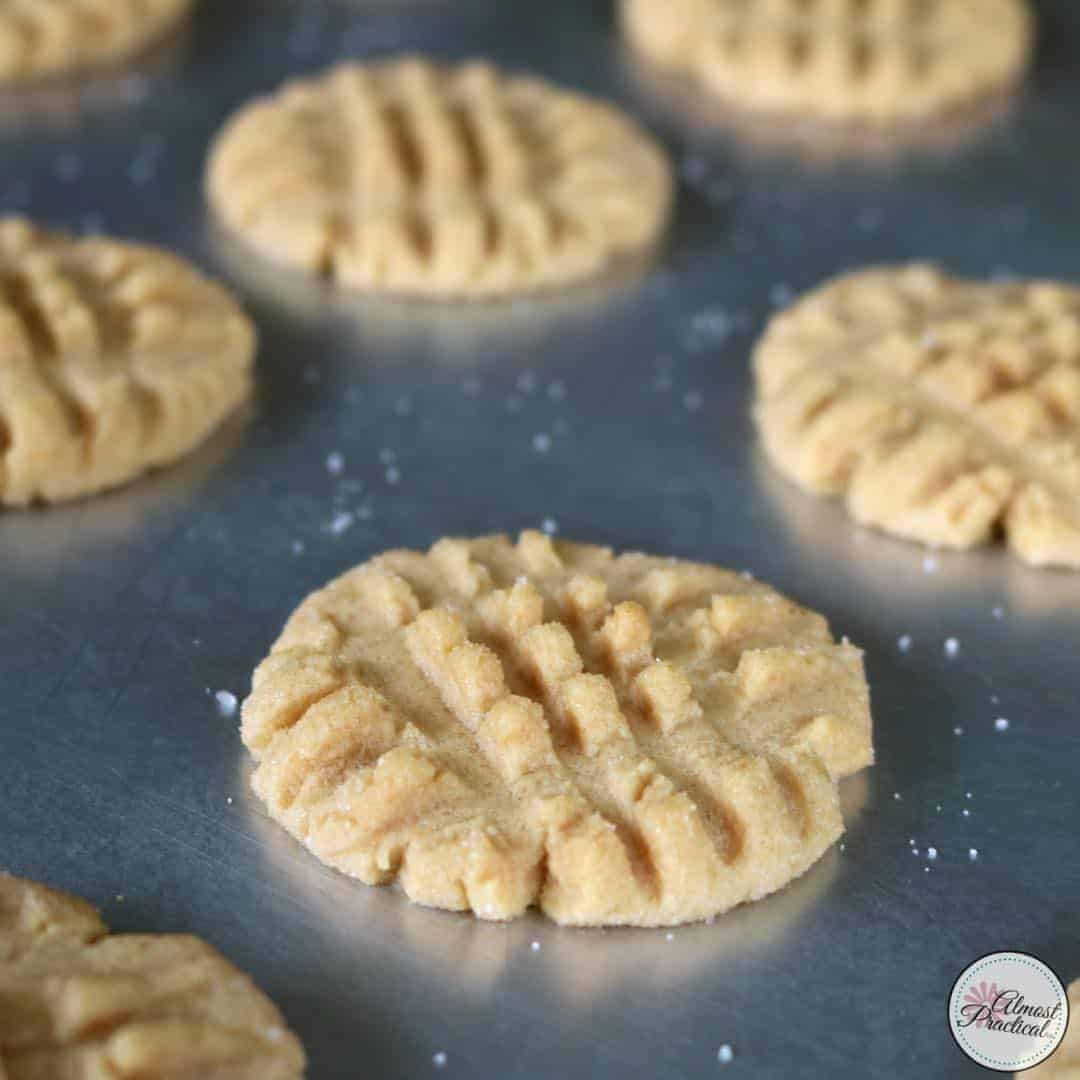
Place the dough balls on an ungreased cookie sheet about 2 inches apart. Then using the tines of a fork, flatten the dough balls by making the traditional criss cross pattern that you see on regular peanut butter cookies.
Bake in an oven that is preheated to 375º for about 8 minutes.
This is very important – when you take the cookies out of the oven, let them cool on the baking sheet for about a minute before you transfer them to a cooling rack.
When the soynut butter cookies are super hot – they are very brittle, and they will tend to fall apart if you transfer them too early.
So, let them cool on the baking sheet for a minute before you move them.
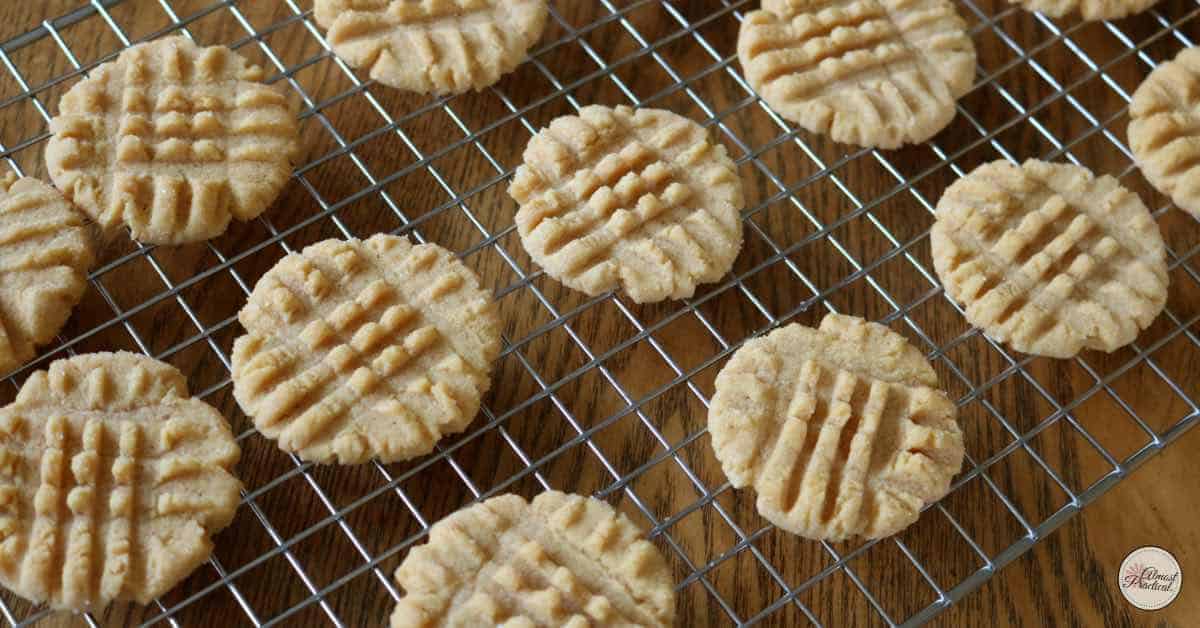
Cool completely on a wire cooling rack and store in an airtight container.
Just a Note
For this soynut butter cookie recipe, I used the creamy, peanut free Wowbutter brand of soynut butter which is the only kind that I can find in my local supermarket (thank goodness we like it ;-)). The consistency is very thick and creamy.
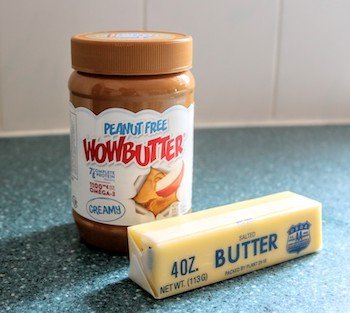
I am just pointing this out because the consistency of every brand of soynut butters, or even regular nut butters for that matter, is very different. Just look at this comparison of Jif Regular peanut butter vs. Jif Whips and you will see what I mean.
Print This Soynut Butter Cookie Recipe
Soynut Butter Cookie Recipe
Ingredients
- 1/2 cup salted butter, softened
- 1/2 cup creamy soynut butter
- 1/2 cup granulated sugar
- 1/2 cup packed light brown sugar
- 1/2 teaspoon baking soda
- 1/2 teaspoon baking powder
- 1 egg
- 1/2 teaspoon vanilla
- 1 1/4 cup flour
- 1/4 teaspoon salt
- 1/3 cup granulated sugar in small bowl, for rolling
Instructions
- Preheat the oven to 375ºF.
- Cream the butter and the soynut butter together in a mixer on high speed until well combined and creamy.
- Toss in 1/2 cup granulated sugar the brown sugar, and beat on medium speed until combined.
- Add the egg and the vanilla and continue to beat on medium speed until combined.
- In a medium mixing bowl, combine the flour, baking soda, baking powder, and the salt.
- Add the dry ingredients into the butter mixture and beat on low speed until combined.
- Roll the dough into 1 inch balls.
- Roll the dough balls in the small bowl of granulated sugar to coat them with sugar on the outside.
- Put the sugar coated dough balls about 2 inches apart on an ungreased cookie sheet.
- Using the tines of a fork, flatten the round dough balls by making a criss cross pattern. (Like what you see on traditional peanut butter cookies.)
- Bake the cookies for 8 minutes.
- Important: let the cookies cool on the cookie sheet for about a minute before you transfer them to a wire cooling rack. The cookies are very brittle when hot and will fall apart if you move them too early.
- After a minute, transfer the cookies to a wire cooling rack and cool completely.
Nutrition Information:
Yield: 20 Serving Size: 1Amount Per Serving: Calories: 162Total Fat: 8gSaturated Fat: 4gTrans Fat: 0gUnsaturated Fat: 4gCholesterol: 22mgSodium: 132mgCarbohydrates: 21gFiber: 1gSugar: 14gProtein: 2g
Occasionally, you will find nutrition information provided with recipes on AlmostPractical.com - this information is created from online calculators and is an ESTIMATE only. I am not a nutritionist or registered dietician. Nutritional information can vary depending on the brands and the actual ingredients that you use. By using this site and it's contents, you agree to hold harmless AlmostPractical.com and its owners for any loss or damage you incur that results from your use of the nutritional information provided by this site.
Other Cookie Recipes You Might Like
What are Some Ways You Manage Peanut Allergies?
If you or someone in your family has a peanut allergy – share your tips for managing it and keeping safe in the comments below.


Thanks for sharing this recipe! My kids have food allergies (we’re milk, egg, peanut, and tree nut free in our house), so I’ll try this recipe with applesauce instead of the egg. I’ll let you know how it goes! I’m excited to try it!
Hi Alison,
Multiple food allergies are definitely a challenge – I’ve been there. You probably know about the Ener-G Egg Replacer powder, but if not – I know I have had good results using that in the past (but I recall using more than the amount stated on the package).
I hope you like the recipe – let me know how it turns out. 🙂