How to Cover a Bulletin Board With Fabric
This post may contain affiliate links which means I make a commission if you shop through my links.
Disclosure Policy
In an effort to make my home office and craft room space just a little prettier, I decided to try my hand at covering an old bulletin board with fabric. This is how I did it.
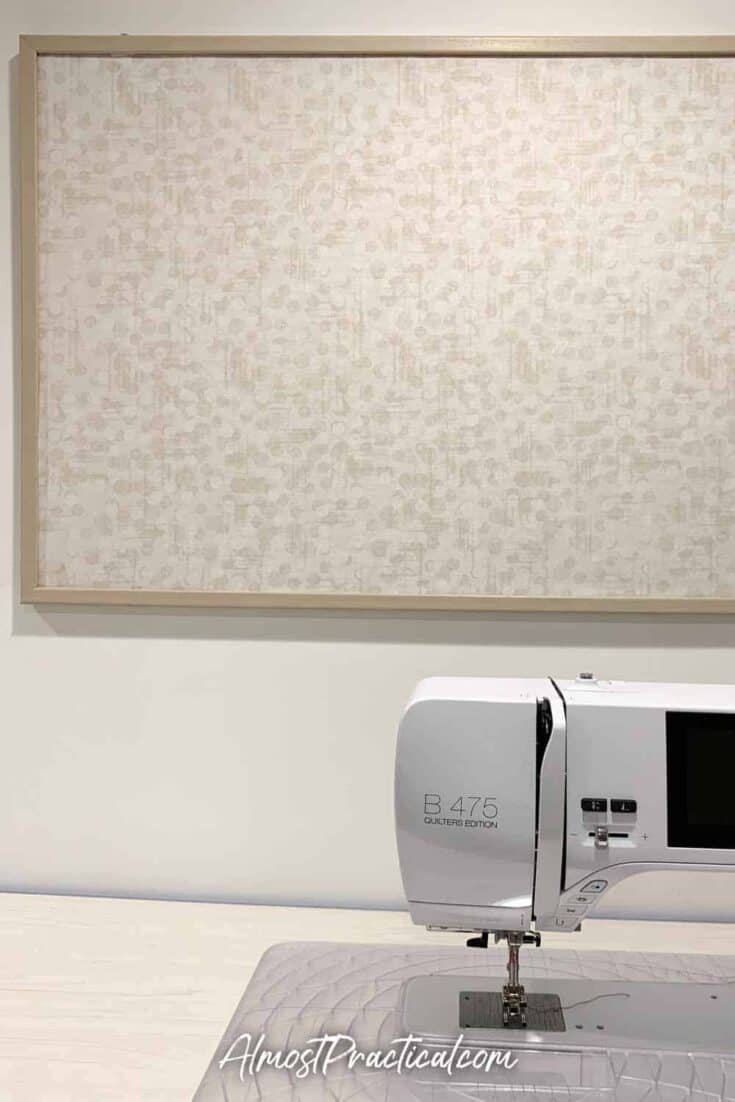
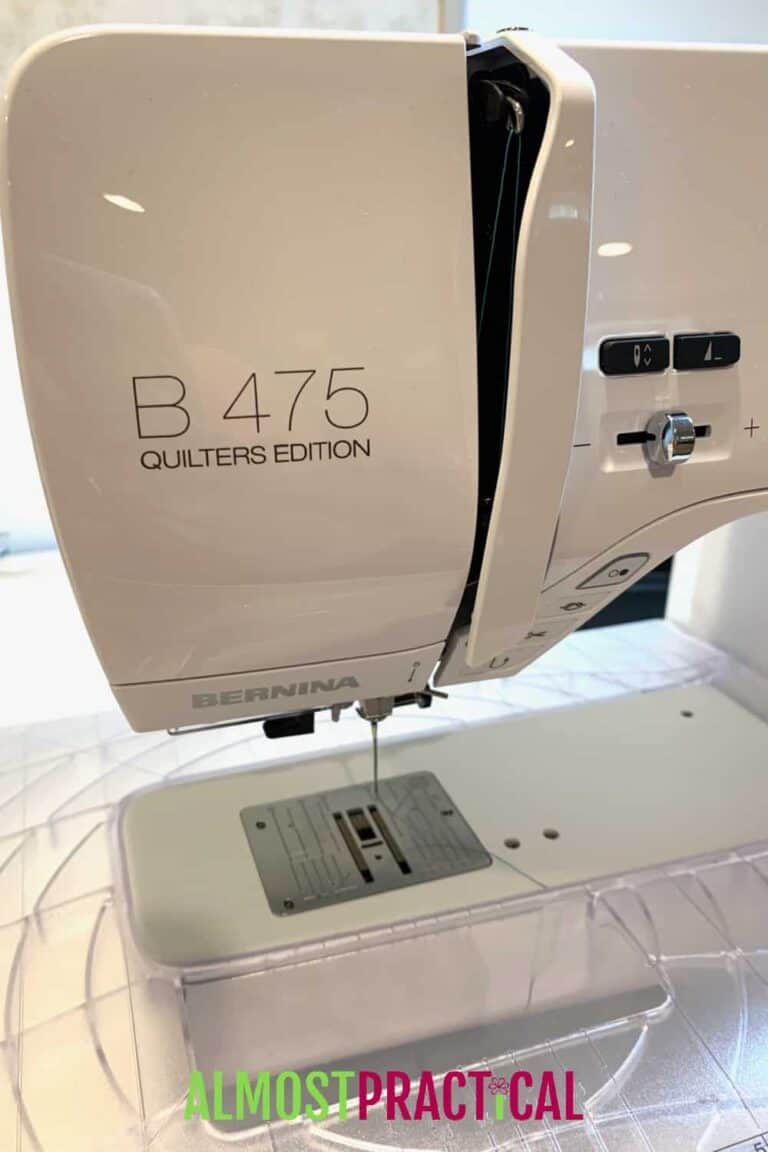
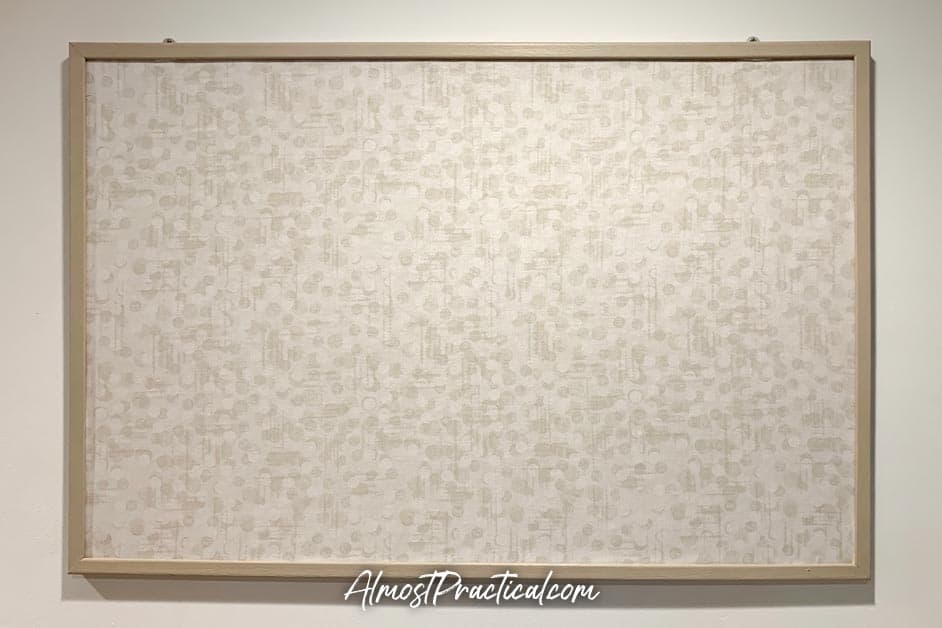
{I hung my finished fabric covered bulletin board above my craft area. My Bernina 475 QE is a sewing beast – I am enjoying learning about all the things it can do.}
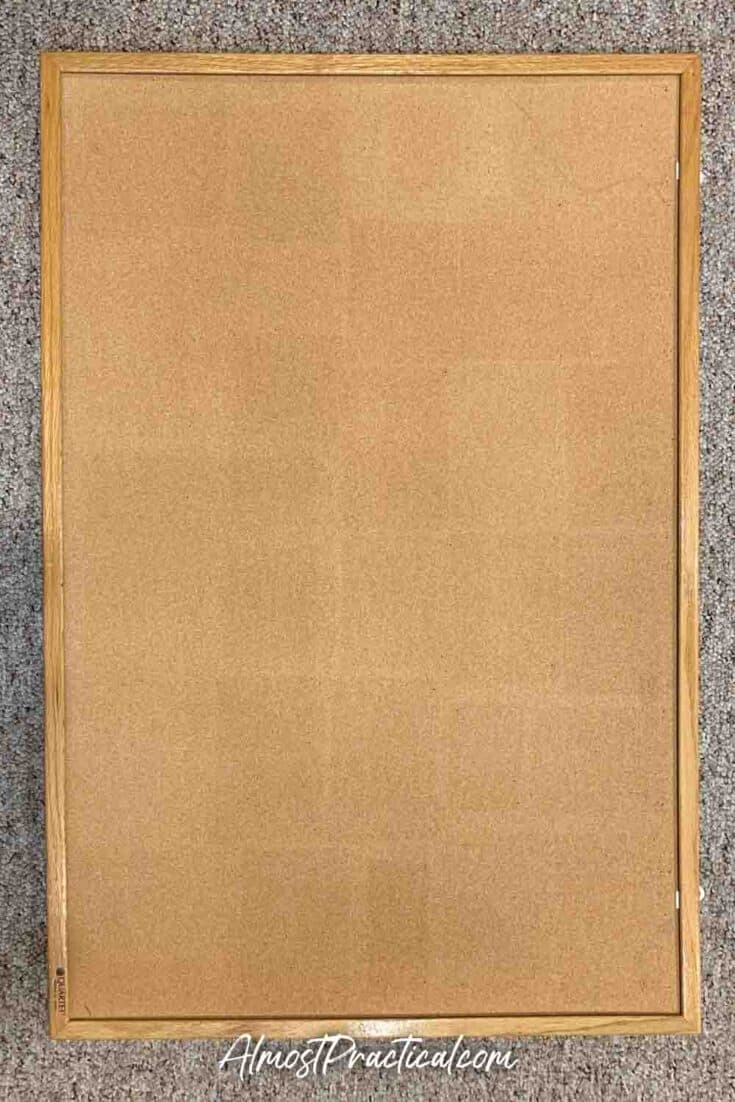
My bulletin board had definitely seen better days – it was basically an eyesore.
So, even though I had never attempted a project like this before, I figured it was worth a try.
What You Will Need for This Project
This is what you will need to cover a bulletin board that is similar to the one that I have.
I chose to tuck the edges of my fabric into the frame, and NOT wrap it over the frame.
This makes a BIG difference in the amount of fabric that you will need, so make sure that you want to finish your board in a similar manner.
- a wooden framed bulletin board similar to the one that I have (make sure there is a gap between the cork and the frame where you can tuck in the fabric)
- loosely woven but sturdy fabric in a neutral design (I used this one) that is about one inch bigger on all sides, than the board itself
- coordinating acrylic paint to paint the frame (I used a khaki color combined with a drop of black and some white to get a taupe shade that would match the fabric)
- general purpose spray adhesive
- a Cricut spatula, flat butter knife, or flat screwdriver to tuck in the edges of the fabric
- large self healing cutting mat
- rotary cutter
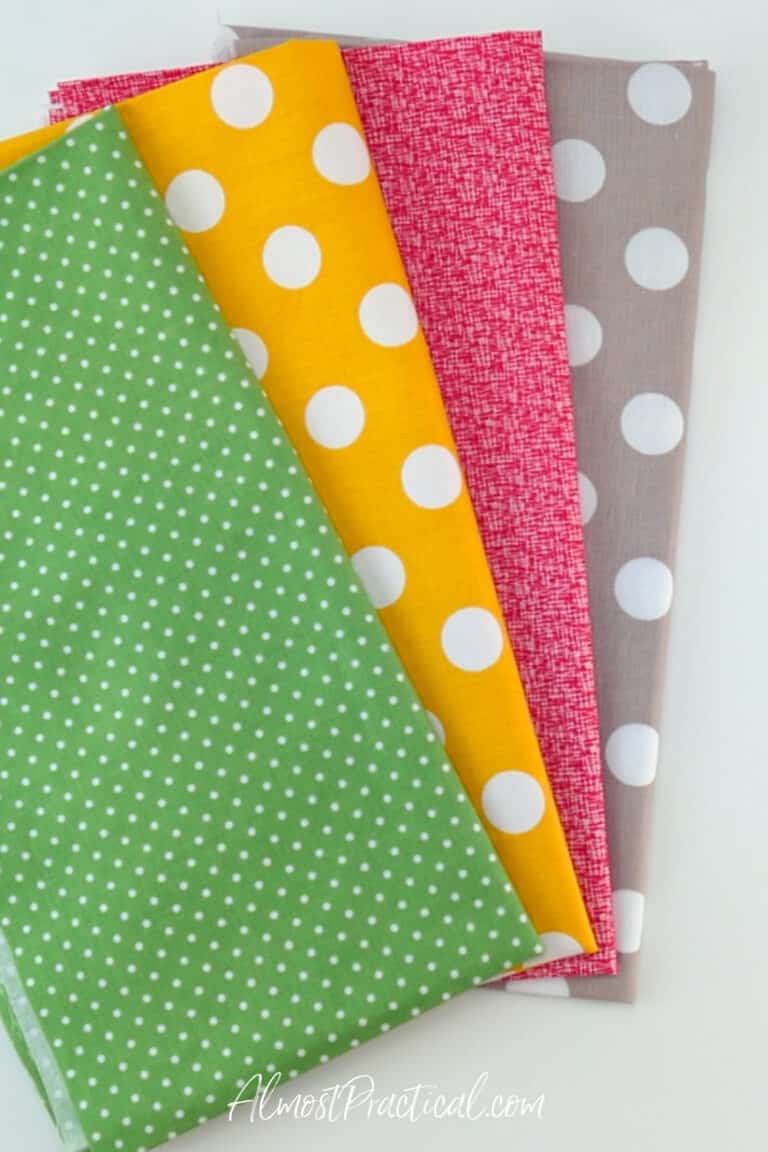
Choosing the Fabric
My first step was to find a fabric that would work.

I wanted something neutral and not too busy.
When it comes to bulletin boards, you want the focus of your attention to be on the things that you pin to it and NOT to the board itself.
So, I did not want the fabric that I chose to compete for my attention.
As for the type of fabric, I decided to go with a quilting cotton primarily because that was the easiest thing for me to find. If I had to do it again, I would probably go with a linen or an aida.
If you can believe it, there are no large fabric or craft stores that carry fabric where I live, but there is a small quilting boutique close by – so I went there.
You probably want to look for something that has a looser weave and that won’t snag when you put push pins through it.
Good options are:
Another thing to consider is the cost of the fabric.
If this is your first time covering a bulletin board, then you might want to pick something cheaper, in case you mess up.
The thing is, a bulletin board has a pretty large surface and you will need a good sized piece of fabric to cover the whole thing.
Painting the Frame
Once you have chosen your fabric, you can paint the frame of the bulletin board to match.
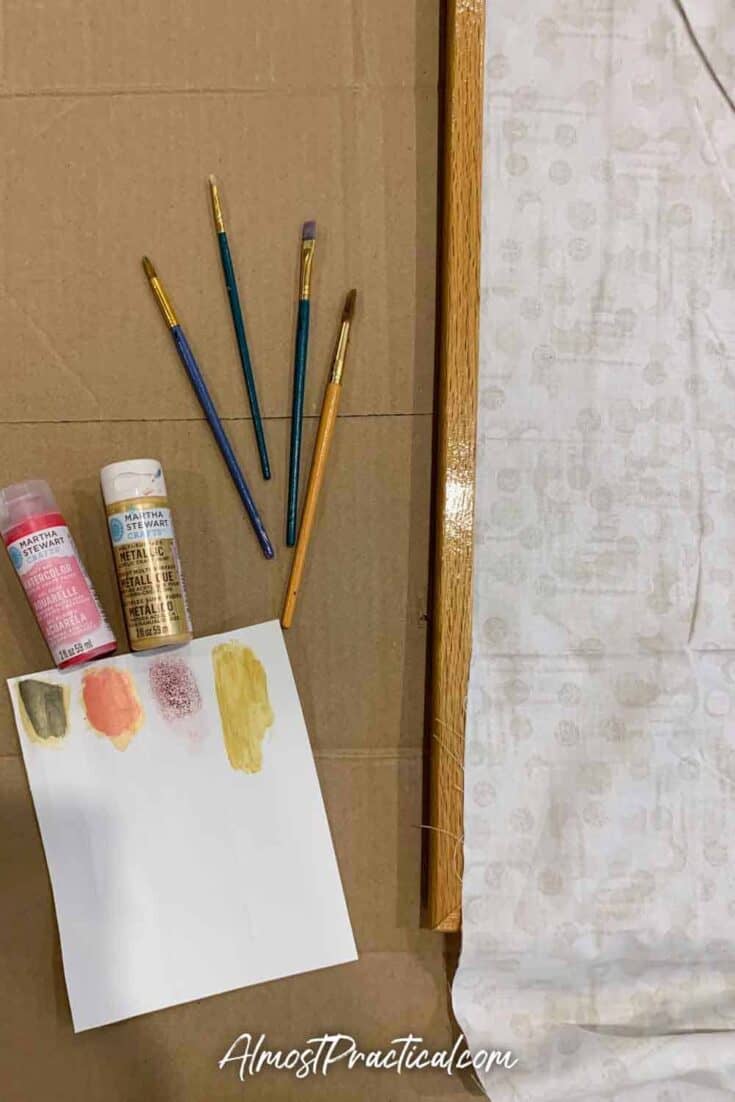
I wasted a little time here by trying to make do with the stash of paints that I had at home.
Nothing really matched, so I attempted using a pink color with a second coat of gold.
Not a good idea.
I ended up heading to Michael’s and picking up some acrylic paint in khaki and then mixing in a drop of black and some white to create a taupe color that matched the fabric.
It is far better to paint the frame before you apply the fabric, trust me. You don’t want to risk getting any paint on the fabric.
You will see from my photos that I put the fabric on after I painted the frame with the pink and gold paint.
But since I didn’t like the look, I had to repaint the frame with the fabric already on. This took me a long time because I had to be so careful.
Cut and Iron the Fabric
Now measure the surface area of your bulletin board.
Using a rotary cutter and a large mat, cut your fabric to be one inch bigger on all sides.
If you are unsure of what you need, you can cut it bigger and trim it back as needed.
But if you cut the fabric too small, you can’t make it bigger – so take careful measurements!
After you cut your fabric, take the time to iron all the wrinkles out completely.
Don’t skip this step because any wrinkles will show up on your board.
Spray the All Purpose Adhesive
Lightly spray the WRONG side of the fabric with the all purpose spray adhesive.
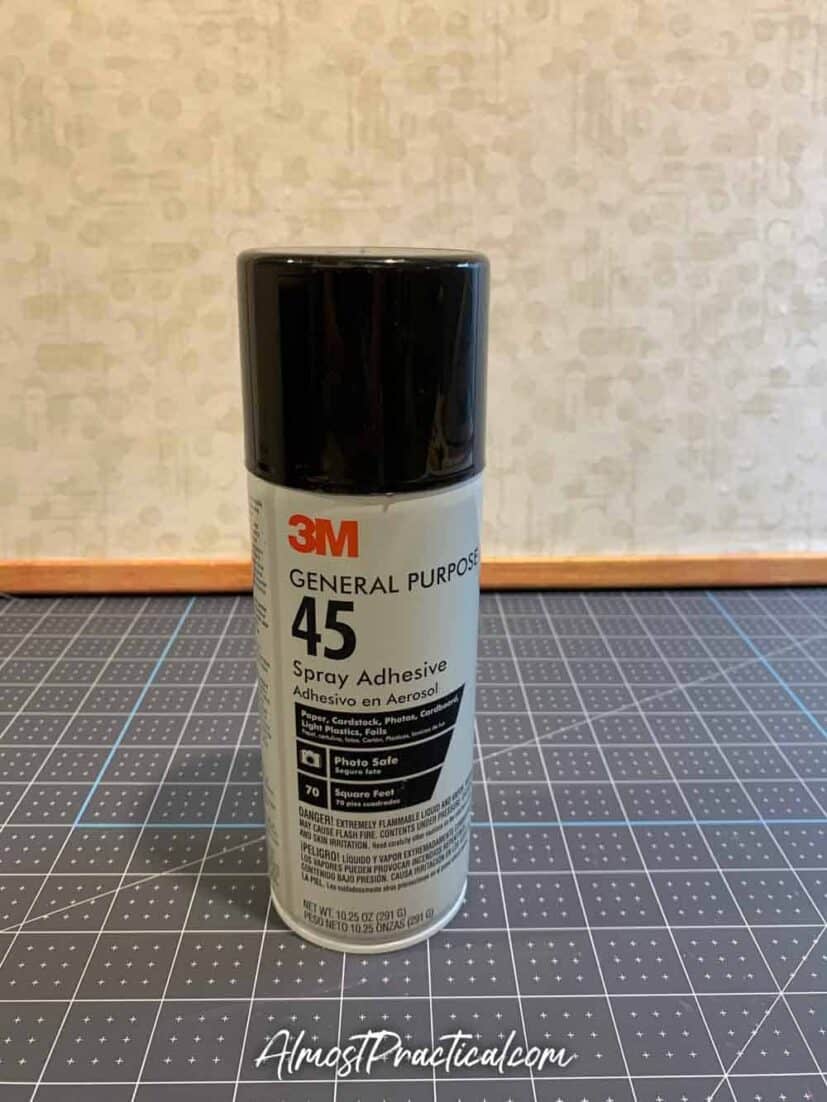
Work quickly and in a well ventilated area.
Turn the fabric over and carefully center and smooth it onto the bulletin board before the adhesive dries.
You should have one inch of excess fabric around the whole board.
Tuck in the Fabric Edges
Using your Cricut Spatula or other flat tool, completely push the raw edges of the fabric in between the frame and the cork board.
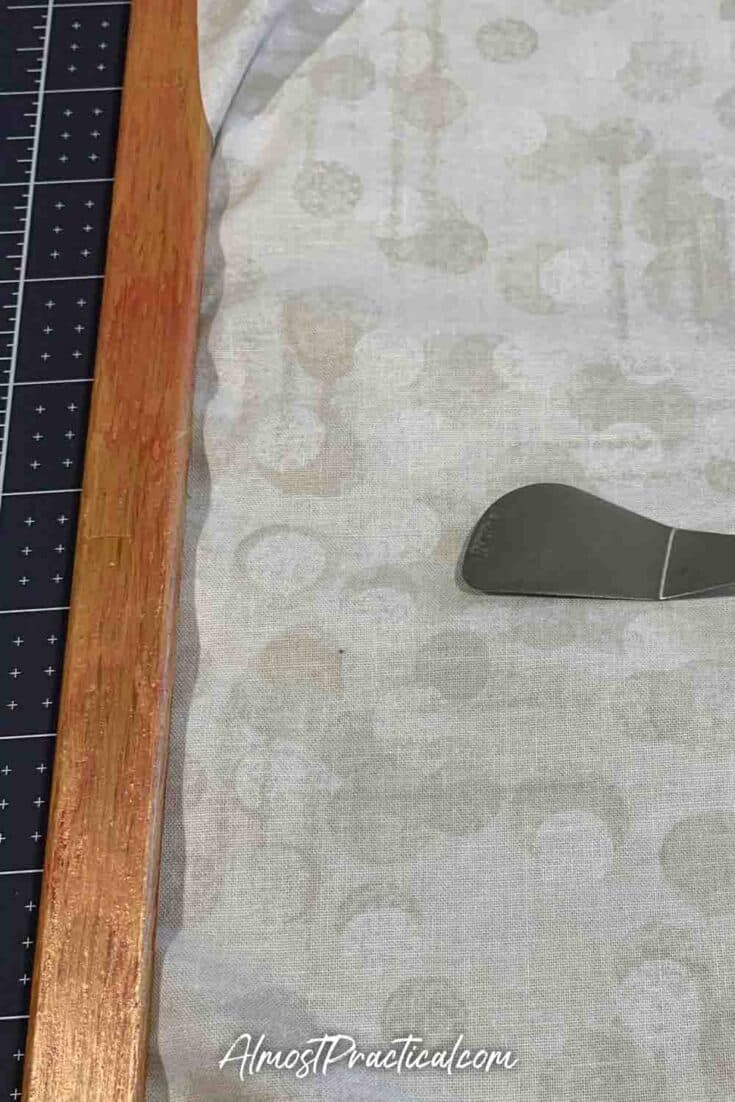
{ I snapped this photo BEFORE I used the spray adhesive to tack down the fabric. I wanted to test how easy – or difficult – it would be to tuck the fabric into the frame. You might want to do this as well, so you can work quickly when the adhesive is applied. }
I was surprised at how easily my fabric fit underneath the frame.
Keep in mind that I was using a light weight quilting cotton, so if you have a thicker fabric you may have to finagle the fabric a bit.
Hang Up Your Beautiful New Bulletin Board
That’s all there is to it – now hang up your beautiful fabric covered bulletin board and enjoy!
More Options
If you are not up to creating a bulletin board DIY then there are so many beautiful ready made options that you can choose from.
Here is a small selection:
[show_boutique_widget id=”968624″]