How to Use the Erin Condren Academic Planner
This post may contain affiliate links which means I make a commission if you shop through my links.
Disclosure Policy

It’s time for back to school, so today I want to show you how to use the Erin Condren Academic Planner.
There are so many different ways that you can use this planner but I’m going to outline one way that seems to make a lot of sense to me.
Two Planner Versions
Before we get started I just want to point out that this year there are two options when it comes to the Erin Condren Academic Planner.
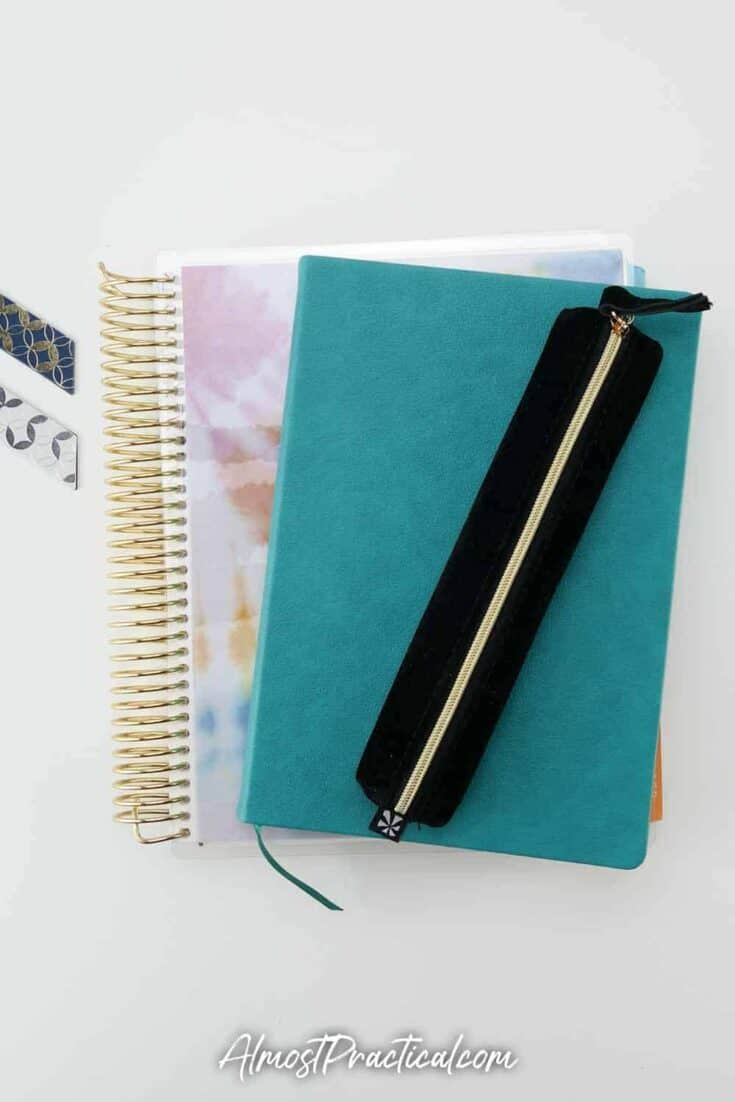
You can get the coiled version or the Softbound book.
Both versions are laid out very similarly – with the main exception being that the coiled version has three columns in the daily section, but the southbound version has two columns.
Also there are more notes type pages in the coiled version versus the southbound version.
Today I am going to show you my method of using this planner in the coiled version but you can certainly adapt it to the southbound.
If you want to see more details about both you can read my Erin Condren Academic Planner review here.
So, let’s dig in!
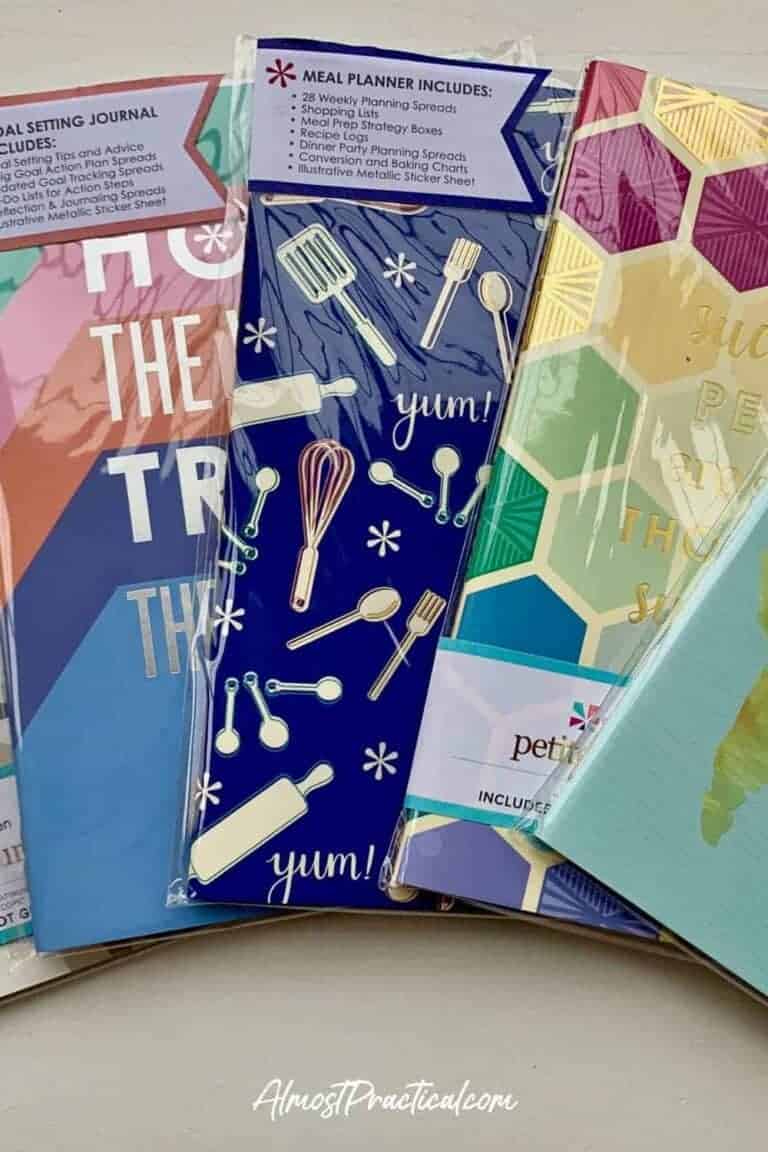
{ Did you know that there is also a Spanish version of the Erin Condren Academic Planner? }
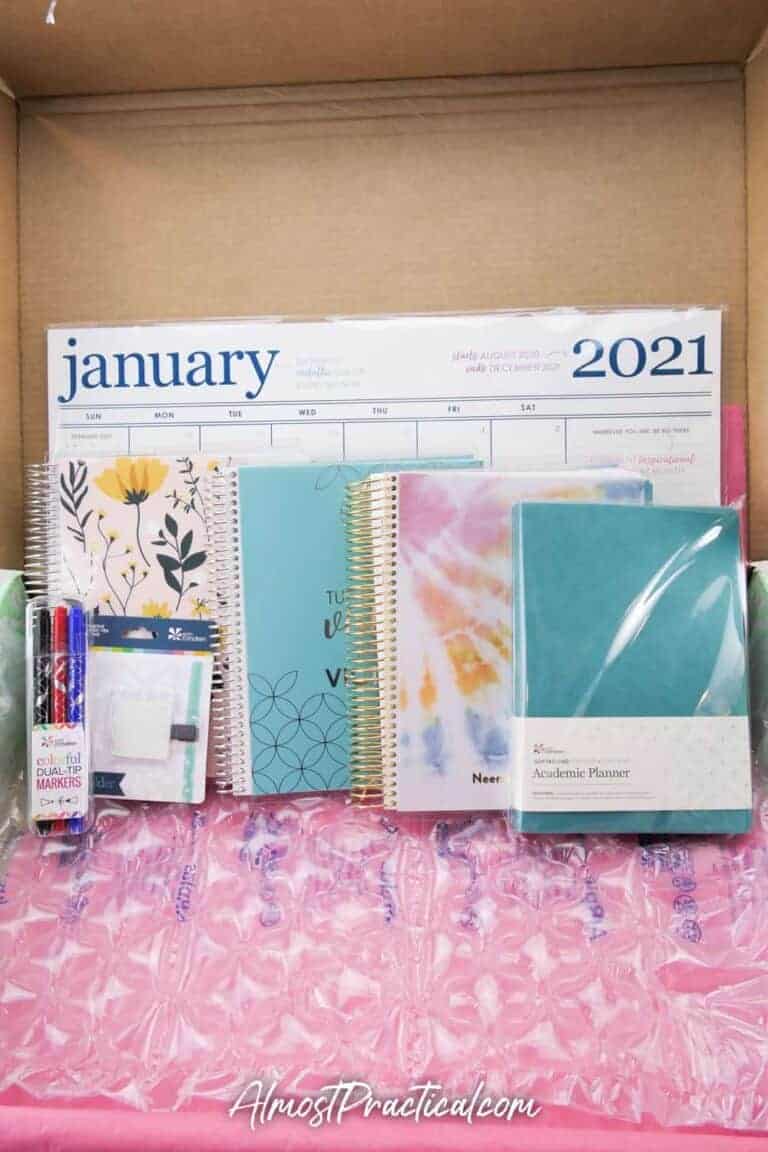
What You Will Need
What you will need to get started is an Erin Condren Academic Planner and a set of colored pens or markers.
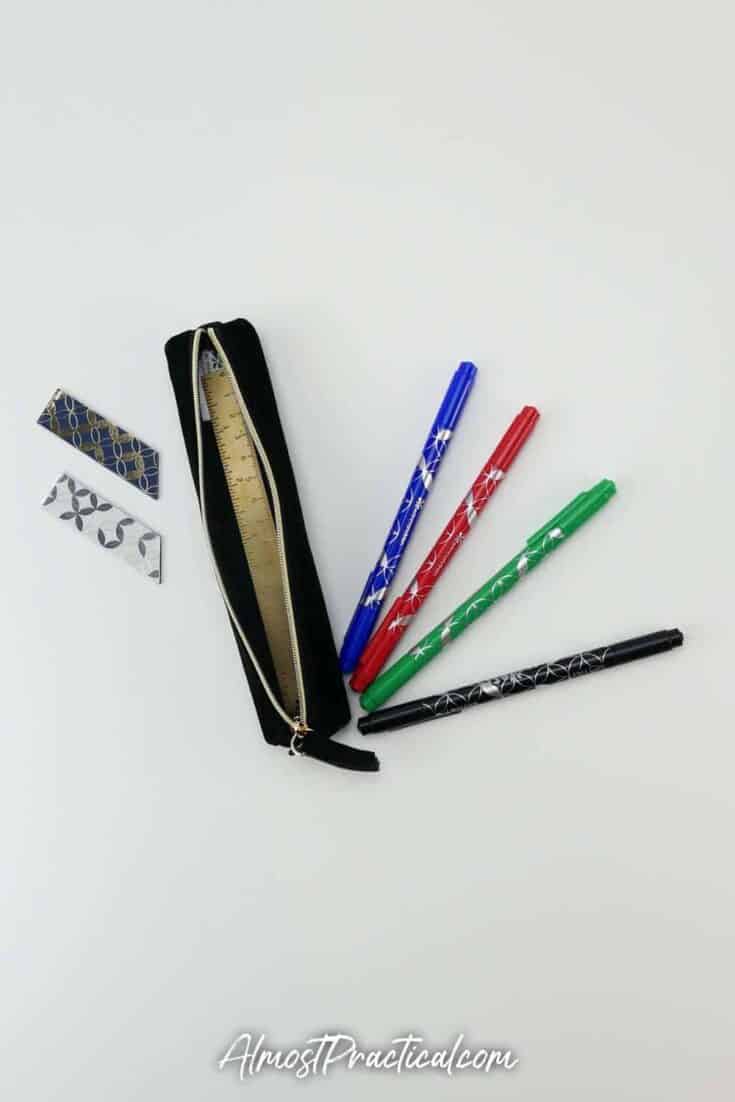
I use the Erin Condren Dual Tip markers and I try to use colors that are readily available.
So I’m using red, blue, and green for this walk through.
The reason that you want readily available colors is if your Erin Condren markers are not right at your fingertips when you need to write something down you want to be able to grab a pen in a similar shade so that you can keep up with this method.
Watch the Process
How This Method Works
When you open the academic planner the very first tab is called schedule.
This is where you write in your class schedule (obviously 🙂 ).
Your Class Schedule Is Your Color Key
There’s a place at the top of the page to write in the times but more importantly the second half of the page has a place for the course name, teacher, location, etc.
What you should do here – and this is very important – is write each one of your courses down in a different color.
For example, let’s say you are taking 3 classes: math, science, and English.
Assign a color marker to each class and write the name of the class on your class schedule in that color.
I will use red for Math, green for science, and blue for English.
What you have just done is pretty much set up a color key – sort of like what you would have with a map.
You will notice that I did not use a black pen for my color key.
This is because I do most of my writing with a black pen.
The purpose of using different colors for my classes is to make sure that the colors pop out at me when I am reviewing my planner.
Since most of my general writing is in black, I want to use more colorful hues for my classes.
Carry the Colors Through Your Planner
In the Erin Condren Academic Planner the next section that you come to is the monthly section.
The first page at the tab is your two page monthly spread.
Anything that you write on this monthly spread that relates to a specific class, should be written in the color that you assigned to that class.
This way those items will pop out at you when you need them.
It also helps to keep a little cheat sheet with your class colors. An Erin Condren Dashboard is a a great way to keep your colors front and center.
After the monthly spread you come to your monthly goals and events. And then your projects and exams page.
Again when recording your projects and exams, make sure you use the correct color pen that coordinates with the subject.
How to Track Homework Assignments
After the projects and exams, you come to your weekly layouts.
In the coiled version of the Erin Condren academic planner, each day has three columns.
The first two columns don’t have any headings and the third column is a to-do list with a to-do heading.
So the layout is pretty flexible with how you want to use it.
The way that makes the most sense to me is this:
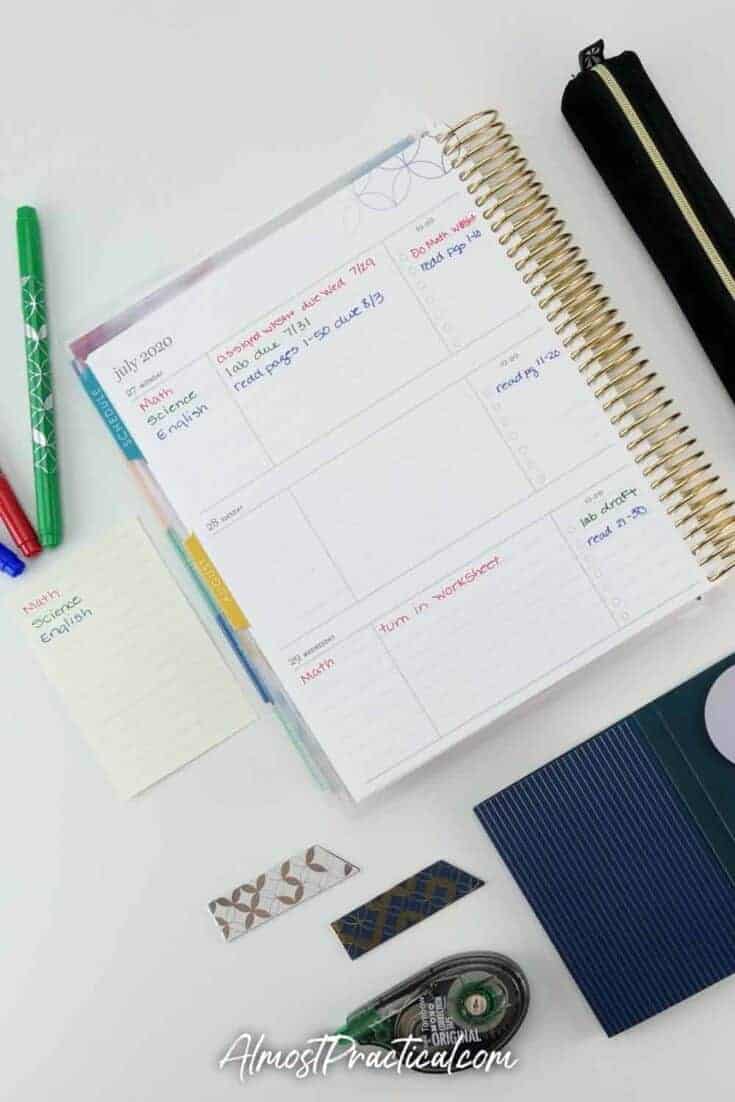
Let’s say it is Monday July 27th and you are in your math class. Your professor assigns you a math worksheet that is due on Wednesday.
In the entry for Monday July 27th, I would write math in the first column in red, which is the color that I assigned for the math class.
In the second column I would write “assigned worksheet due Wednesday 7/29”.
After my math class, I head to my science class.
My science professor assigns a lab that is due on Friday July 31st.
So on the Monday entry, I write down science in Green in the first column and in the second column I write lab due July 31st.
Finally, I go to my English class and my professor assigns a reading due next Monday. So I write in blue, English, in the first column and – read pages 1 through 50 due Monday August 3rd in the second column.
When my school day is finished I head home and pull out my planner.
Process Your Work Load
Now, it’s time to process my assignments, my deadlines, and the work that I have to do to complete the assignments.
The first thing that I want to do is plug in the deadlines onto my planner.
So on Wednesday, in the First Column I’ll write down Math. And I’ll write down turn in worksheet in the second column. Of course I will use my red pen which corresponds with the math class.
I will do the same thing for my science lab and my English reading that’s due next week.
Next I will figure out what I need to do each day in order to complete the project on time. For math I basically have the rest of Monday and Tuesday to complete the worksheet.
For science I have 4 days to complete the lab and for English I have the whole week plus the weekend to get that assignment complete.
At this point what I want to do is review any other things that I have going on in my life – maybe I have activities or a work schedule to juggle.
Create Your Daily To Do List
Once I get a handle on my time I can now create some to-do items to be able to get my assignments done.
Let’s say I’m busy on Tuesday. That leaves me Monday to finish the math worksheet.
So in the to do column for Monday I’m going to write down “do math worksheet” and I’ll use the red marker to record that in the third column.
For science, again I’m busy on Tuesday and I won’t have time on Monday, after completing the math worksheet, to work on science.
So, I need to divide up the steps needed to get the lab report done between Wednesday and Thursday, in order to be able to turn in the assignment on Friday.
In my planner on Wednesday in the to-do column, I might write down, in green for science, “create draft of lab report”, and then on Thursday I might write down, in the to do column in green, “review and finalize copy of lab report”.
For my English assignment – well maybe I have a practice of reading every night before I go to bed so if I have 50 pages to read before next Monday I could divide that into say 10 pages a night and easily have that assignment done by Monday.
I would simply write down in the to do section in blue
- “read pages 1 through 10” on Monday,
- “read pages 11 through 20” on Tuesday,
- “read pages 21 through 30” on Wednesday
- and so on and so forth until I have the assignment complete.
So, I hope you see the possibilities with how this method works.
In Summary
This is basically just one of the ways that you can use the Erin Condren Academic Planner to keep yourself accountable and on track.
Simply color code your classes and write your assignments down while in class.
After class, use your planner and write in the dates that the assignments are due.
Then evaluate the time you have available each night to get the assignments done.
Break each project into a series of actionable steps and add these steps to your To Do List columns on the days that you plan to get the work done.
I know my example is a bit simplified – but you get the idea.
Of course, I am sure that you will be using some type of online platform like Blackboard, etc. to grab your assignments and manage your work as well.
But I find that using a paper planner, goes a long way. It just helps to keep you more organized.
I hope this planning method helps you to boost your productivity and have a more successful school year.
Happy planning!