How to Organize Your Cable Clutter
This post may contain affiliate links which means I make a commission if you shop through my links.
Disclosure Policy

Here are some tips you can use to organize your cable clutter.
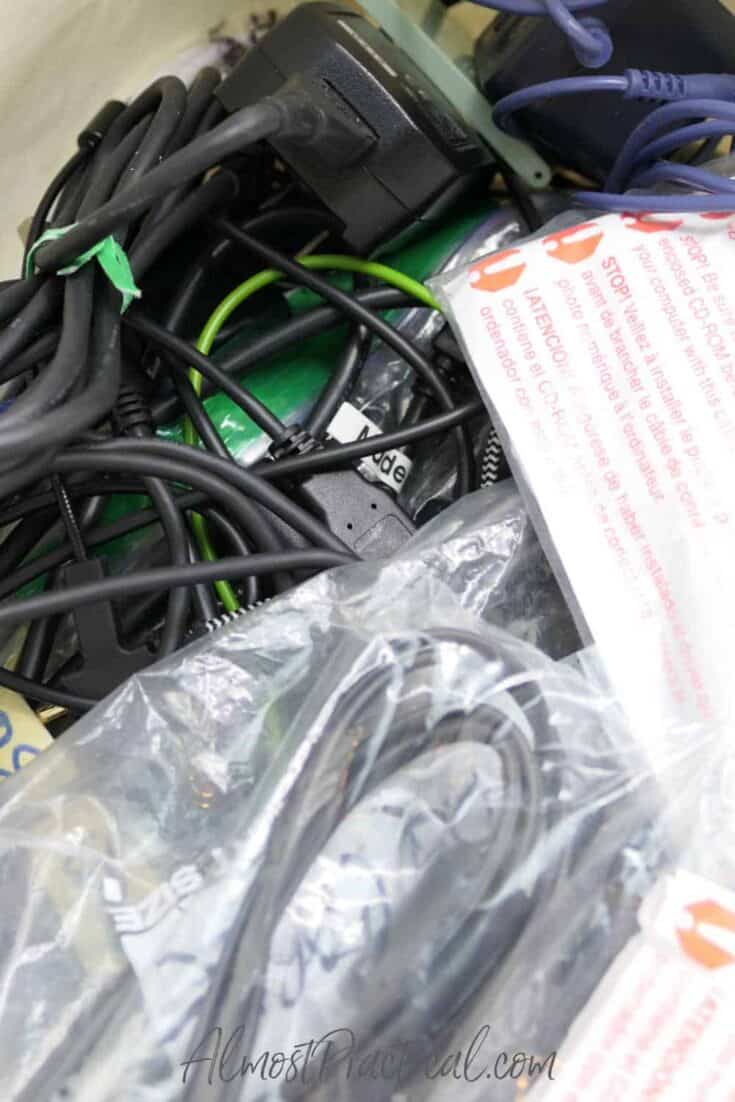
There is no shame in it – we all have that dreaded box or drawer full of tangled cables.
The things they belong to are probably long gone.
But since we have no idea where each cable came from and whether we still have the thing that it powers – we hesitate to get rid the cable in case we might need it.
Before we know it, those few cables have turned into an unscalable mountain.
I just spent the better part of a day going through my cable clutter and I have vowed NEVER to put myself in this position again.
What a waste of time!
To dig out from under, this is what you need to do:
- Develop a strategy,
- Gather your organizing tools,
- Group your cables by type or device,
- Decide what to keep and what to get rid of,
- Label what you are going to keep, and
- Keep up with it in the future.
Develop a Strategy
Force yourself to figure out a strategy before you dive into your box of cables.
This particular strategy worked for me and maybe you can use parts of it to work for you.
Two Cable Storage Places
I decided that I would use two primary places to store cables.
The ones I use the most would reside in the bottom drawer in my desk area (organized neatly, of course).
Other cables, that I might need – a few extras of what I kept in my bottom desk drawer and cables that came with electronics that I still own, for example – would stay in a bigger box in the storage area of my basement.
Identify All Cables
I also made it a point to identify all cables that I decided to keep AND LABEL THEM.
This way I had no “mystery” cables lying around that I may never use.
Donate Unwanted Cables
Unwanted cables are the things that belong to electronics I no longer have and also “extra” cables.
Extra cables is key!
I probably had something like 50 USB cables in my tangled box. All of them were pretty good. And an extra USB cable can certainly be useful.
But did I really need 50 of them?
If I could pare them down to 20 I would still be ahead of the game, right?
So, my plan was to get rid of multiple duplicate cables and just hang on to a few in each category.
Create a Plan for Future Cables
Keeping your cables organized also involves having a plan for new stuff that you haven’t purchased yet.
My plan is to label any cables that come in the door with new electronics. This way I know what the cable belongs to and where to find it when I need it.
Organizing Tools You Will Need
To put this strategy into place I needed a few tools before I sat down to organize.
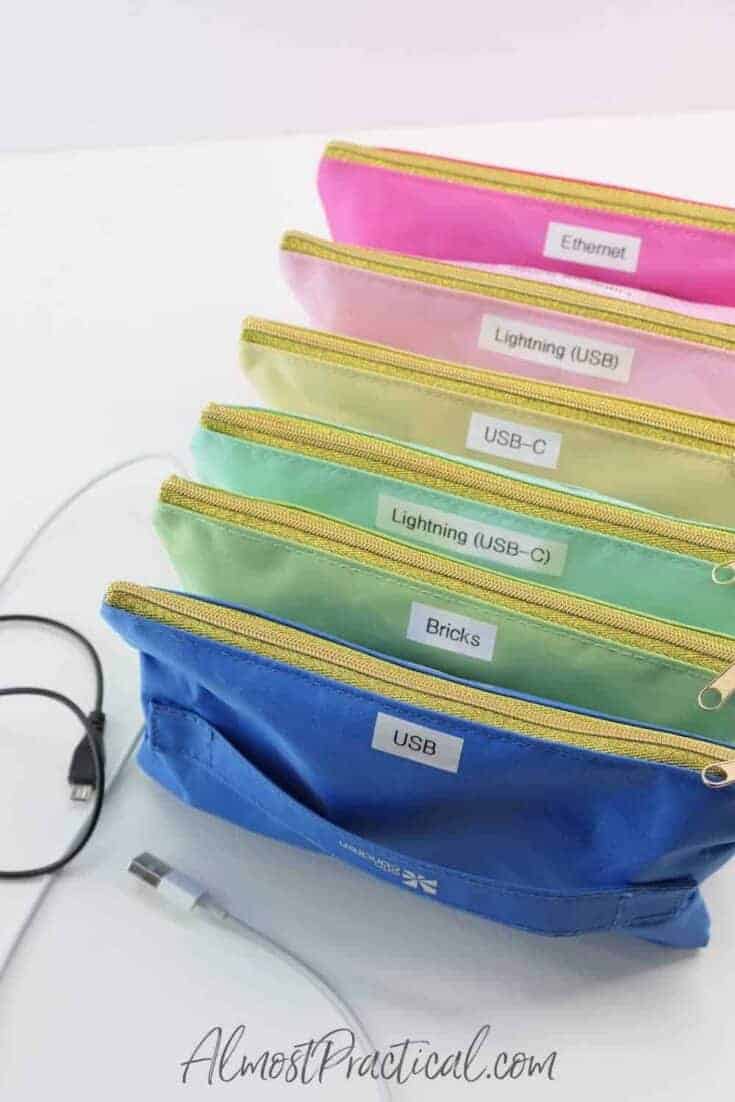
Accordion Pouch
This accordion pouch was AMAZING for organizing the cables in my desk drawer. (you can read my detailed review of the accordion pouch here).
Because the pouches are all connected – they stand up nicely in the drawer and don’t flop around the way using separate pouches or plastic bags do.
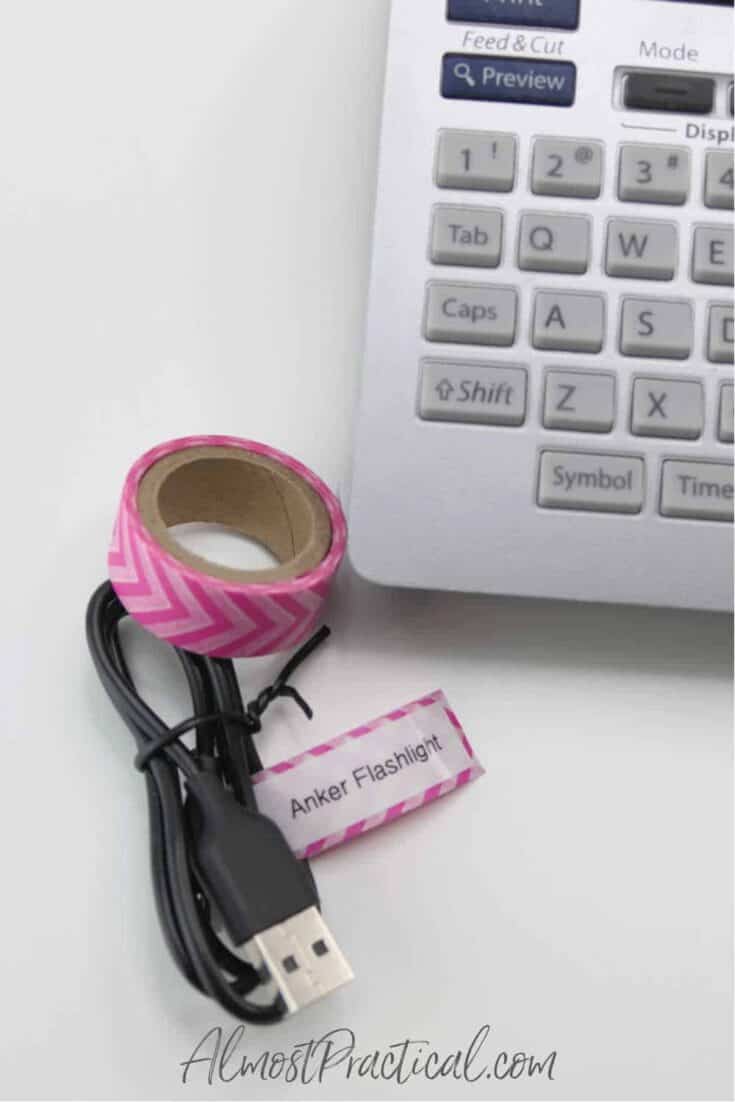
Label Machine
I used a labeler a LOT during this cable organizing project.
I put labels on top of each pouch in the accordion pouch. Since I keep this collection in my bottom desk drawer, I can read the labels easily as I look down upon them.
I also used a printed label combined with some wide washi tape to create labels for individual cords.
Zip Style Plastic Bags
For the box of cables that I store in the basement, I used gallon and quart sized ZipLoc storage bags.
These were handy for grouping similar cables and keeping cables together that came with a specific device.
Black Sharpie Marker
A black Sharpie marker is great for writing on the plastic bags to identify the contents.
Also, if you don’t have a label maker, then you could use masking tape and a Sharpie instead. It’s not as neat looking, but it gets the job done.
Now you are ready to get down to business.
Collect ALL Your Cables
Your first step is to gather ALL your cables. Search every nook and cranny in your home and bring everything into one place.
You can spread out on the floor or on your kitchen table – but make sure you have plenty of space to work.
It’s also a good idea to have a computer or mobile device handy.
If you cannot identify a cable do a Google search right then and there to do some detective work.
Use any type of marks, part numbers, serial numbers, etc to try and find out what device the cable belongs to or what type of cable it is.
Group Your Cables By Type or Device
Now it’s time to create piles.
Your piles should be by type of cable or by device.
You will need a discard pile and a “I’m not sure what this is” pile as well.
For USB cables – I created several different piles – because USB comes in different types. This USB Type Guide was very helpful to me.
I had piles for:
- USB printer cables (USB Type B),
- Micro USB cables,
- Mini USB cables, and
- USB C cables
It is important to store each of these types separately, so when you need a particular type, you won’t need to search through a jumble of different USB cables to find the end that you are looking for.
That is the whole point of this exercise, right?
Make Your Discard Pile
As you come across cables that you don’t need put them in your discard pile.
Most Best Buy stores, your municipal waste station, and even some Goodwill Stores will take your old cables and recycle them.
You can use the Earth 911 website to locate a place near you.
Label The Keepers
Make sure to label the cables that you plan to keep.
You don’t have to go into a ton of detail here – use your time wisely.
For example, for the USB cables I mentioned above – I just created a plastic bag to hold each type and labeled the plastic bag.
Another example, our TV came with a lot of little cables to attach different types of devices to the television. I put all of the things that came with the TV into one big gallon sized bag and labeled it with the TV brand and model number.
This way, when we replace the TV one day – I can just get rid of the bag along with it.
Follow Your Strategy Going Forward
Create labels for the cords that come with any new devices and for cords that you are currently using.
You should also label your charging bricks.
A bonus is that other family members won’t be able to easily make off with your phone charger when you need it.
It’s Worth It!
Take it from me – cleaning out your cable clutter is so worth it!
You may procrastinate and actually sorting through it all is agony – but when it is all organized your home and your spirit will feel lighter.
Remember it is just a few steps.
Make a plan, gather your supplies, group your cables, be decisive and get rid of what you don’t need, label everything you keep, and stick with it in the future.
Happy organizing!
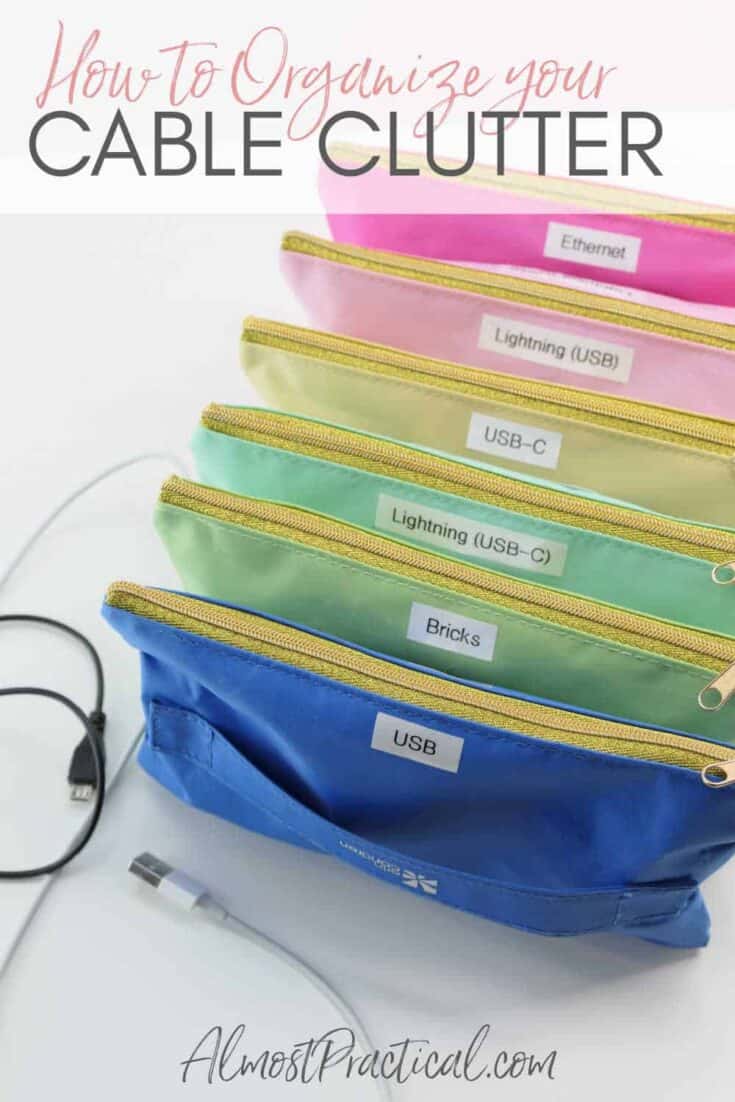
Pin This Image


This is brilliant! With this system, sorting out the cables wouldn’t be such a frequent task!
Hi Janet,
Thank you! This was one task that I avoided for a long time – but now that it is done and I have a system, I am so happy!