Organize Your Evernote With Notebook Stacks
This post may contain affiliate links which means I make a commission if you shop through my links.
Disclosure Policy

As you know by now, Evernote is one of my go to note taking apps. It really helps to keep me organized. One feature that I love inside this app is Notebook Stacks.
Evernote is full of useful features. But most people, myself included, only use a fraction of the capabilities.
We fall into a kind of rut.
We learn enough to get by, and then we stop taking the time to learn more.
Most people will find that Evernote Personal is a perfect choice for their note taking needs.
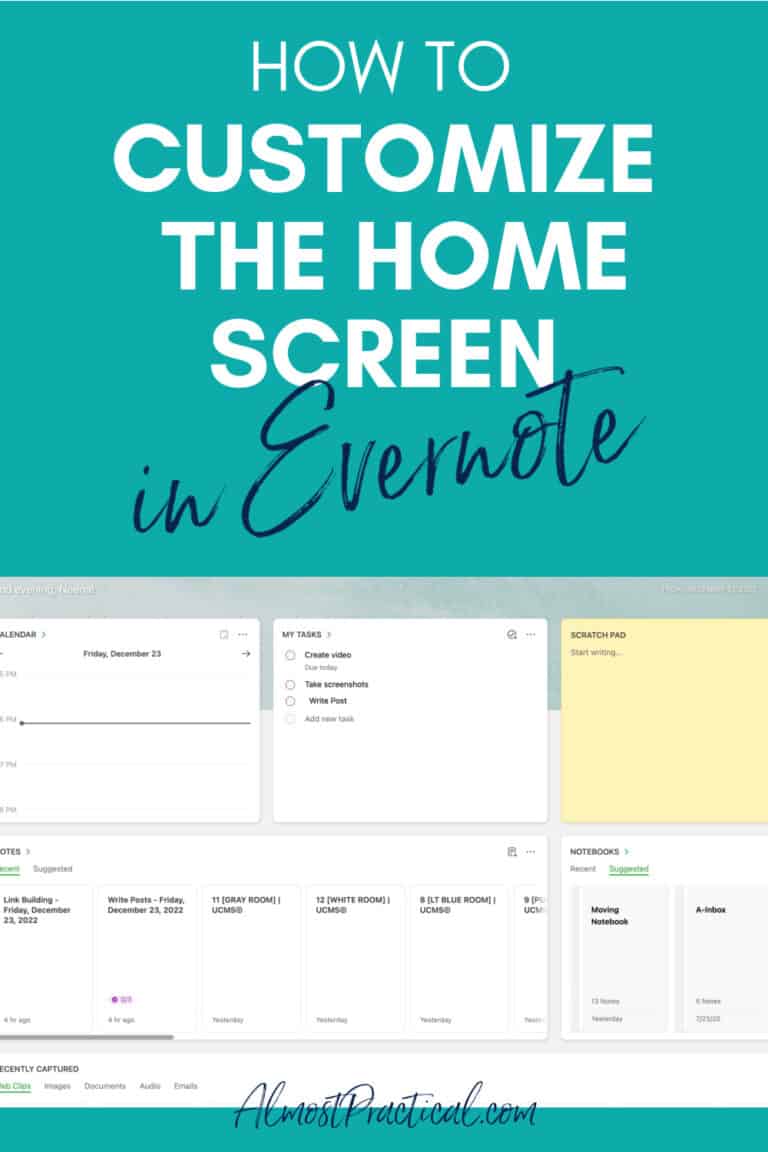
- Customize Your Home Dashboard with Widgets
- Link Notes to Your Google Calendar
- Mark Up Images and PDFs
- Save Your Searches
- Create Customized Templates
- Sync Your Notes Across All Your Devices
So, for my benefit as much as yours, I am picking this app apart and writing about everything that it can do. You can see the full list of the Evernote Tutorials on this site here.
Today’s highlighted feature are Evernote Notebook Stacks.
This is a way to organize the many notebooks that you end up creating in Evernote.
What Are Evernote Notebook Stacks?
Inside of Evernote, you use Notebooks to organize your Notes.
And you use Notebook Stacks to organize your Notebooks.
Basically, think of a “stack” as a folder. Inside this folder you keep a collection of similar notebooks.
For example, I have a notebook stack called “Kids”.
This stack is made up of 5 notebooks – one for each of my four kids, and another one called School for notes that are common to all.
When you go into the Notebook view in the Evernote app – either on your computer or mobile device – the title of the Stack appears in the lefthand column with 3 horizontal lines next to it. These lines are representative of a stack.
Underneath the stack title is the list of notebooks in the stack.
You can expand and collapse the stack by clicking on the little arrow next to the name of the stack.
How to Create Stacks in Evernote
Creating a notebook stack in Evernote is easy.
This is how you do it in the Evernote App for Mac. I would imagine the process is similar on the app for PC or web as well.
Using the Mac app you simply control click or right click (learn how to set up the right click on a Mac here) on a notebook that you want to add to a Stack.
A menu will pop up and you should choose the “Add to Stack” option.
From here another menu will open that allows you to choose from your existing stacks or create a new stack.
If you choose to “New Stack” another pop up will appear where you name the Stack.
You only need one notebook to create a Stack.

How to Add Notebooks to a Stack In Evernote
To add additional notebooks to your stack, repeat the above process but choose an existing stack for your notebook.
How to Remove a Notebook from a Stack in Evernote
To remove a Notebook from a Stack, again you repeat the process above but now you would choose the “Remove From Stack” option.
Once you remove the last Notebook from a Stack – the Stack itself will disappear. You need at least one Notebook in a Stack for a Stack to exist.
How to Remove a Stack
If you want to remove a Stack in Evernote, you can remove all the Notebooks from the Stack and the Stack will automatically be removed.
Or, in the left hand column you can right click on the name of a Stack and choose “Remove Stack”.
You will see a pop up that asks you if you really want to remove the stack – and it tells you that the Notebooks in your Stack will appear individually in your Notebook List.
Personally, if the Notebooks in a Stack are important to me, I remove them from the Stack individually and then let the Stack disappear automatically when it is empty.
Maybe I am over cautious but I am a bit afraid to accidentally delete my Notebooks by removing a full Stack.
Creating a Stack in the Evernote App for iOS
To create a Stack in the Evernote App for iOS click on the 3 horizontal lines in the bottom left hand corner to open your list of Notebooks.
Tap on the Notebook that you want to add to a Stack to open the Notebook.
Then tap on the 3 horizontal dots that appear in the upper right hand corner.
A menu will pop up from the bottom of your screen and you will have the option to “Move to Stack”.
Tap this option and a list of your existing Stacks will appear – as well as an option called “New Stack”.
Tap on this option and to create your new Stack or tap on an existing Stack to add your Notebook to one of those.
Most people will find that Evernote Personal is a perfect choice for their note taking needs.
- Customize Your Home Dashboard with Widgets
- Link Notes to Your Google Calendar
- Mark Up Images and PDFs
- Save Your Searches
- Create Customized Templates
- Sync Your Notes Across All Your Devices
Group All Your Evernote Notebooks Into Stacks
As I continue to integrate Evernote into my daily life – I have come to realize that every notebook really should be in a stack.
You may have a few straggler notebooks that don’t really fit into a stack but for the most part categorizing your life will make the Evernote Interface much cleaner.
Each stack should represent a separate area of your life.
You can divide your notebooks up any way you choose, but the system needs to make sense to you.
I have separate Stacks for:
- business projects I am working on,
- personal projects I am working on,
- Family,
- recipes, and
- archives.
It is so much easier to scan a list of 8 to 10 stacks than to be bombarded with 20 or more notebooks.
Granted, with Evernote the search function is so powerful that you may never need to look at your list of notebooks.
But sometimes you just want to flip through all your notes like you would in an old fashioned paper notebook.
Do You Use The Evernote Stacks Feature?
Evernote Stacks is a feature designed for you to organize your Notebooks.
By organizing your notebooks into Stacks, you are keeping your Evernote account neat and decluttered.
It is easy to create and remove Notebooks from Stacks – so you can always change things around in a way that makes sense for you.
How do you use stacks to make yourself more organized?
- Evernote Overview
- How to get started with Evernote
- Getting information into Evernote
- Organizing Notes in Evernote
- Scanning into Evernote


Can you possibly explain in a little more detail what the process is for iPhone apps? I’m not sure what you mean by ‘notebook view’. When I look at all my notes I don’t see an edit option, so I must be looking at the incorrect screen, although I tried all of them.
Thanks!
Hi Doreen,
I wrote this article a while ago and I think the Evernote iPhone app has changed a bit.
Here are the directions quoted from the Evernote website – hopefully this makes it clear:
To unstack notebooks, tap the options menu (three dots) in a notebook, tap Notebook Settings, then tap Remove from Stack.
Thanks for the detailed Evernote info re: stacks.
One problem I have is that stacks keep getting created
involuntarily. WHY? Is there a way to prevent this??
Thanks for any insight you can give.
Hi Robert,
I’ve never heard of this problem with Evernote Stacks. I have found the customer support at Evernote to be excellent. Perhaps they can answer the question for you.
Thanks for stopping in!