Furniture Refinisher – a few tips
This post may contain affiliate links which means I make a commission if you shop through my links.
Disclosure Policy

Using a furniture refinisher was not as easy as I thought it would be.
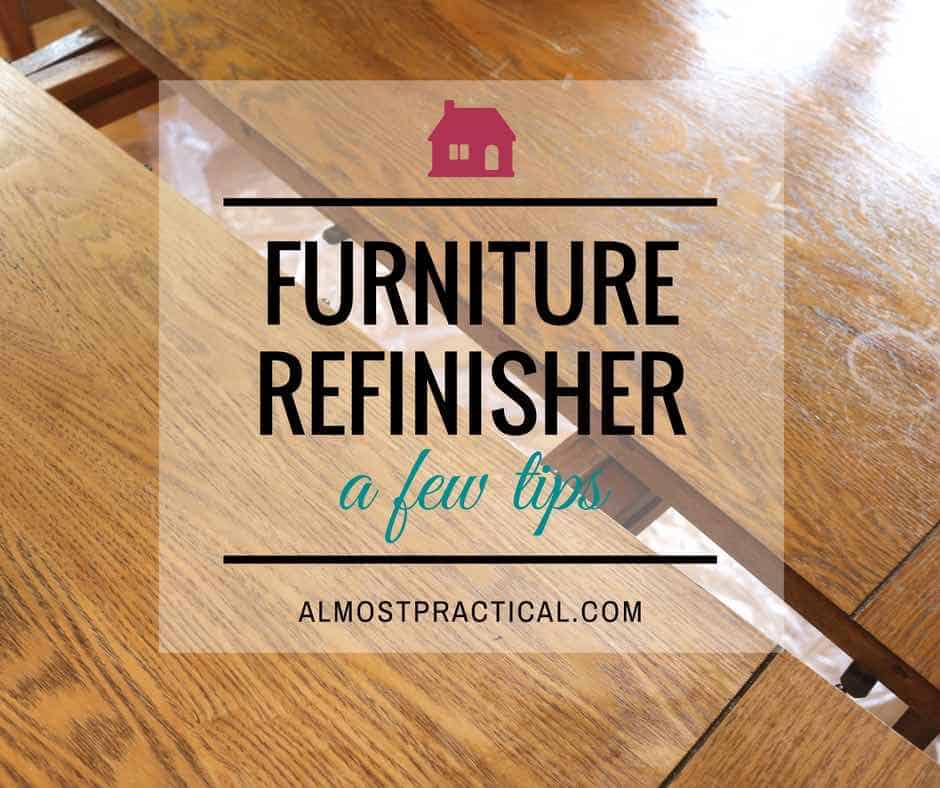
This summer I decided to refinish my worn out kitchen table.
The first step was to gather all the supplies to “strip” and stain the table top. (I plan to paint the legs and chairs.)
I put the word “strip” in quotation marks because technically I used a furniture refinisher – not an actual stripping product. According to my research, it seemed like this would be an easier option.
Since I’ve never done this before, the process has been a complete learning experience. So, I thought I would share it with you.
The Do’s and Don’t-s of Furniture Refinisher
To prepare my kitchen table top for stain – I knew I had to remove the old varnish and get the surface to be smooth.
My table in particular was not a solid wood but rather a wood veneer. I was pretty worried about this because I knew that I could not sand it much.
So, I chose to use a furniture refinisher product because it claims that it takes the place of stripping and sanding.
The product that I used was Formby’s Furniture Refinisher – partly because it was the only one that was in the hardware store where I was shopping.
Getting Ready
Since I was going to refinish my kitchen table in place (meaning right smack in the middle of the kitchen) I wanted to be sure to protect the hardwood floor. So, I spread a clear plastic drop cloth out underneath the table.
Next, my kitchen table has a leaf extender – so I opened up the table and let the leaf rest in the middle with space on either side. That metal brush that I bought was quite useful at brushing off some of the gunk that finds it’s way between table leaves.
I took out my nitrile gloves, a small metal bowl, super fine steel wool, goggles, and my respirator masks.
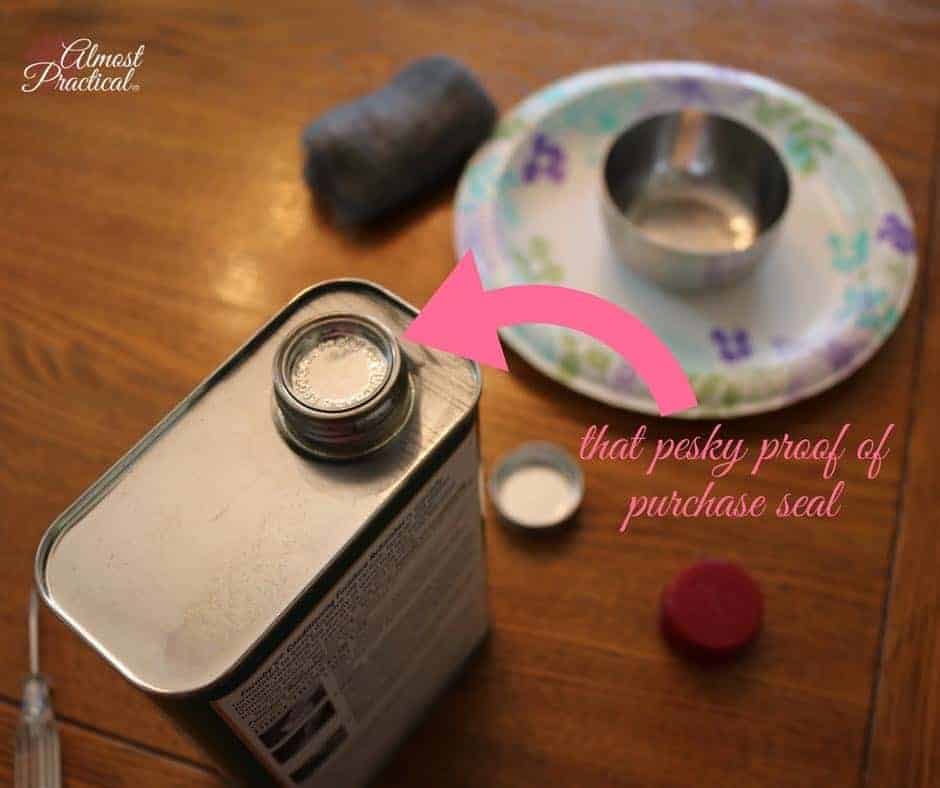
And then I tried to open the can of furniture refinisher.
Stumbling Block #1
It was really hard to open that can of furniture refinisher. The red cap twisted off and left the metal cap under it – which would not budge.
So, I had to dig out a pair of trusty pliers to help me with the job.
I thought that would do it – but under the metal cap was a metal proof of purchase stopper. Sigh.
So, I had to dig out a trusty flat screwdriver to pry that out of the can.
The things you learn.
Beginning the Process
According to the directions on the Formby’s can – you should pour some furniture refinisher into a metal container, soak your steel wool in it, and then apply it to the surface using a circular motion in sections.
So, I poured the product into a small metal bowl and it splashed a bit.
I soaked the steel wool and began to rub.
Stumbling Block #2
Those nitrile gloves are no match for furniture refinisher. They just dissolve – holes everywhere.
I ruined two pairs and then gave up on them.
In desperation, I pulled out the only other pair of suitable gloves I had in the house – the yellow latex dishwashing kind. These did hold up throughout the whole table top but were very sticky and gummy by the end – and I had to throw them out when I finished.
Lessons Learned
It took me a while to get my groove but eventually I figured out what would work for me. The sections where I started are very uneven – but the opposite end of the table is pretty good (if I had to do it again, I would start on the section in the far corner that people don’t really see right away).
Strong Smell
Furniture refinisher has a strong smell (like nail polish remover) so work in a well ventilated area and don’t forget to use respirator masks – they do help.
Evaporates Quickly
Given that the product evaporates so quickly – the pouring into a metal bowl was not really working for me. I was going through too much product too quickly.
Instead, I began pouring the product directly onto my steel wool pad or putting the steel wool directly on the mouth of the can and tilting the can to the steel wool.
This worked ok – sometimes the wool was too dry and other times I used too much.
As the can says, it is important to work in small sections because it does evaporate so fast.
The Goop Dries Fast Too
Because the product dries so quickly, I discovered that it was easier to follow along with a clean rag and wipe off some of the goop that way.
Again working in small sections is best.
Stumbling Block #3
Did I mention that furniture refinisher evaporates quickly?
I ran out. I was at the last little corner and I had to run to the corner hardware store to buy more. Thankfully they had some in stock albeit at a higher price.
Words of Wisdom
If I had to this project again I would make sure that I have plenty of furniture refinisher on hand, plenty of super fine steel wool (I went through 2 bags), and clean rags.
By the end of the day, my right arm was killing me – so maybe a little weight lifting prior to starting would be helpful too. 😉

Your Tips on Using Furniture Refinisher
As I said – I am not an expert when it comes to refinishing furniture. Everything written here is based on my trial and error as I refinish my own kitchen table – so don’t rely on this information for your project. Do your own research, please.
That being said, I would love to hear about your experience and tips that you might have for using furniture refinisher.
I can say that for me, this was not really an enjoyable experience.
I had toyed with the idea of staining the seats on the chairs but after doing the table top – I know with certainty that I will be painting those bad boys instead of staining.
Stay tuned for the next chapter in this project – the actual staining of the kitchen table.
Recently, I also reupholstered a bench – and these tips helped me out a lot for refinishing the frame.
More DIY Posts You Might Like
- How to Cover a Bulletin Board with Fabric
- Learning to Quilt with a Riley Blake Quilting Kit for Cricut
Pin This


Thank you for this description it really matches the experience I had refinishing a damaged old piano lid. So the great takeaway here is have plenty of extra steel wool and two cans of product. Like you said the stuff kind of dissolves and then wants to reharden so it’s good to just wipe it quickly. It would have been easier if the directions on the can were more complete and would prepare you for needing to go through a lot of steel wool and or rags to get the old gunk off. I know what you mean about your arm being tired too! I have a feeling if I do this a couple more times it’ll be much easier. Thanks again!