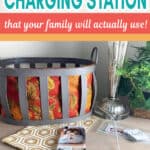
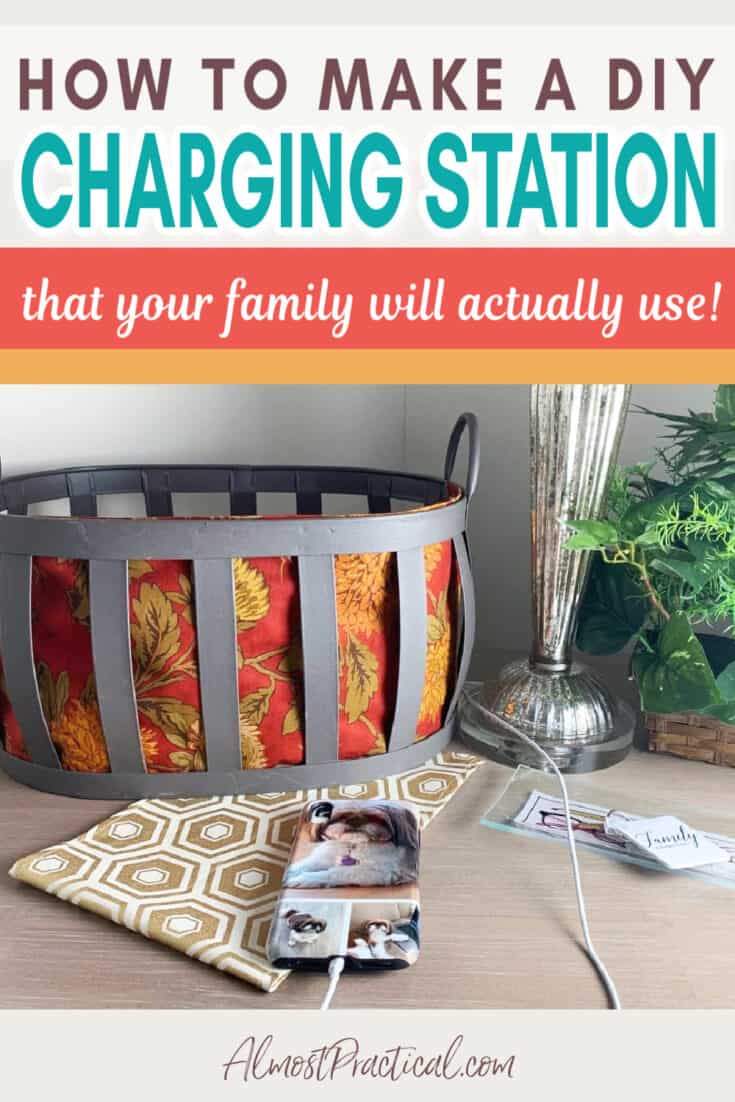
How to Make a DIY Charging Station
This post may contain affiliate links which means I make a commission if you shop through my links.
Disclosure Policy
A few weeks ago, I was honored to be featured on the Shutterfly blog where I shared 10 simple home organization hacks.
As part of that post I created a simple DIY charging station that I wanted to share with you here as well.
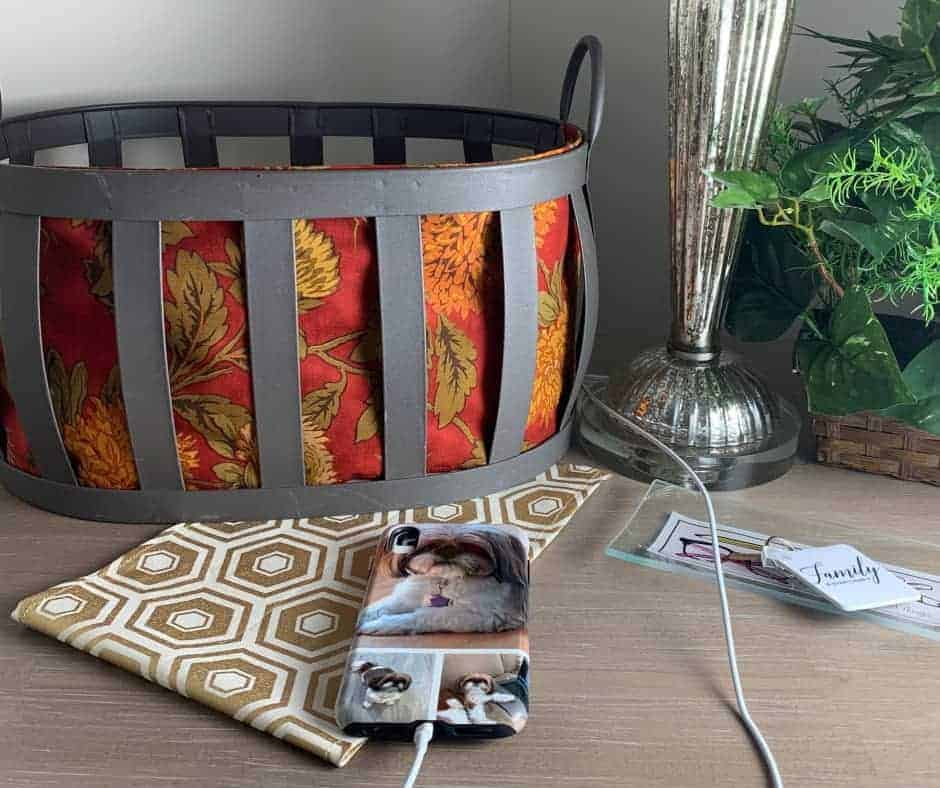
Pictured: Personalized iPhone Case (isn’t my little fur baby a cutie?) | Personalized Key Ring
If cable clutter is putting a damper on your home decor efforts as well, then you might find this DIY to be pretty useful.
Why You Need a Charging Station
I have been looking for a solution to cable clutter for a really long time.
In my house, people are always charging their phones, tablets, and even laptops on my kitchen counters.
This drives me crazy because I cook in my kitchen, people eat in my kitchen, which also means that things spill in my kitchen.
Generally this is not a good thing when it comes to electronic devices.
What I wanted to do was to create a sort of designated place in our adjacent family room where it would be easy and convenient for people to power up.
The Problem With Most Charging Stations
The organizer in me has always liked the idea of a charging station.
They look so neat and tidy with space for each device to nest nicely in a separate slot.
It’s a really great idea – if people would actually use it.
Maybe it’s just the people in my house, but I can tell you that placing electronics into neat little slots would not go over very well over here.
As ridiculous as it sounds – the process would take too much effort.
On top of that, we often need to use our phones, tablets, and laptops, while they are charging – which is pretty much impossible with standard off the shelf charging stations.
The Charging Station Features I Was Looking For
To make charging up easy for people, I like to keep a power strip/surge protector in an accessible location.
Generally, this means on a tabletop – NOT on the floor hidden behind the couch somewhere.
The reason that I like to use a big old power strip with surge protection is that it can accommodate all different sizes of power bricks. You can plug in anything from a small iPhone charger to a big laptop brick – and you can easily charge multiple devices at once.
Not only that, but you can also use your devices while they charge.
But let’s face it a power strip is not exactly aesthetically pleasing.
So, basically, I was looking for a way to hide a power strip in plain sight in a way that would look nice in my family room.

This Belkin surge protector has plenty of space to charge all of your devices. With 12 outlets, 2 USB-A ports and 1 USB-C port it is useful for any home office.
My DIY Charging Station Solution
Since I couldn’t find exactly what I was looking for, I decided to make my own DIY charging station.
My first idea was to use a basket with wide slats so that the cords would be able to snake in and out – especially the heavy cord that powers the power strip.
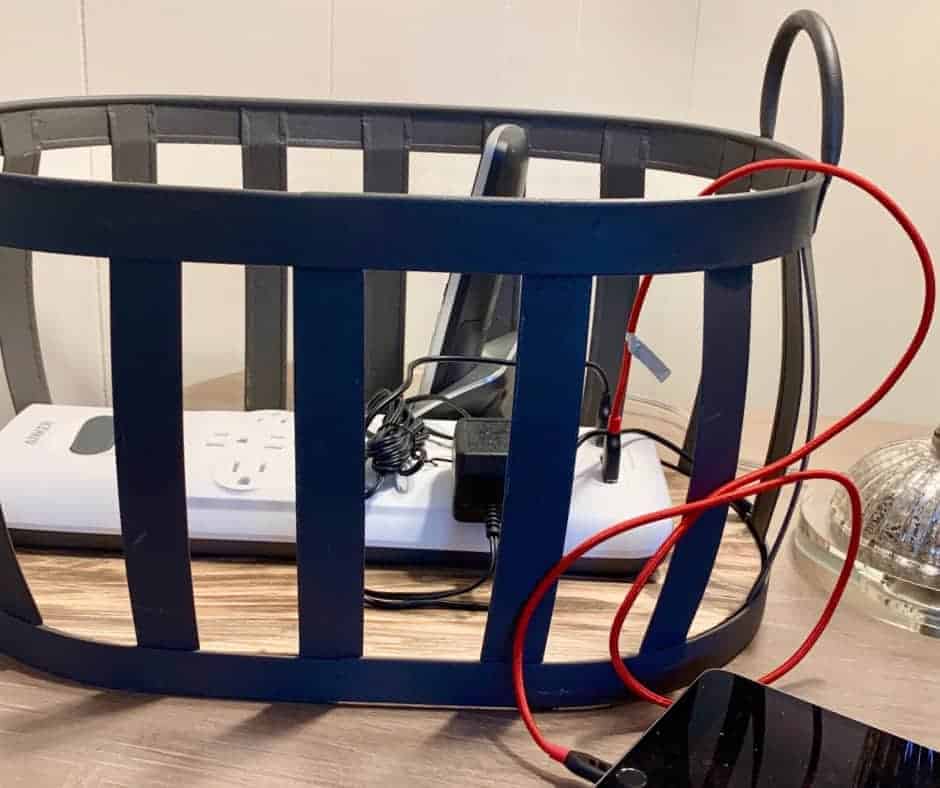
I was able to find a suitable basket at a local store but it still looked like a mess. The slats were so far apart that you could still see everything inside.
This was not exactly the look I was going for – but I knew I was on the right track.
If I could somehow cover the front half of the basket then people would not be able to see everything inside.
And if I left the back of the basket open, I could snake the cords out of the back slats, so that we could charge and use our devices on the table space in front of the charging station.
I figured the best way to do this would be to attach a piece of rectangular fabric to the inside of the front of the basket using hook and loop fasteners (aka Velcro®).
The bonus of doing this would be that I could change the fabric out from time to time. This way my DIY charging station could sport a festive look around the holidays or change with the seasons.
How to Make This DIY Charging Station

Pictured: Monogram Paperweight | Personalized Notebook | Gray Buffalo Check Serving Tray
Now, my sewing skills are a little rusty, but I was ready to take on a piece of rectangular fabric – so I gathered up the supplies I would need.
Basically, I measured the dimensions of the inside front half of the basket and cut a piece of fabric about a quarter inch bigger on all sides. Lucky for me a fat quarter of fabric was the perfect width for my basket.
Then I just hemmed the raw edges using a quarter inch seam allowance.

Finally, I used self stick hook and loop fasteners along the top edge of the basket and the top edge of the fabric to attach the fabric to the basket.
The best part is that this DIY charging station can be a no sew project as well.
You can do any of the following:
- use a piece of fabric that doesn’t fray, like felt
- cut your rectangle with pinking shears to keep the edges from fraying
- use fusible bonding tape and just iron the hem in or
- leave the edges raw and hide them behind the slats of the basket.
Super easy, right?
And that’s it!
To make this project, all you need to do is get a solid surge protector/power strip, find a basket with wide slats, and attach a piece of fabric around the front of the basket to hide what is inside.
As always, since you are deal with electrical items be careful not to create any kind of fire hazard as you create your DIY and ultimately use it.
Be sure to stop by the Shutterfly blog to see my other organization tips.
Pin this article on Pinterest to refer to later.


What a great ideas. I’ve been looking for something like this, with no luck, since my old charging station bit the dust. Thanks for the idea.
Hi Kathy,
Thank you! I am glad you got some ideas from my post. 🙂