More Planner Stickers on Cricut Joy
This post may contain affiliate links which means I make a commission if you shop through my links.
Disclosure Policy
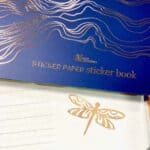
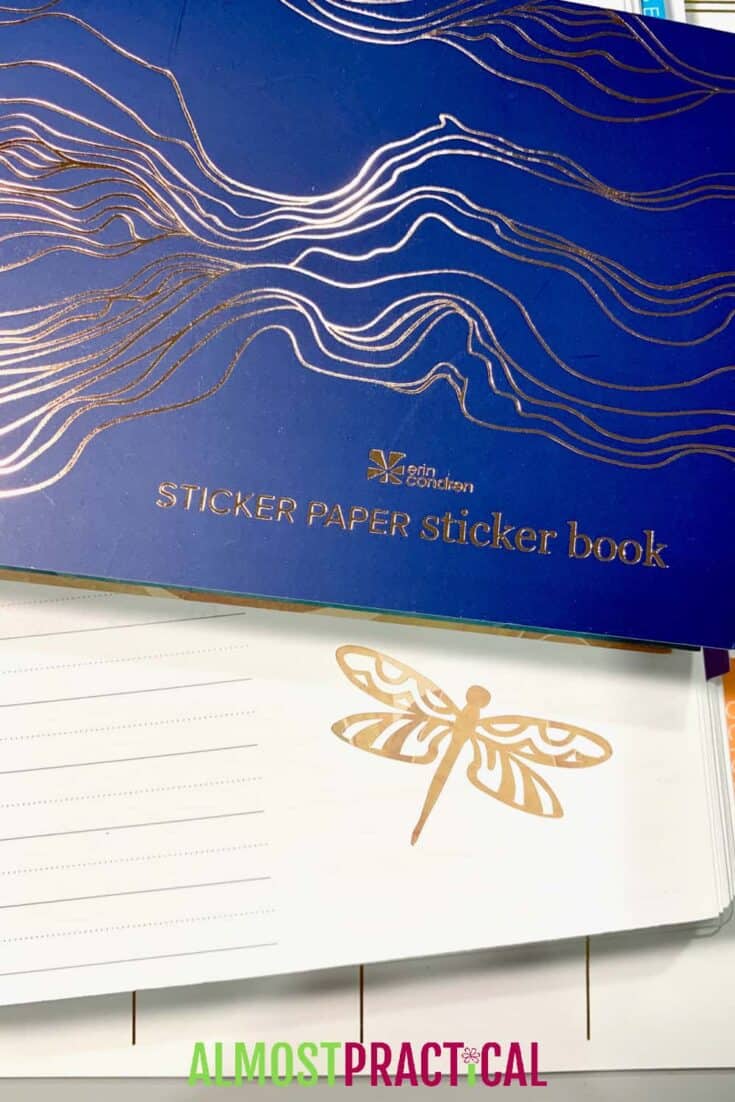
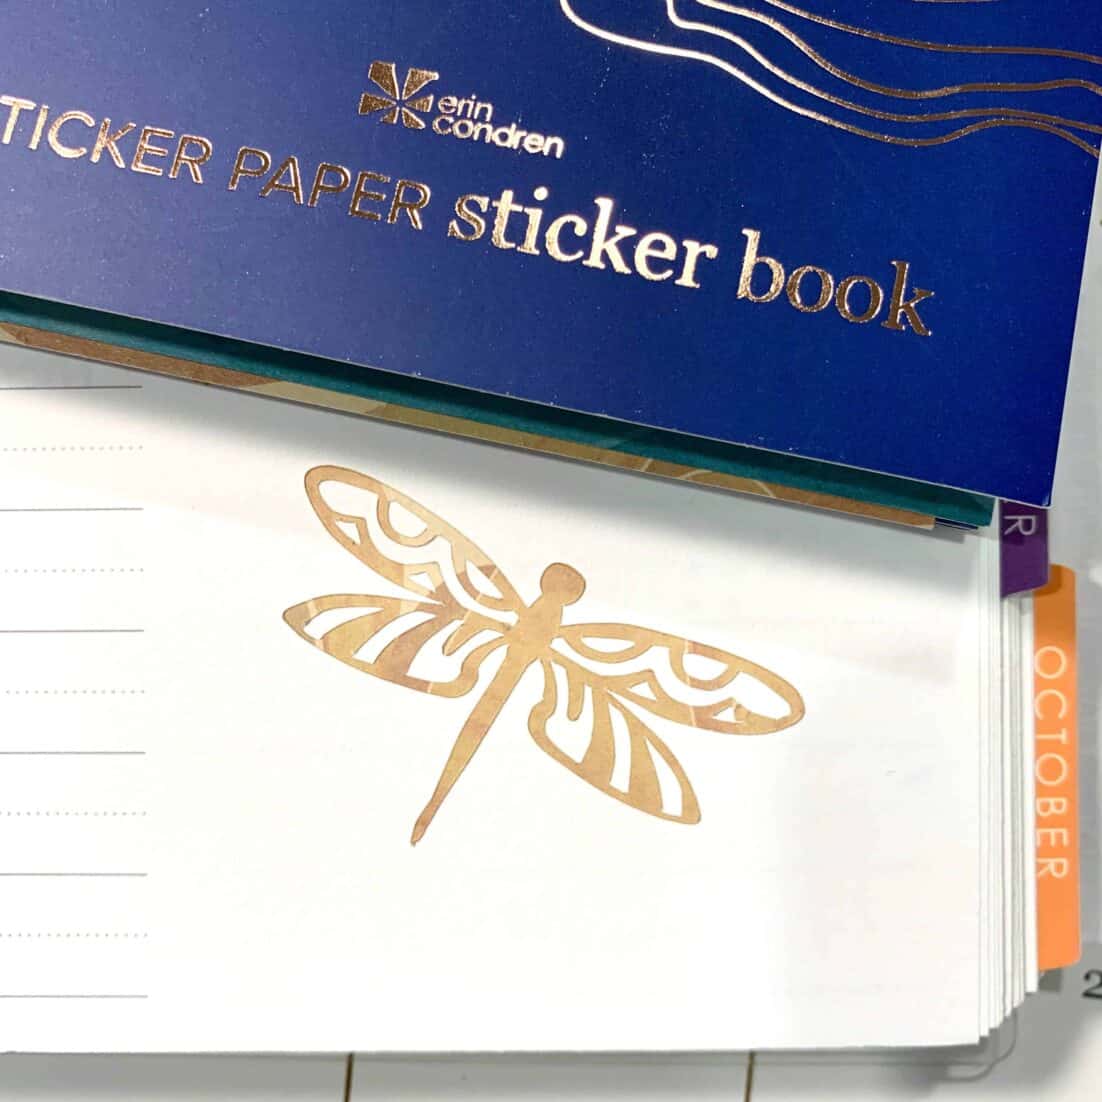
I created this dragonfly sticker on the Cricut Joy using a sheet from the Erin Condren Paper Sticker Book in the Layers design.
This morning there was a dragonfly in our house.
Yes. A dragonfly.
After a freak out type of moment – I called on other family members to safely remove this unwanted visitor and set it free.
Then I decided to commemorate the event with a cute planner sticker in my Erin Condren Daily Duo.
I had been meaning to pair the Sticker Paper Sticker Book that came in the Erin Condren Summer Surprise Box with my Cricut Joy for quite some time – so today seemed like as good of a time as any.
This was a total experiment – I wasn’t sure how it would turn out at all.
But my previous experiment making cute little garbage can planner stickers out of Cricut vinyl worked out fine, so I thought that this would be worth a try.
The Erin Condren Sticker Paper Sticker Book
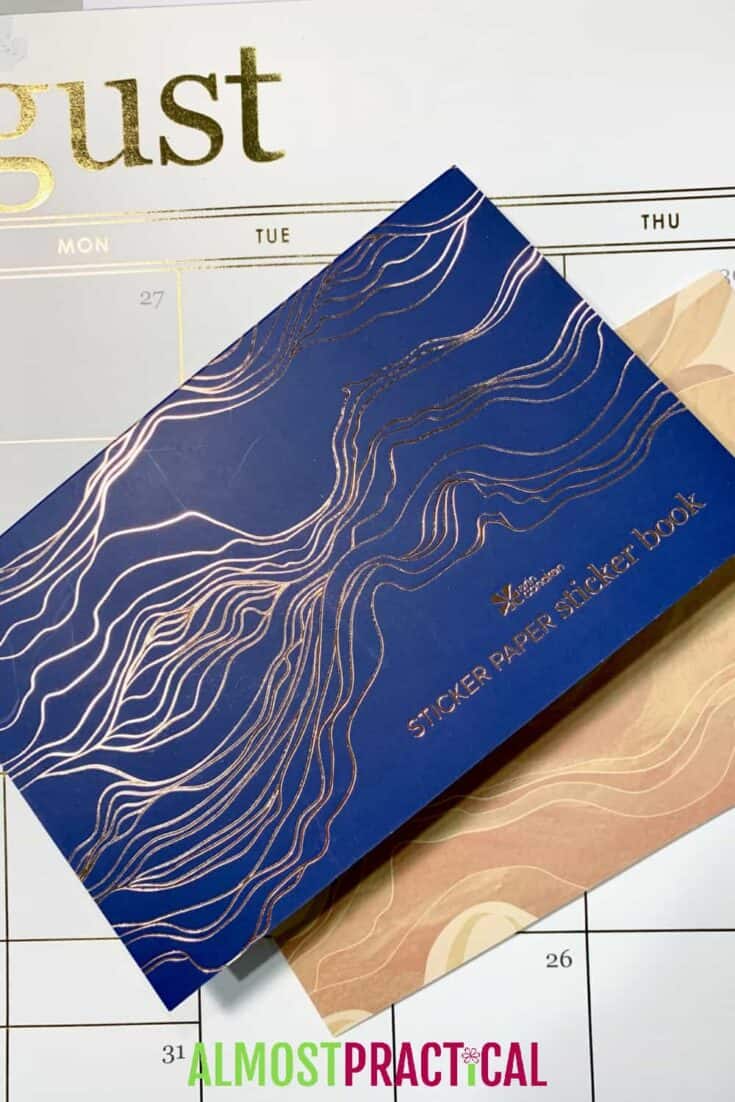
The Erin Condren Sticker Paper Sticker Book was an exclusive item in the Summer Surprise Box.
Unfortunately, it does not appear to be available on the site in any shape or form – but you can always keep checking here to see if they decide to offer it.
This book is filled with 5×7.5 sheets of adhesive backed paper in the layers design.
You can cut these sheets into any shape using scissors, of course.
And, if you can use scissors, then why not a Cricut machine?
My Cricut Machine
To make this dragonfly planner sticker, I used my Cricut Joy machine.
It is super easy and convenient for making quick, small projects.
But you can use any Cricut machine for this project – the Maker or the Explore Air 2 will work just fine.
Potential Issues
My biggest worry in making this type of planner sticker was the durability of the material.
Planner stickers, by nature, are quite small.
So if you pick a really intricate design and the material is very delicate, then it’s likely that your Cricut will end up shredding the paper as it tries to cut.
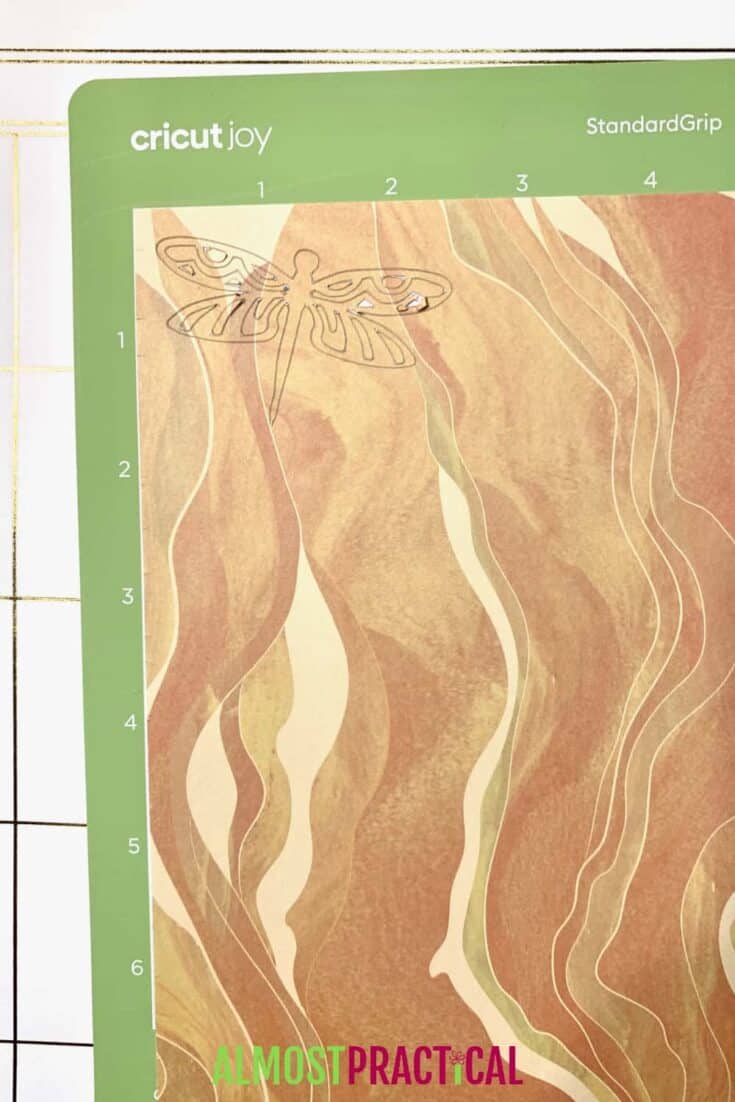
I chose a simple, one piece dragonfly image from Cricut Access that didn’t have too much detail.
I also sized it to be about 2 inches wide and 1.5 inches tall.
I didn’t want to go any smaller than that for fear that the material would not hold up.
Loading the Mat
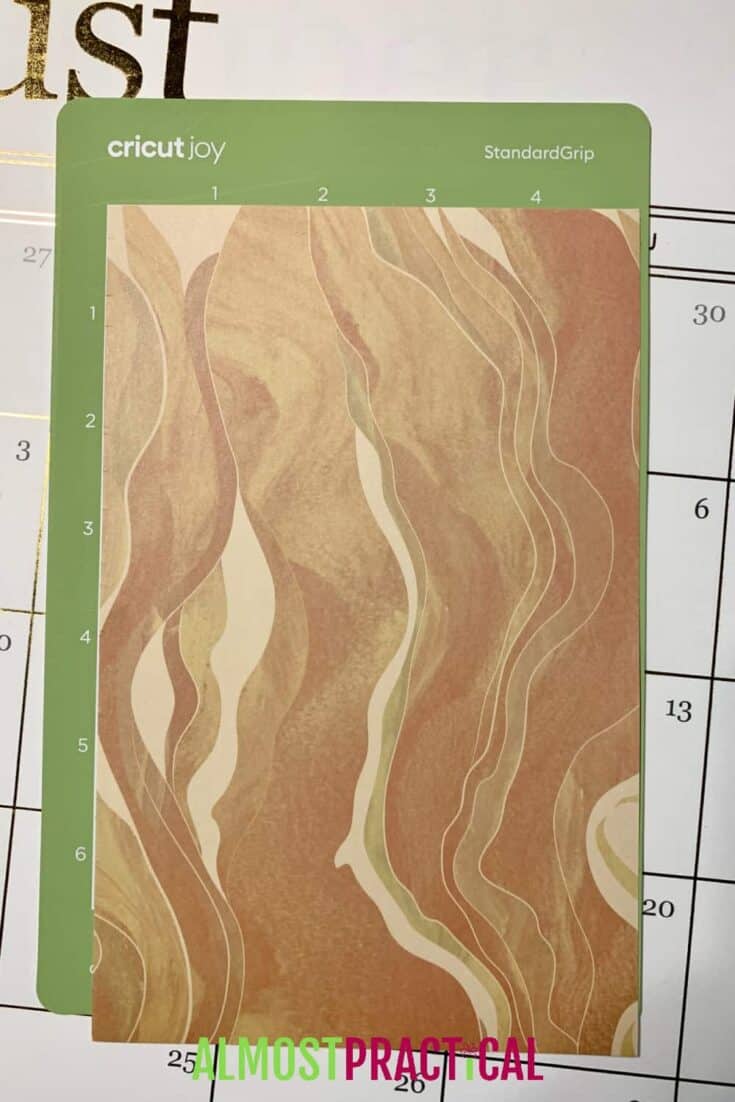
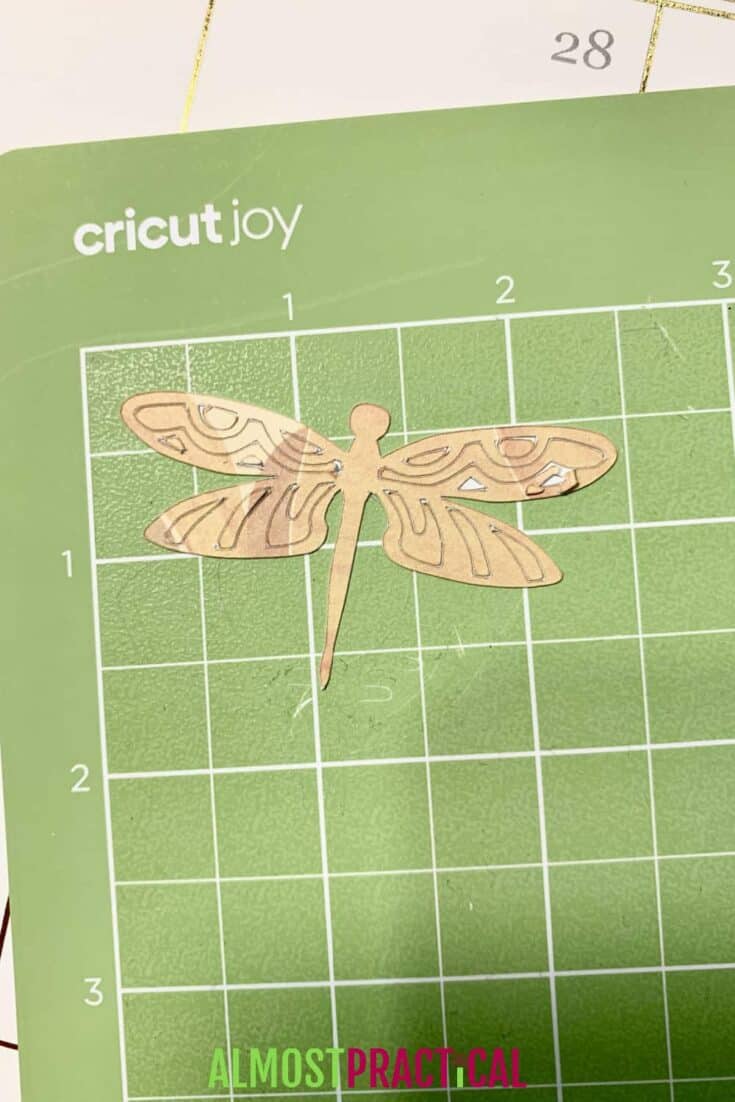
To make this planner sticker I used a standard grip machine mat for the Cricut Joy.
The sticker paper sheet was just a bit too big for the mat, but I decided not to trim it down – and hoped that it would work. (it did!)
Setting Up the Cut
To set up the cut, I chose the “Deluxe Paper – Adhesive Backed” from the materials menu in Cricut Design Space.
However, I left the blade pressure at default and I think that I should have gone with the “Less” pressure option.
You can see from the image below that the blade did rip the paper slightly on the right wing.
However, I was still able to use this cut just fine.
The Cricut cut through both the paper and the backing, and I simply weeded out the unwanted bits, peeled the sticker off the backing and stuck it in my planner.
The Finished Sticker
Here is another photo of this planner sticker in my planner.
And there you have it!
What planner stickers will you be making?