How to Create Trash Can Planner Stickers on a Cricut Machine
This post may contain affiliate links which means I make a commission if you shop through my links.
Disclosure Policy
I love it when my two passions collide – planning and crafting. Today I created cute little trash can stickers on my Cricut machine. I use these in my planner to remind me to take the trash out on garbage day.
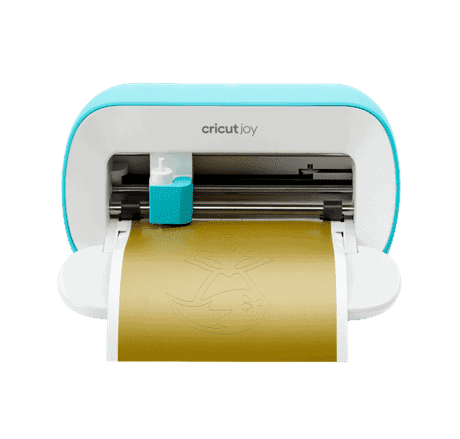
Since I recently purchased the Cricut Joy – this is the model that I used to create these planner stickers.
But if you have a Cricut Maker or Explore Air 2, you can use these as well.
What You Will Need
To make these stickers you will need a Cricut machine:
- Cricut Joy
- Cricut Maker
- Cricut Explore Air 2
You will also need some vinyl – either permanent or removable will do.
If you are using a Cricut Joy – then the Smart Vinyl works really well because of the sturdy backing.
For the Maker or the Explore Air 2, try to use a sheet of vinyl, as opposed to a roll. The rolls tend to curl even when you remove them from the mat (which you will also need if using these machines), which makes it a bit harder to weed the tiny stickers.
You will also need some weeding tools to get the little bits and pieces out.
Just an FYI – for the stickers that you see in the photos here, I used Permanent Smart Vinyl in Silver.
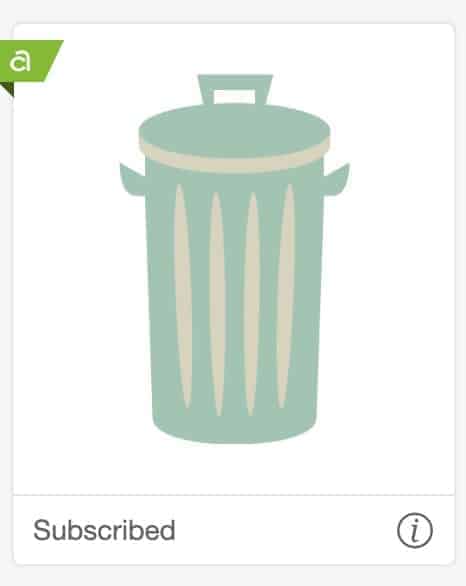
One thing I need to mention is that I am a Cricut Access member, so this image is included in my subscription. I don’t know if this set is free for everyone or not – because the interface does not tell me that.
Done For You
If you just want to use the image that I created, then I have shared the project and you can simply CLICK HERE to access it.
If you would rather create the image yourself and modify it – then read on.
Creating the Trash Can Image in Cricut Design Space
I started with an image of a trash can from Cricut Access and pulled it into Design Space.
Find the Image
The one I used is #MEF9AA and it looks like this before I modified it:
To pull this into Design Space, simply
- start a new project on your computer,
- select “Images” in the left hand column,
- search for the #MEF9AA trash can image,
- click the green insert button to pull it onto your canvas.
Separate the Pieces
Next, highlight the image and click “Ungroup” in the Layers Panel on the upper right hand side.
This will separate the beige background from the green foreground.
Move the two layers apart and either hide or delete the beige layer which we don’t need.
Connect the Lid to the Can
At this point the green garbage can and lid are all one layer.
However, these two pieces don’t touch each other, which is a problem.
What you want is a one piece sticker – not two separate pieces.
The way to make this happen is to separate the lid from the can – and then join the two pieces so they are touching.
I did this by angling the lid to make it look like the trash can is slightly ajar.
The first thing you need to do is break up the single layer image using the Slice tool.
In the left hand panel go to Shapes and pull a circle into your workspace.
Then, click the lock icon in the corner to unlock the dimensions of the circle.
Adjust the shape to an oval that will fit over the lid but not touch the can. The oval will follow the contour of the mouth of the can.
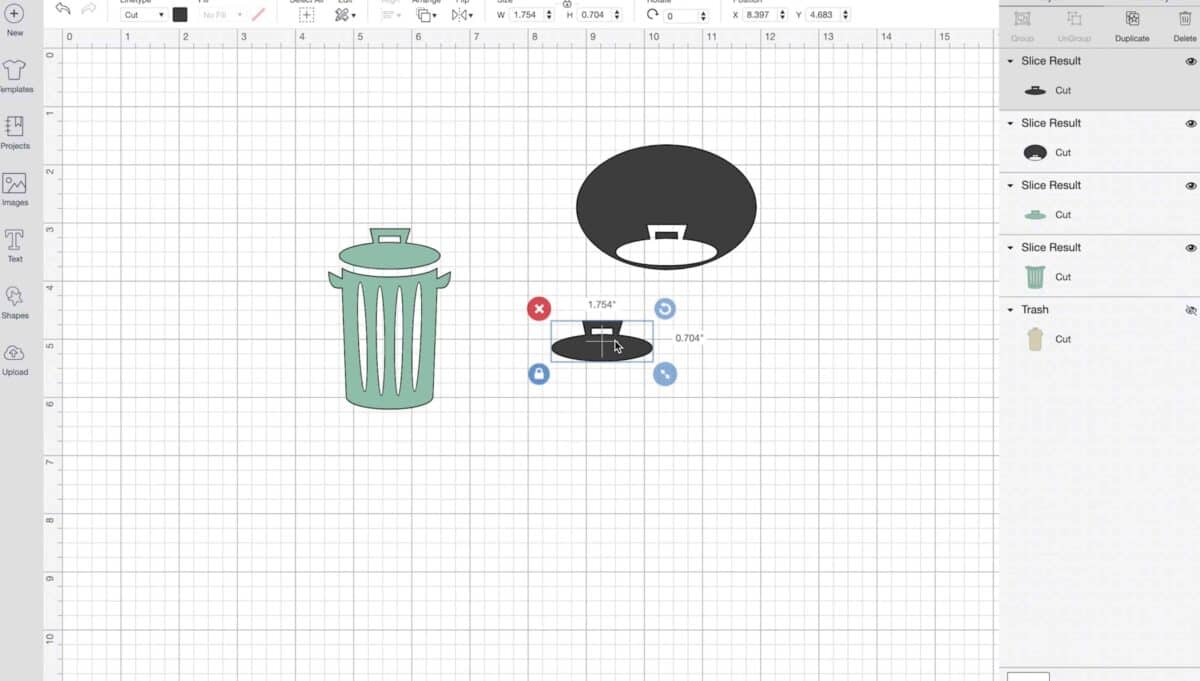
Once you have positioned the oval correctly – select both the trash can and the oval layer and click on Slice, at the bottom of the left hand column.
This will create three additional layers –
- the oval with the lid cutout,
- a dark colored lid, and
- the green lid.
Delete the oval layer and the dark lid layer.
Now you will have a green lid, and the can itself as two separate layers.
Here you need to work with the lid by angling it and placing it in way that it connects with the can.
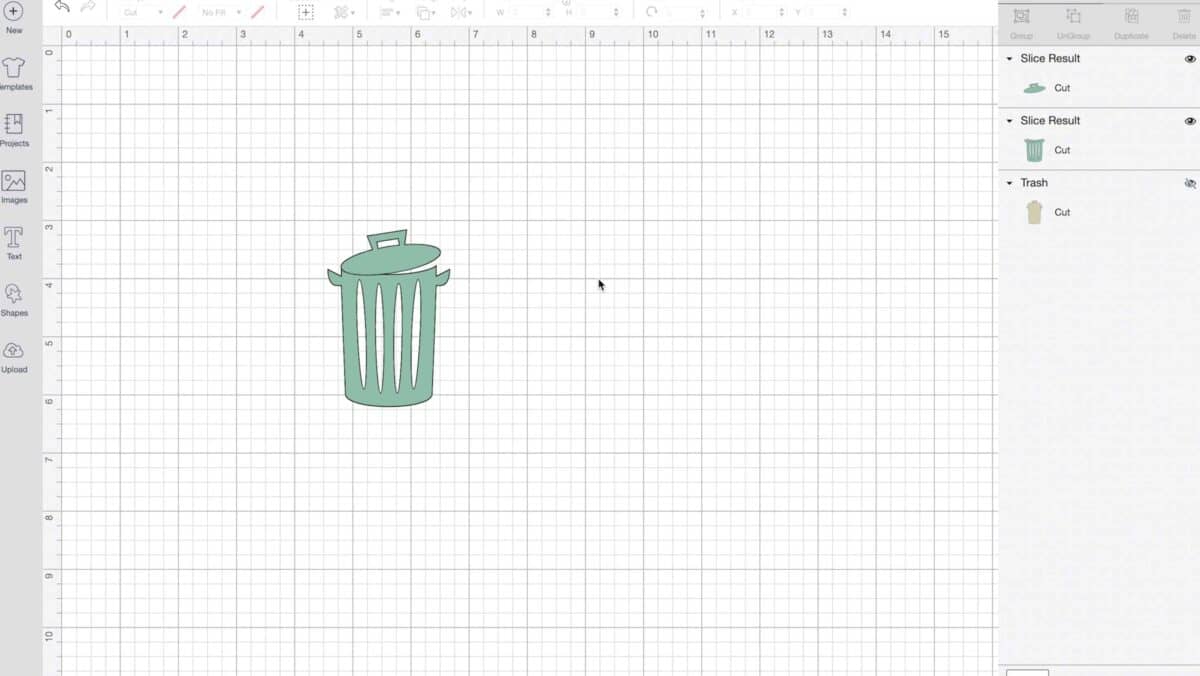
Once you have positioned it to your liking and making sure both layers are touching – select both the lid and can layers.
With both layers selected, click on the Weld tool at the bottom left corner of your screen.
You now have one trash can layer.
Resize Your Image
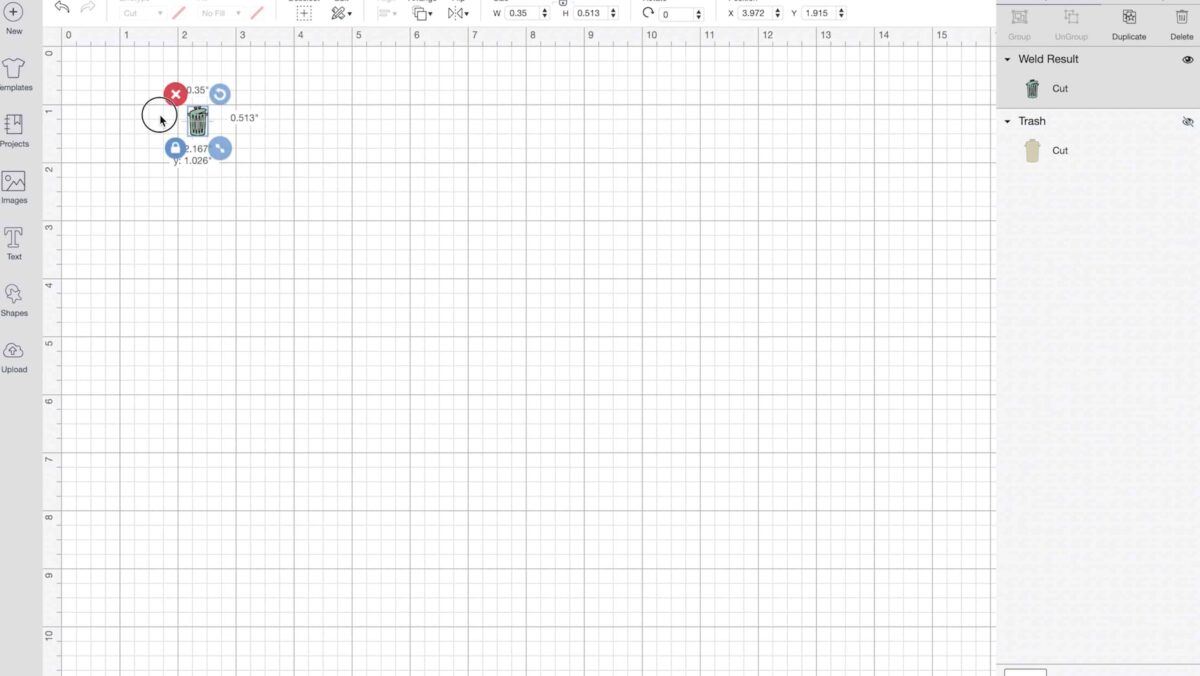
The final step before you cut is to change the image size to something that will fit nicely in your planner.
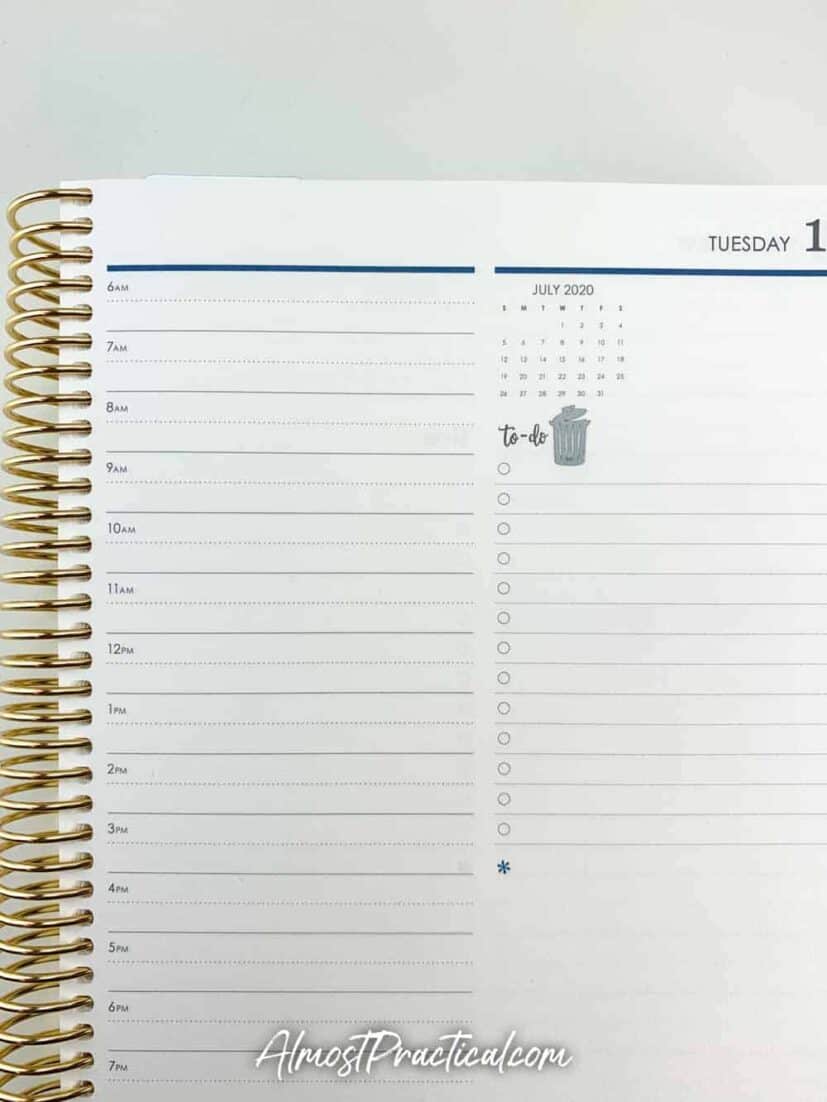
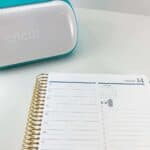
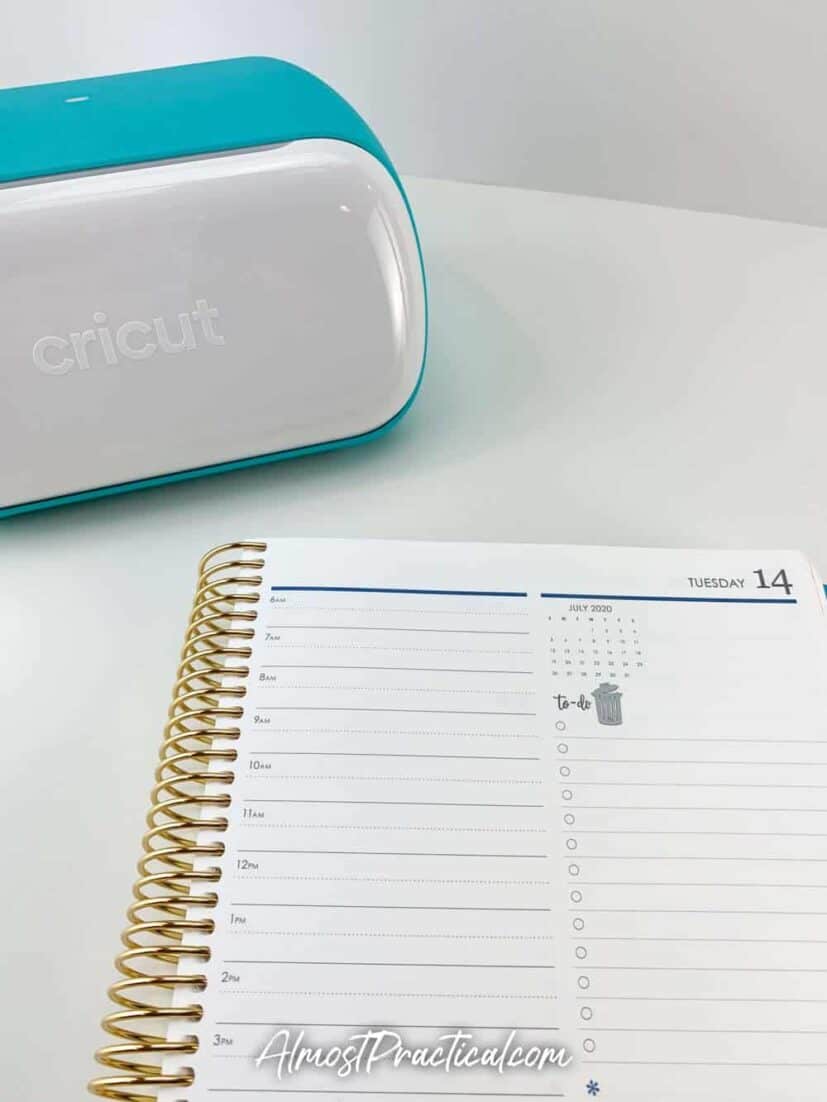
I use an Erin Condren Daily Duo – which I love, love, love, (you can read my Daily Duo review here).
In this planner there is a column for a daily To Do List. On garbage day, I like to stick my trash can planner sticker right next to the words “To Do”.
This way it is the first thing that I see and I don’t forget to put the trash out.
For this space, I found the size fo .35W x .513H to work well.
You don’t want to make the sticker too small because the Cricut machine may mess up the cut, especially if your blade is not sharp.
But if the sticker is too big, well that is not fun either. Who wants a huge trash can on their planner page for the day?
My suggestion is to do a test cut before you print out a whole sheet of stickers – just to make sure that you are happy with the size.
Cut Out Your Stickers
Once you are happy with the size, it is time to cut out a sheet.
There are two ways to do this.
You can duplicate the image as many times as you want in the Design Space workspace, and line them up.
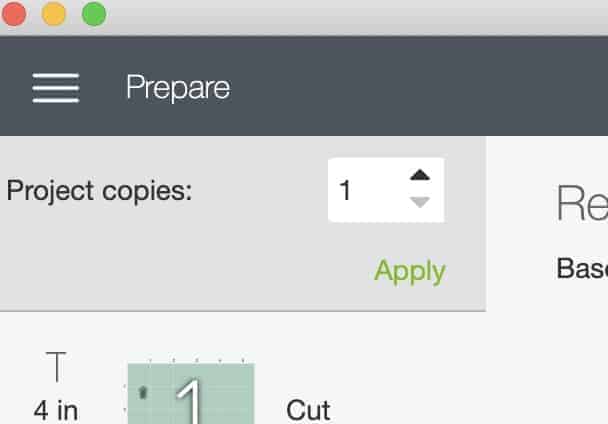
Or, when you click on “Make It”, there will be an option at the top left of your screen to select the number of project copies that you want.
Simply select the number that you need and make sure that they will fit on your material.
In Summary
It’s really easy to create custom planner stickers like these trash cans on your Cricut.
You can easily use this same method with other designs to embellish your planner.
Happy crafting and planning!