Organizing Craft Supplies in 5 Simple Steps
This post may contain affiliate links which means I make a commission if you shop through my links.
Disclosure Policy

Organizing your craft supplies doesn’t have to be complicated. Use these 5 simple steps to create order from your DIY chaos.
When it comes to DIY, I’m what you might call a dabbler.
I have big ideas and go a little nuts finding all the appropriate craft supplies – because I just know that this is the hobby that I am going to stick with.
But one or two projects later, I move on to the next greatest thing.
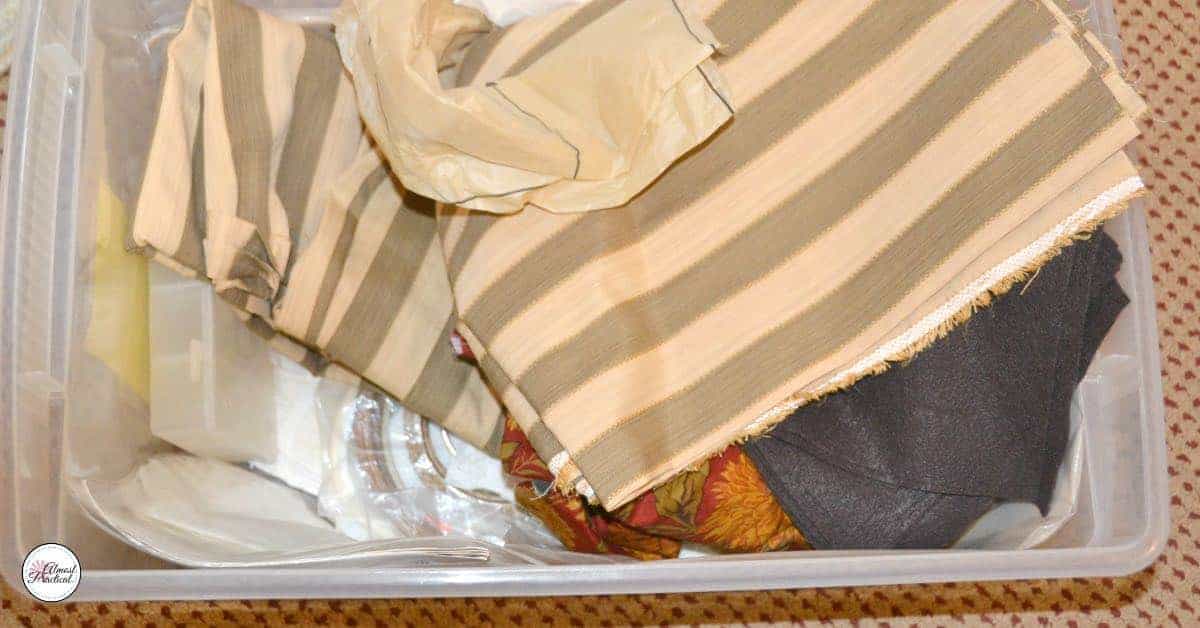
What happens to my craft supplies? I throw them in a big plastic bin. Eventually, it turns into a huge unorganized mess.
If you have the same problem, these simple tips for organizing craft supplies will help you, too.
How to Organize Craft Supplies in 5 Simple Steps
You don’t need a fancy craft supply organizer to make these ideas work – but you can use them no matter what type of container you have.
1. Create a Master Plan
Before you dive head first into organizing craft supplies, you need to create a master plan.
[clickToTweet tweet=”By failing to prepare, you are preparing to fail. ~ Benjamin Franklin” quote=”By failing to prepare, you are preparing to fail. ~ Benjamin Franklin”]
Divide Your Craft Supplies Into Categories
Make a list of the different categories of items that you have.
You can base your categories on the type of item (markers, knitting needles, paint brushes, etc.). Or you can create categories based on the type of craft (sewing, knitting, quilling, etc.).
Your categories will be unique to your situation.
As you create these categories, keep a few things in mind:
- You should have a significant amount of craft supplies for each category. For example, if you only own one set of knitting needles – you don’t want to create a whole box for this small item. Instead you might create a “Yarn Crafts” category and place all yarn, knitting, and crochet supplies together.
- Place items together that you often use together. This way all of your arts and craft supplies for a project will be in the same bin, box, drawer, or organizer.
To organize my craft supplies, I took a high level look at all of the items that I own.
They pretty much fell into a bunch of separate categories that made sense to me.
- Yarn Crafts
- Paper Crafts
- Painting Supplies
- Fabric and Sewing
- Embellishments, etc.
Choose Your Storage Location
At this step in the organizing craft supplies process, it is a good idea to decide on the location where you will store your arts and craft stuff.
I am talking about the physical location in your home – not about the actual storage containers – that will come later.
If you are an avid DIY crafter, then you will want easy access to your craft supplies.
However, if you are an occasional DIY’er or a weekend warrior, then you might not want to use prime real estate for your art supplies, especially if your home is small.
The important thing is to find a location that is convenient base on your usage.
This is why.
If the location you choose is not convenient – you won’t put your stuff away.
Everything will once again become disorganized and cluttered.
I have a shelf in our basement storage area where I store my craft bins. They are easy for me to get to, but they don’t clutter up my home office nook, which is really small.
Related Article: 10 Ways to Create an Organizing Mindset
2. Collect Your Craft Supplies
The next step in the organizing craft supplies process is to gather up all of your craft supplies in one place.
Clear off a table or find a wide expanse of floor space and set up a staging area.
Go to the far corners of your home and collect all of your craft supplies and bring them to your workspace.
You might be surprised at how much you find.
By bringing everything together, you will start to get a feel for the size and number of the craft storage bins that you will need.
But don’t jump ahead!
Choosing the actual craft supply organizer for each category comes later in the process.
3. Sort Your Craft Supplies
Now that you have everything in one place, it is time to sort everything that you have.
This is a great time to pare down your items too. Here are some ideas:
- Test your markers and toss the ones that are dried out.
- Same with glue sticks – get rid of the ones that are dried up.
- Give away duplicate items or things you no longer want or use.
When you have decided what you want to keep, divide everything up into piles based on the categories you set up in step one.
Related Article: How to Organize Using the Kon-Mari Method
4. Choose the Right Craft Supply Organizer for Each Category
Finally! It’s time to pick out your storage bins.
The biggest mistake people make in organizing craft supplies is picking out their storage containers at the beginning of the process.
How can you decide on a container before you know what you are going to put inside of it?
Keep in mind the physical location that you decided on in step one.
You may need to grab a tape measure at this point. Make a note of the height, width, and length of your shelf space.
Now look at the piles of craft supplies that you need to store.
Different items will require different types of storage.
Big plastic bins will work for larger items. But you may need small drawers for things that don’t take up as much space.
You will need to take some time to find the right craft supply storage that fits both the volume of your stuff and also the physical location.
Personally, I prefer clear plastic storage bins like this selection at Target because you can see what’s inside without having to open the box.
This cute stackable 3-tier storage tray from Sterilite is perfect for small craft items like embellishments, too.
If your craft supply storage is out in the open, then you might opt for something a little more aesthetically pleasing, like this set of semi-transparent stackable drawers from The Container Store.
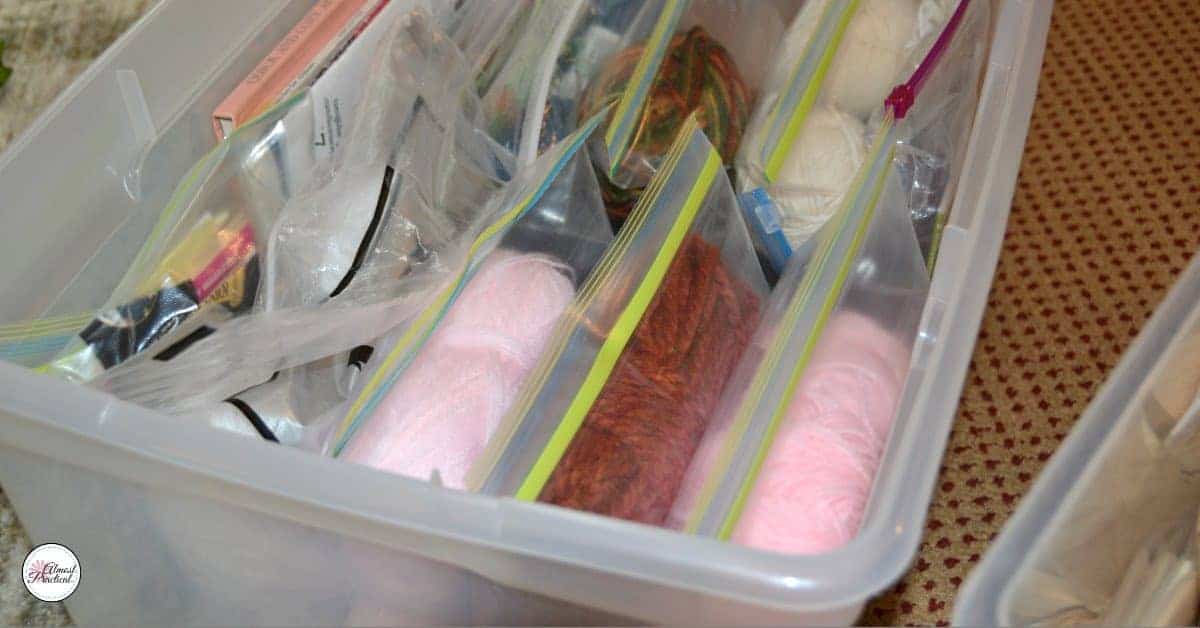
Since I store my craft supplies in my basement storage area, I decided to go with large clear plastic bins. To separate the items inside I went really low-tech with gallon sized zippered storage bags.
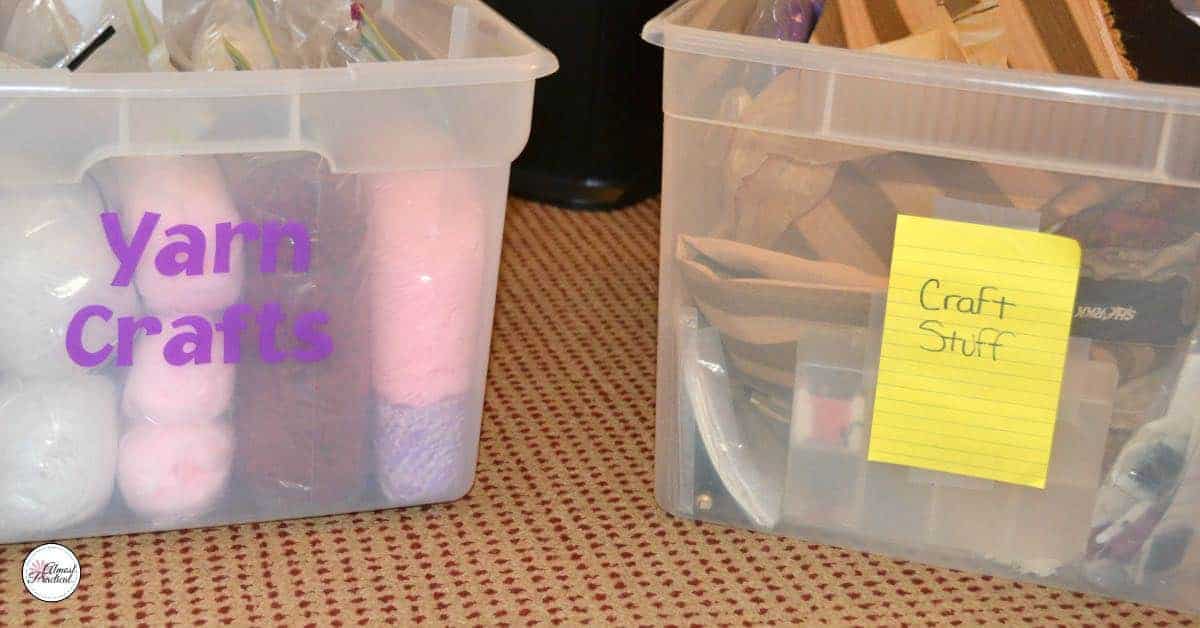
5. Don’t Forget To Label
At this point you might think that you are done, but you are not.
The final step in organizing craft supplies is to LABEL.
Don’t skip this step, or everything will turn into a big mess once again.
Make sure you slap a descriptive label on each of your craft supply organizers. This ensures that:
- you can easily find what you need, and
- you will put things back exactly where they belong.
It doesn’t matter how you label. You can go old school and use a pen and use some masking tape.
Post-It also makes labeling tape.
For my organizing project, I used my Cricut Explore Air 2 machine to create some vinyl labels for my craft bins.
Here is my before & after:
Getting Organized Is A Process
If your organizing craft supplies seems like a monumental task, don’t stress.
You don’t have to do it all at once – and you shouldn’t especially if you have a lot of stuff.
Tackle one category at a time, if you have to.
Just be sure to go through all of the steps in the process:
- Make a plan
- Collect all your craft supplies in one location.
- Sort and pare down your supplies to just what you will use.
- Choose your craft supply storage organizers.
- Label everything.
That’s it!
Happy organizing. 🙂

Hi Neena,
I just wanted to let you know that I really like the way you have set out simple to follow ‘rules’. In the past couple of weeks, I was set a dilemma with my craft room when I discovered that my wooden shelving had been attacked by white ants. I had to take all of my craft boxes off the shelves and move them into our garage which is attached to my craft room. It gave me a chance to re-organize but I have trouble organizing my craft items into ‘same’ categories. Your lists have given me a few ideas while I wait for new metal shelving to arrive.
I am also a dabbler and I have a lot of UFO’s and WIP’s so I also have to organize them.
Thank you for all of the help in you various organizational pages.
Hi Jill,
Thank you so much for your kind words. I am so glad that my post was helpful to you. What an ordeal you are going through! But you are right – it seems like a great opportunity to take stock and organize. I am sure your new system will be even better than before!
This is a great step to getting organized! I’m curious about items that may require special storage, like Washi Tape/stickers so they don’t get gummy; Paper so it doesn’t yellow or bend. What’s the best way to handle those items?
Hi Stephanie,
I use smaller stackable containers for washi. And for my scrapbook paper I actually arrange them by color standing up vertically in an open top cardboard box that just happened to be the right size for 12×12 paper – and have not had any issues with yellowing. I have also used the plastic boxes from Michaels (or probably any craft store) specially designed for papers – which are probably better for delicate papers.
I am so glad I found this post!! I am planning a sort of my supplies for the upcoming weekend and this checklist is just what I needed to stay on track. Thank you.
I tried to get the “Organize Your Craft Supplies” checklist… but I couldn’t get it to download. I seriously need this!!!!
Please, can you help me?
Your article was so informative. I loved how you had a place for everything and everything in its place.
I need that so badly… right now everything is such a mess! I’ve found myself buying duplicates because I can’t find what I’m looking for. Thinking I have an essential piece, but it’s all wrong. Or even giving up because keeping a good working area is so hard to get set up.
Your idea and pictures inspired and give me hope I can do it right too. But that list is so important. It will be the perfect kick off point and help me arrange me thoughts as well as my supplies.
Hi Jan,
I am so glad that you found my article to be helpful. Craft supplies have such a way of taking over a space.
Currently, I am redoing the Member Resource Library – which is why you couldn’t find it – my apologies!
I did send you an email with how to access the checklist, I hope you received it.
Best of luck in organizing your craft area!