How to Remove Cricut Permanent Vinyl from the Tube
This post may contain affiliate links which means I make a commission if you shop through my links.
Disclosure Policy
If your Cricut permanent vinyl appears to be stuck in the tube when you buy it, don’t worry. It’s really easy to get out.
This is how you do it.
The Problem
When you buy a roll of Cricut Permanent Vinyl – it comes in a plastic tube.
Sometimes the vinyl will stick to the inside of the tube and give off an appearance that the vinyl is wet or ruined somehow.
What I think is happening is that the glossy surface of the vinyl is temporarily adhering to the glossy-ish inside of the plastic tube.
The overall effect is a little startling.
This is especially so when you receive an online order.
Your heart just sinks and you think that you might need to return it – but mainly that you won’t have the materials you need to complete your project.
We’ve all been there, right?
The Solution is Easy
Well the good news is that the solution is super easy.
Simply open the tube.
Carefully stick your fingers into the center of the vinyl roll and gently rotate the vinyl around your fingers – sort of like how you would twist spaghetti around a fork.

Be careful not to twist it too tightly around your fingers lest you cut off your circulation or anything. Just be gentle!
This will pull the vinyl away from the tube, sometimes with a little snapping sound.
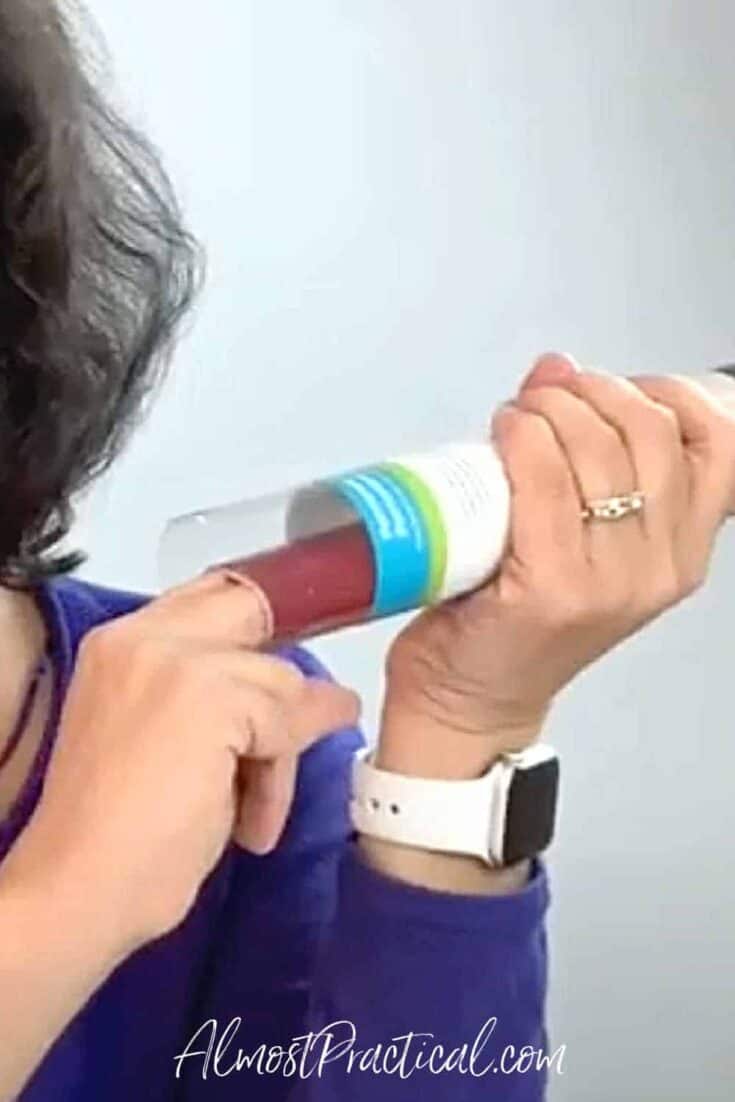
Once the vinyl separates from the tube, gently unroll it from your fingers.
Then remove the vinyl from the tube.
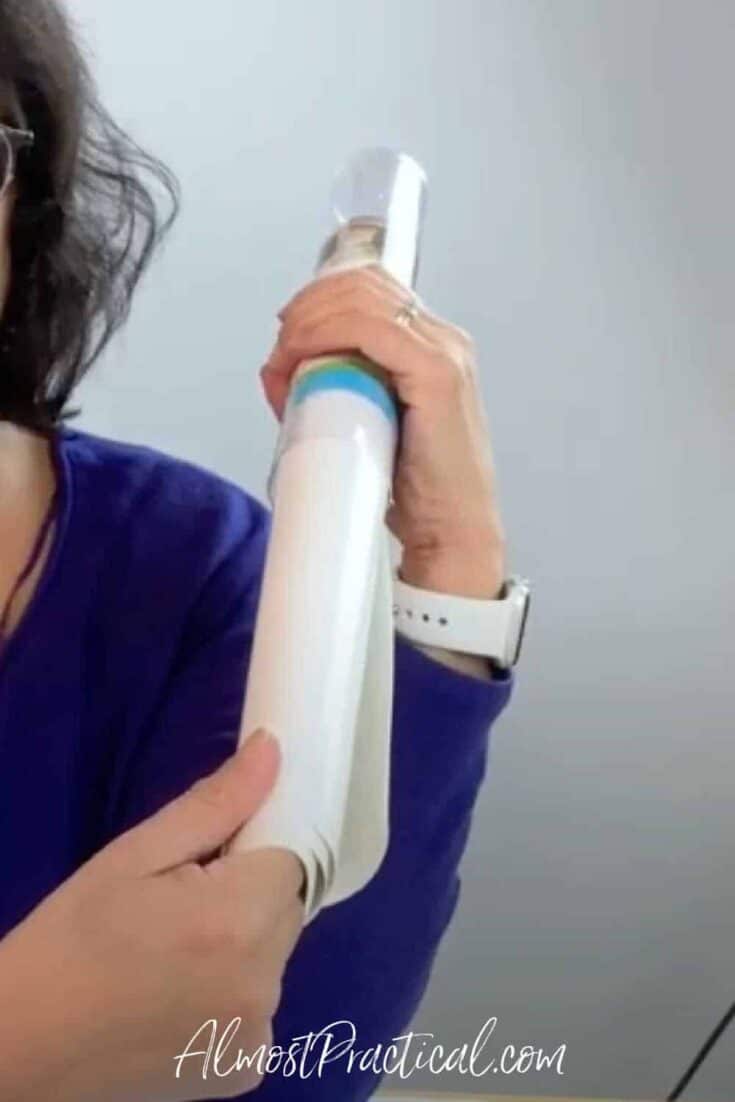
Happy day! Your Cricut vinyl is not ruined and you can get on with your DIY project using your Cricut Maker or your Cricut Explore Air 2.
Happy crafting!


