DIY and Crafts
I love DIY and craft projects, but the irony is that often these create their own kind of clutter. So, my solution is to focus my efforts on projects contribute to organization and productivity somehow or function as home decor.
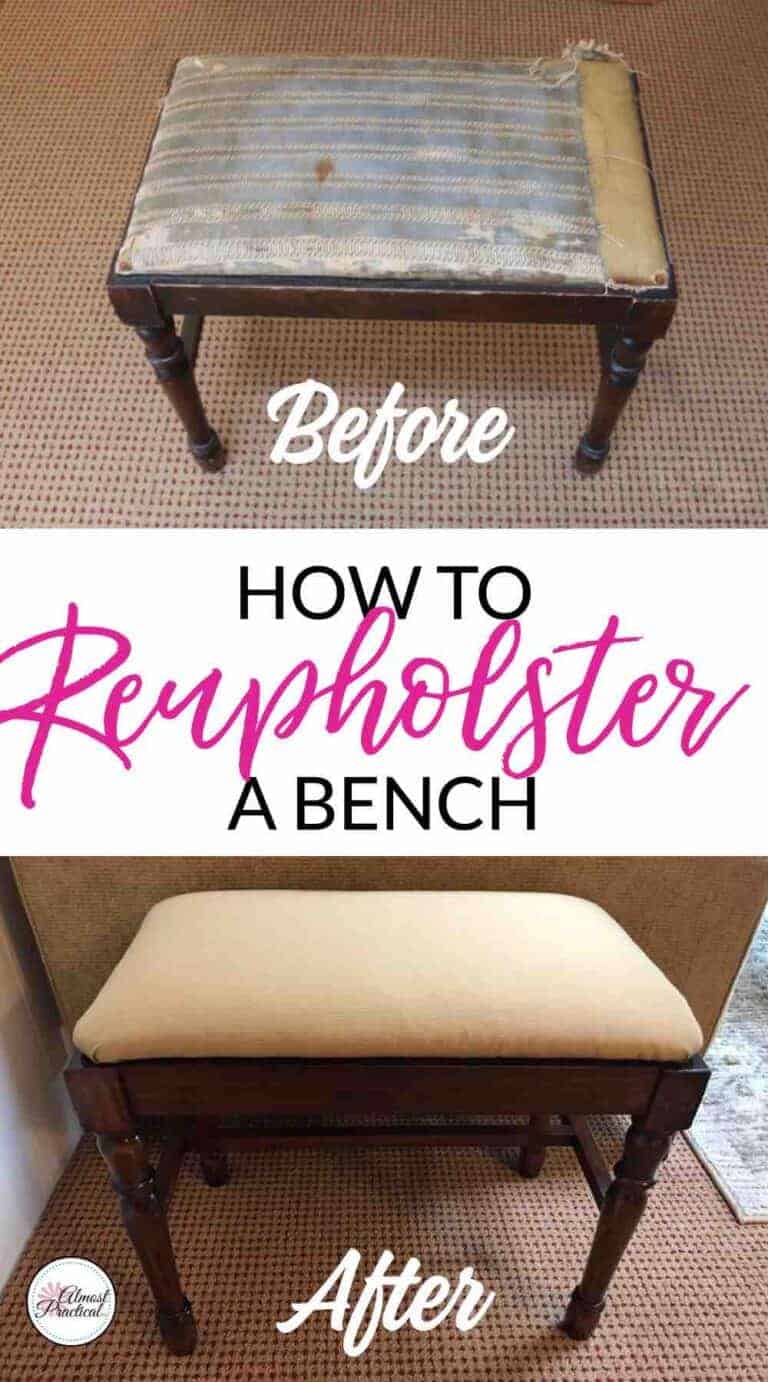
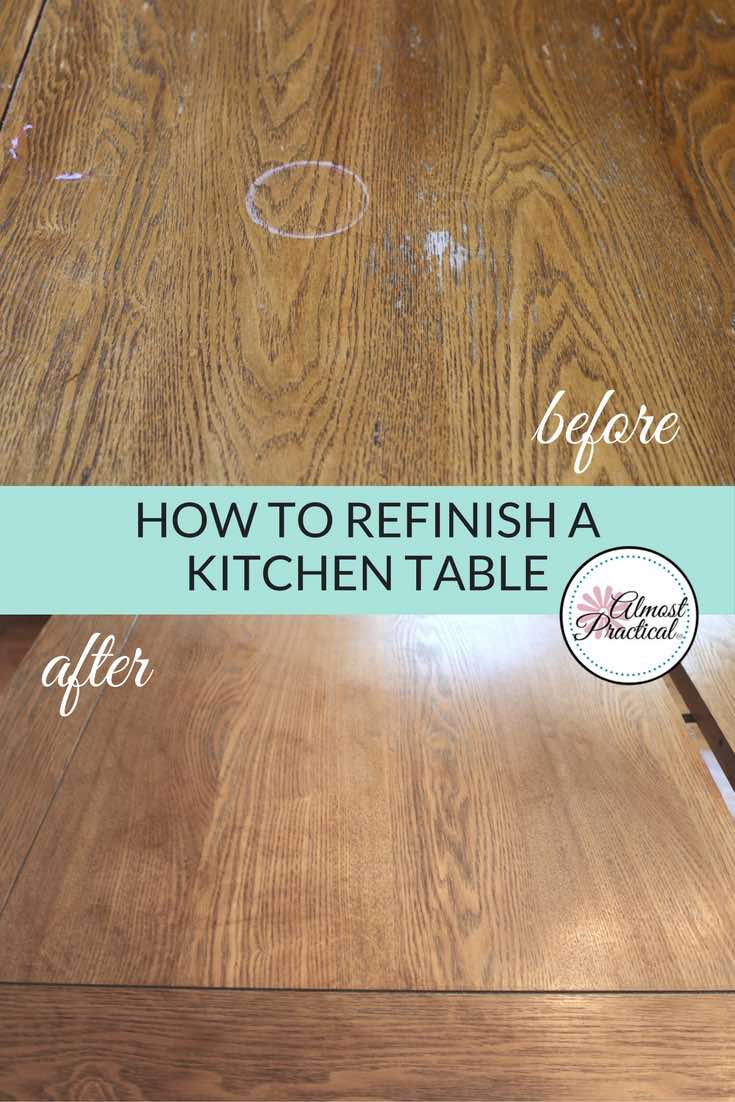
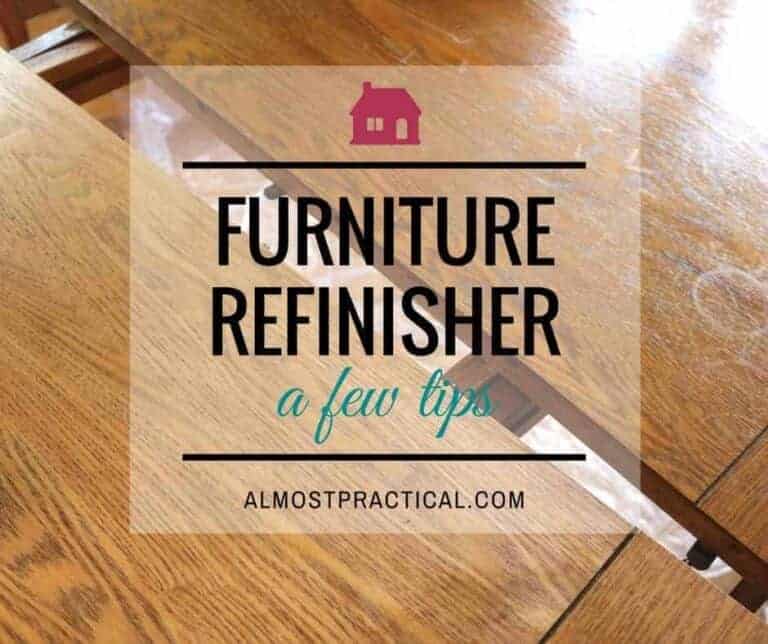
Here are some ideas for organizing your craft room or area as well as DIY tips, tutorials, and walkthroughs of some of my favorite projects.